


服务器选购,这种中转站建议用海外的,就不推荐阿里云/腾讯了,贵,还容易被封
https://www.boheidc.cn/aff/QOWYLYCV
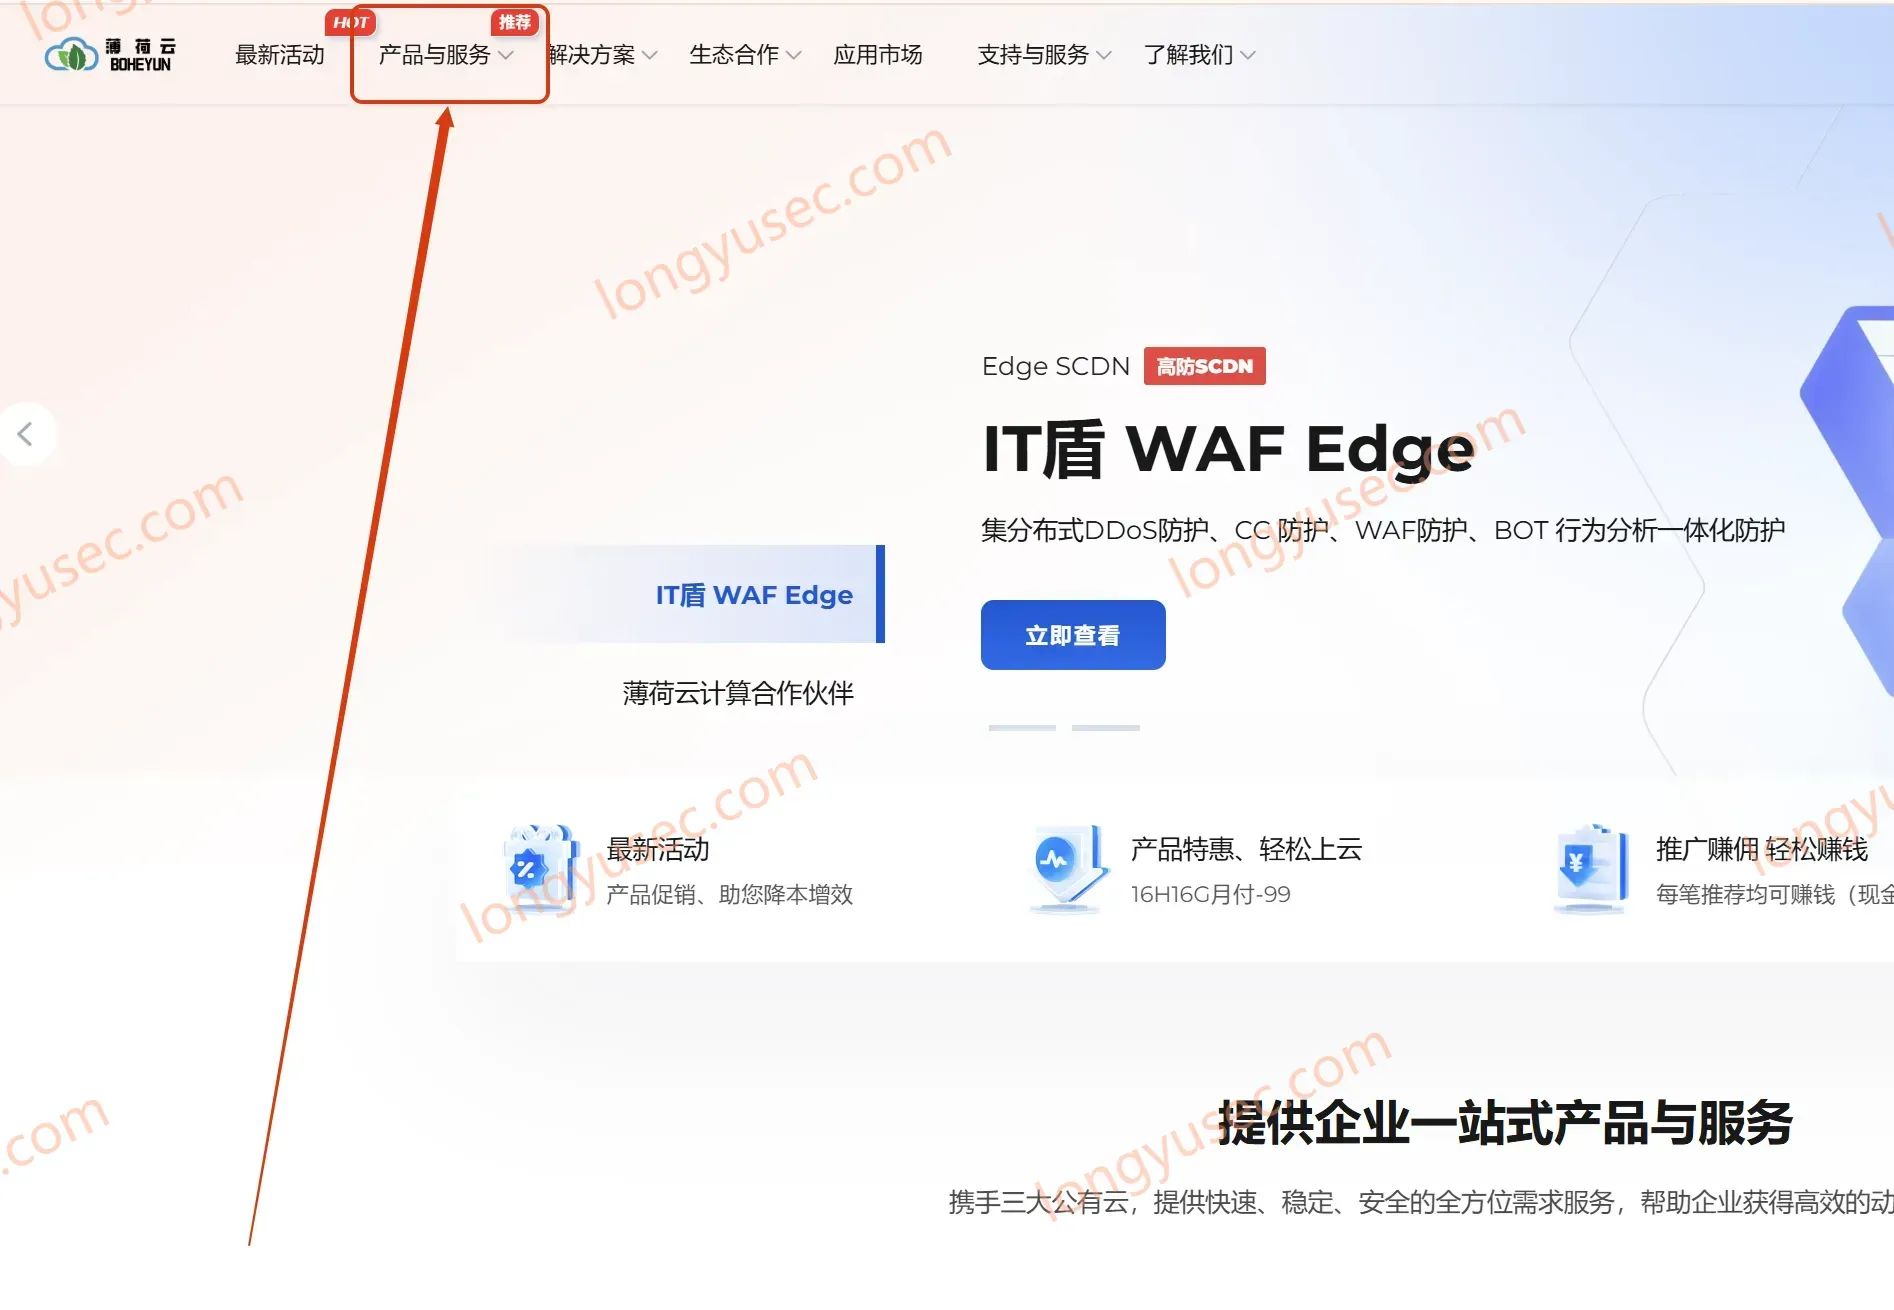
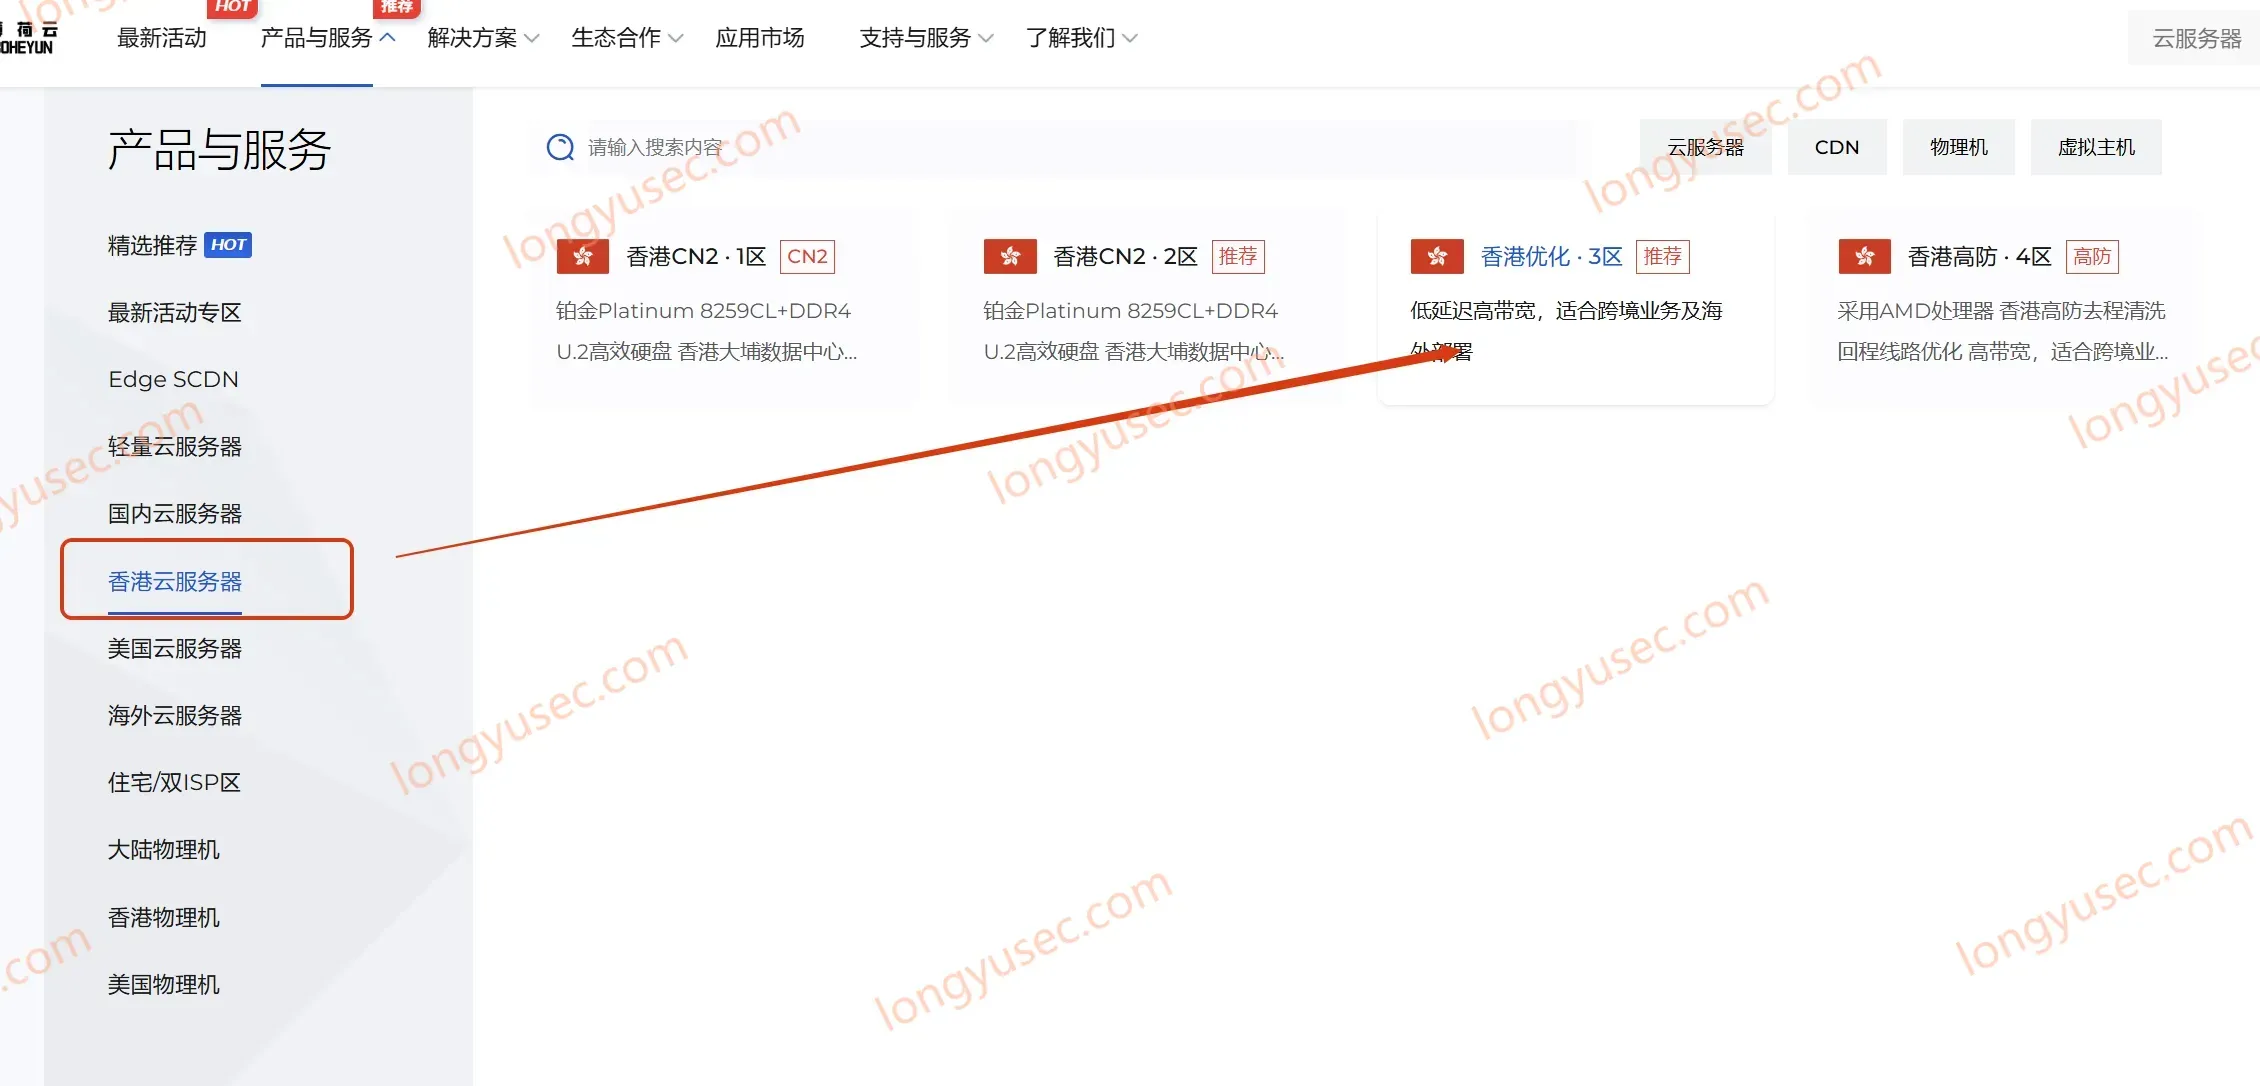
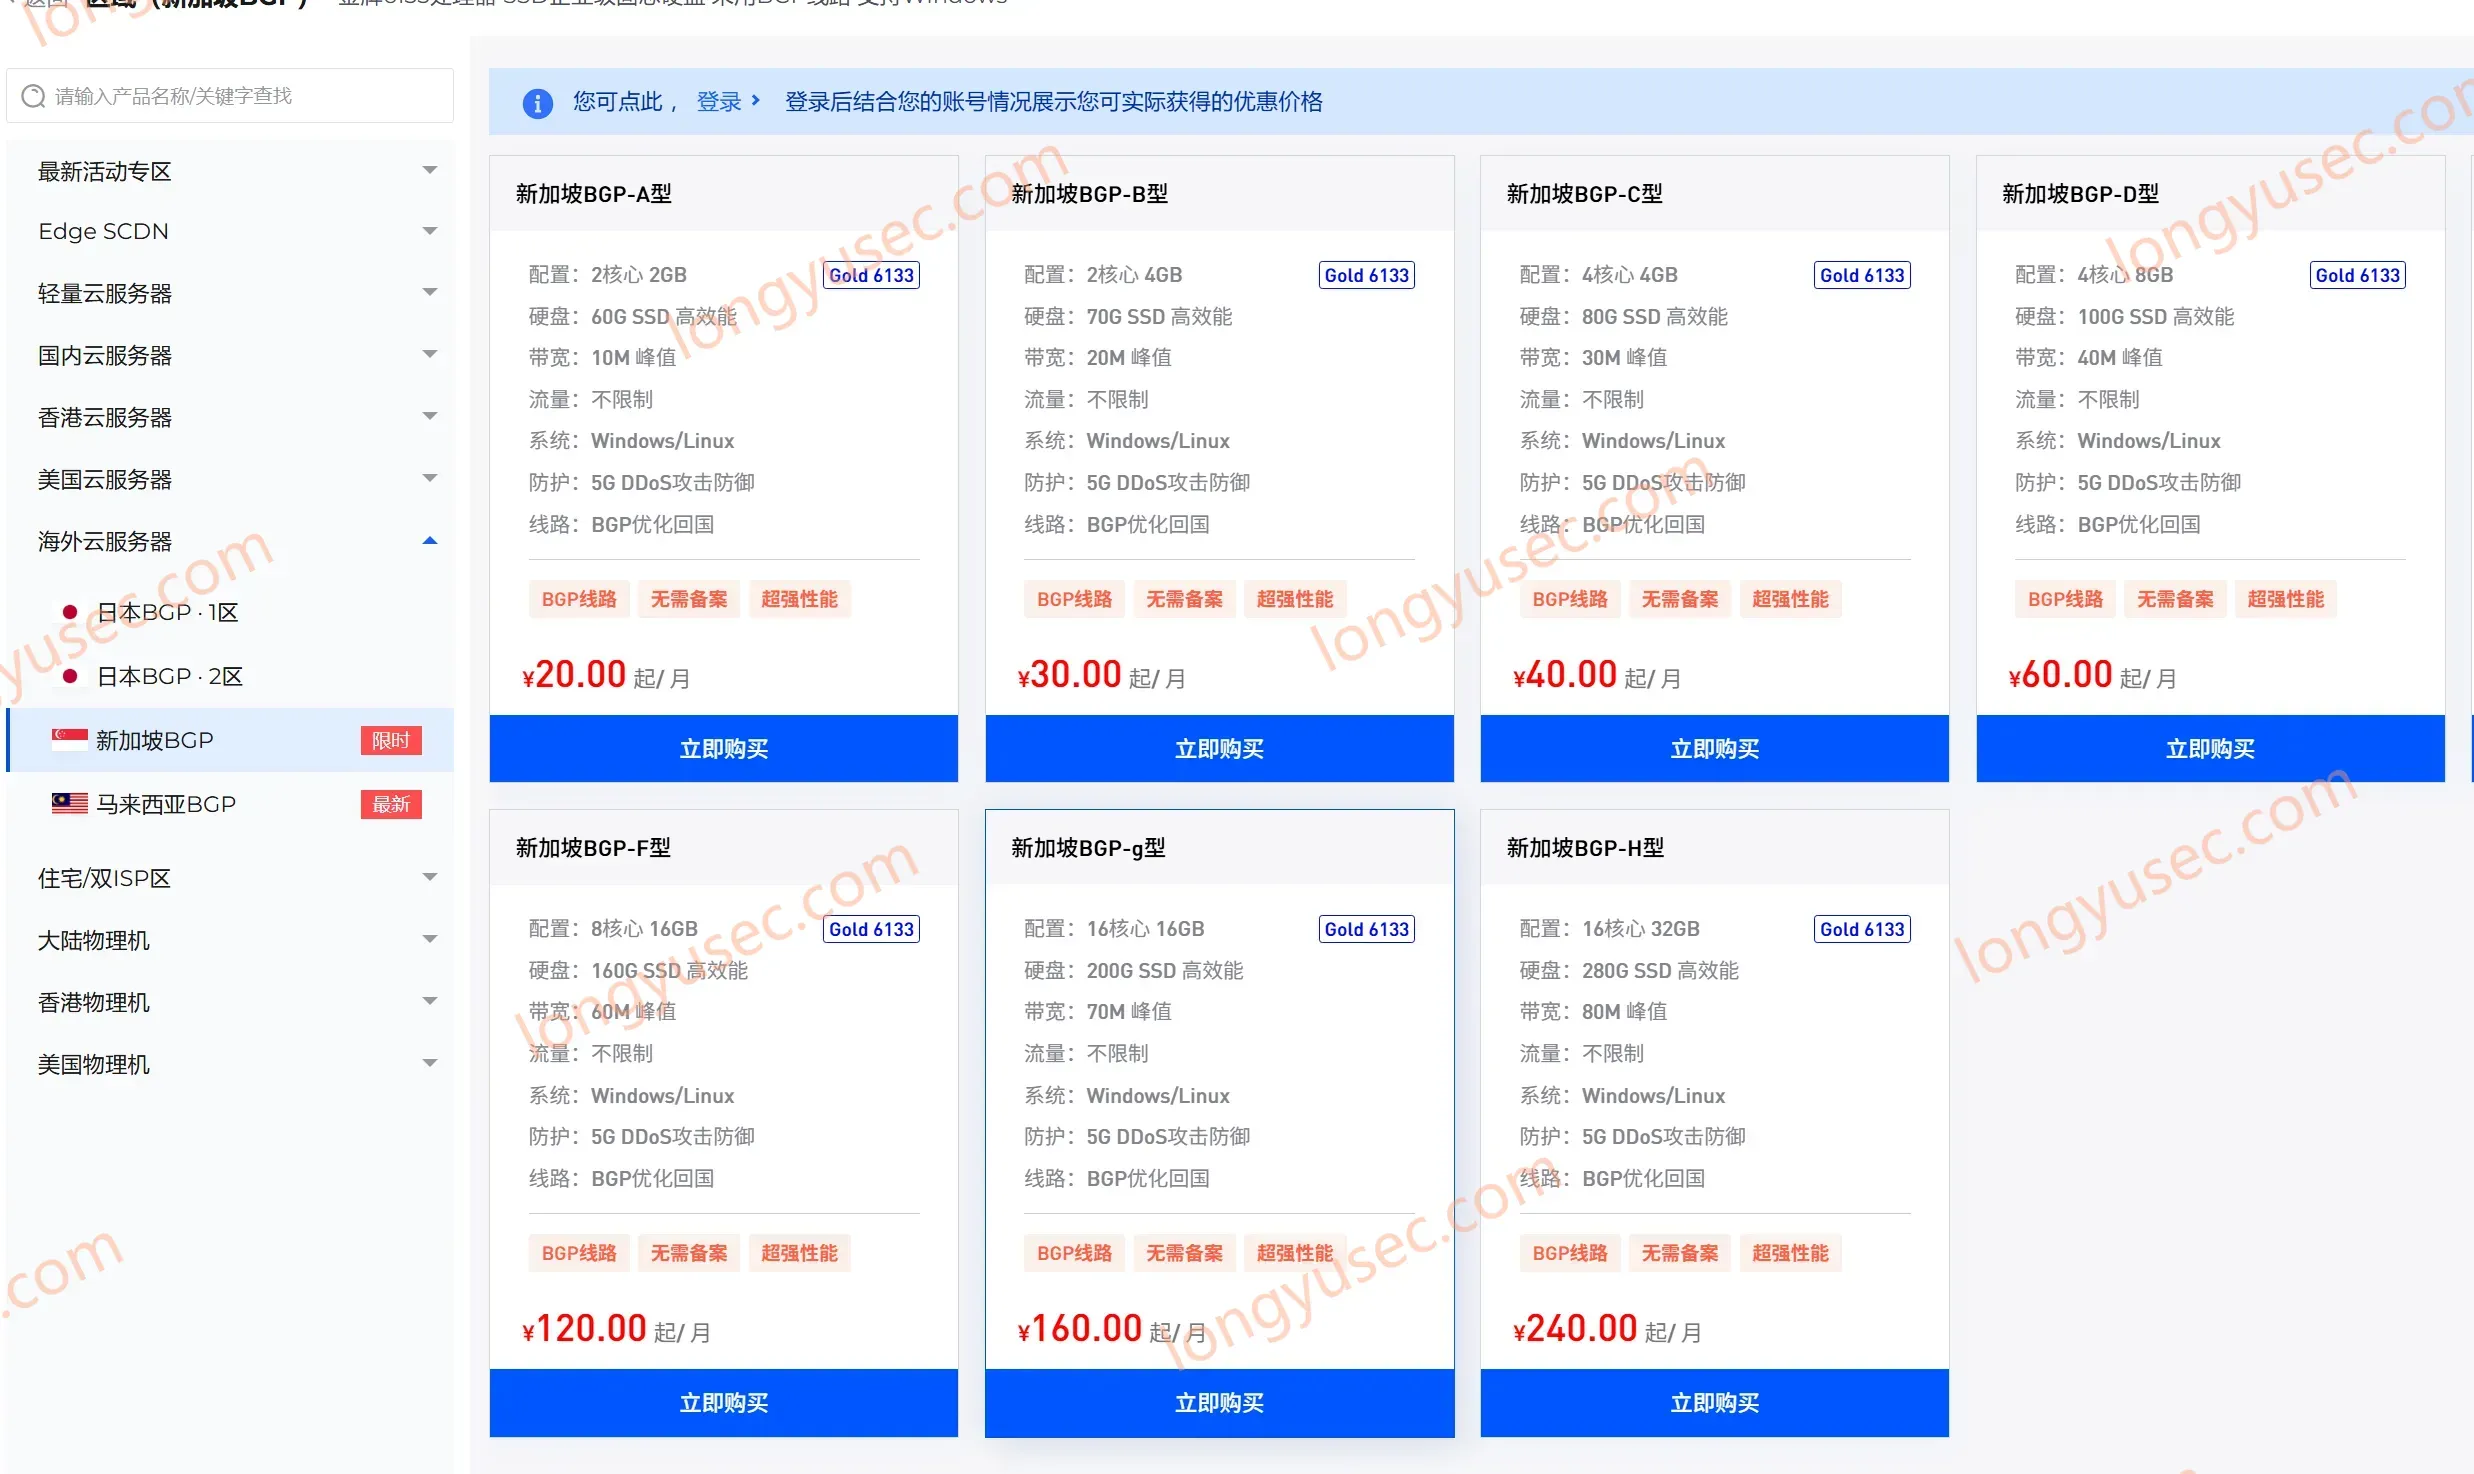
选择香港大带宽的
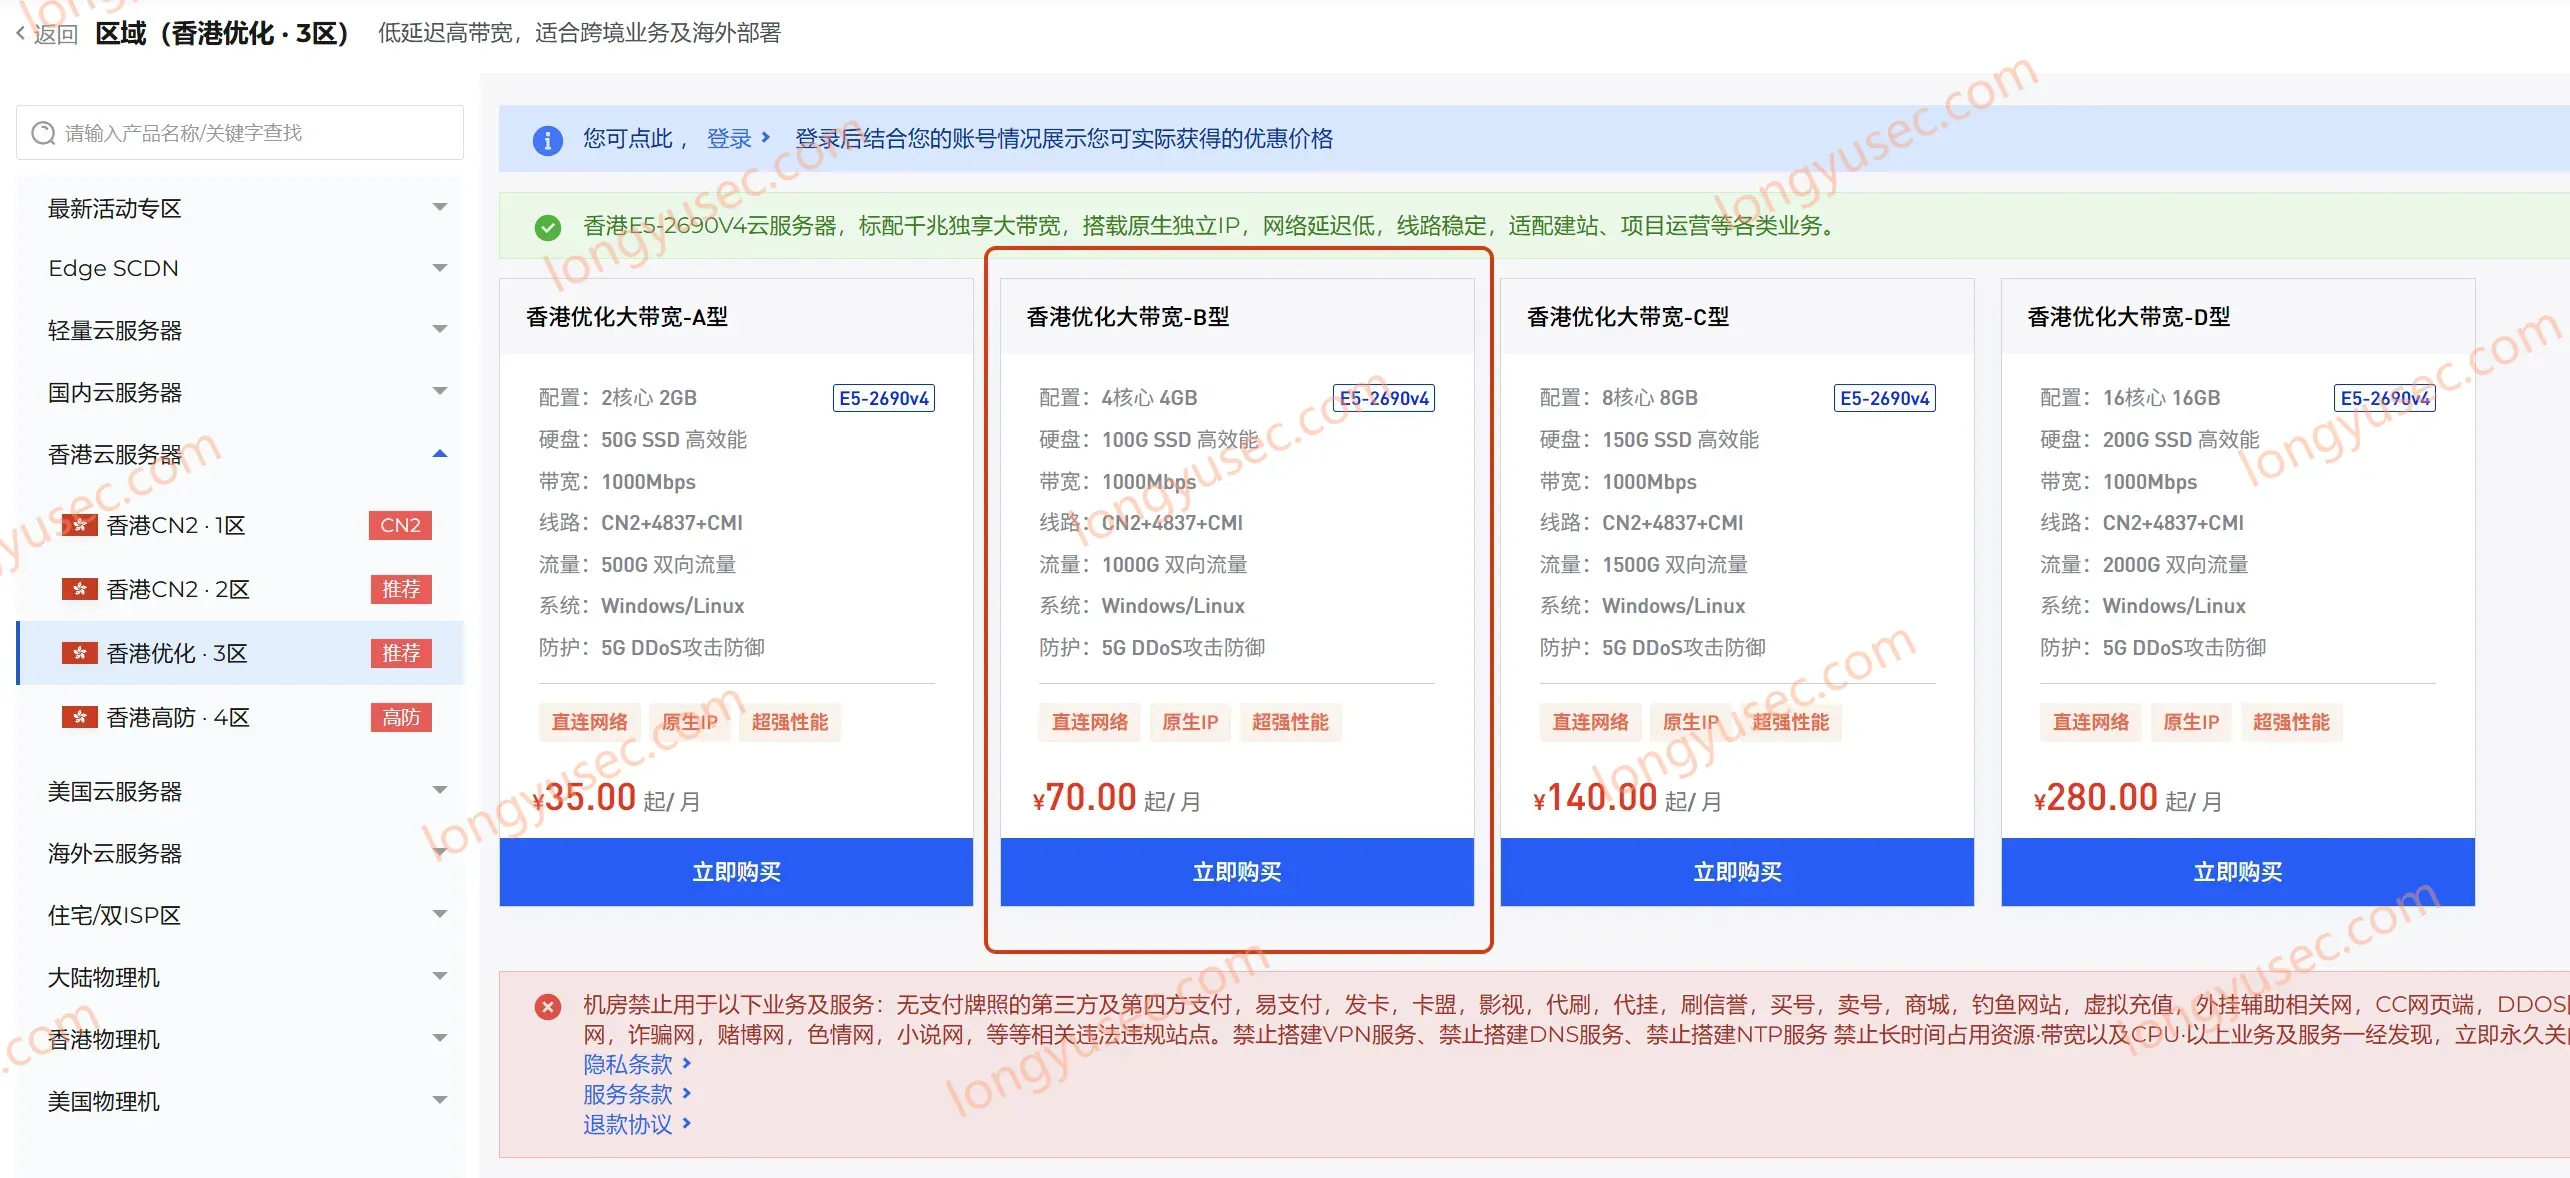
推荐选择这款4c4g的大带宽,搭中转站的同时,也可以用来日常使用,比如搭一些开源项目,用来测试,如果选2c2g的话容易卡
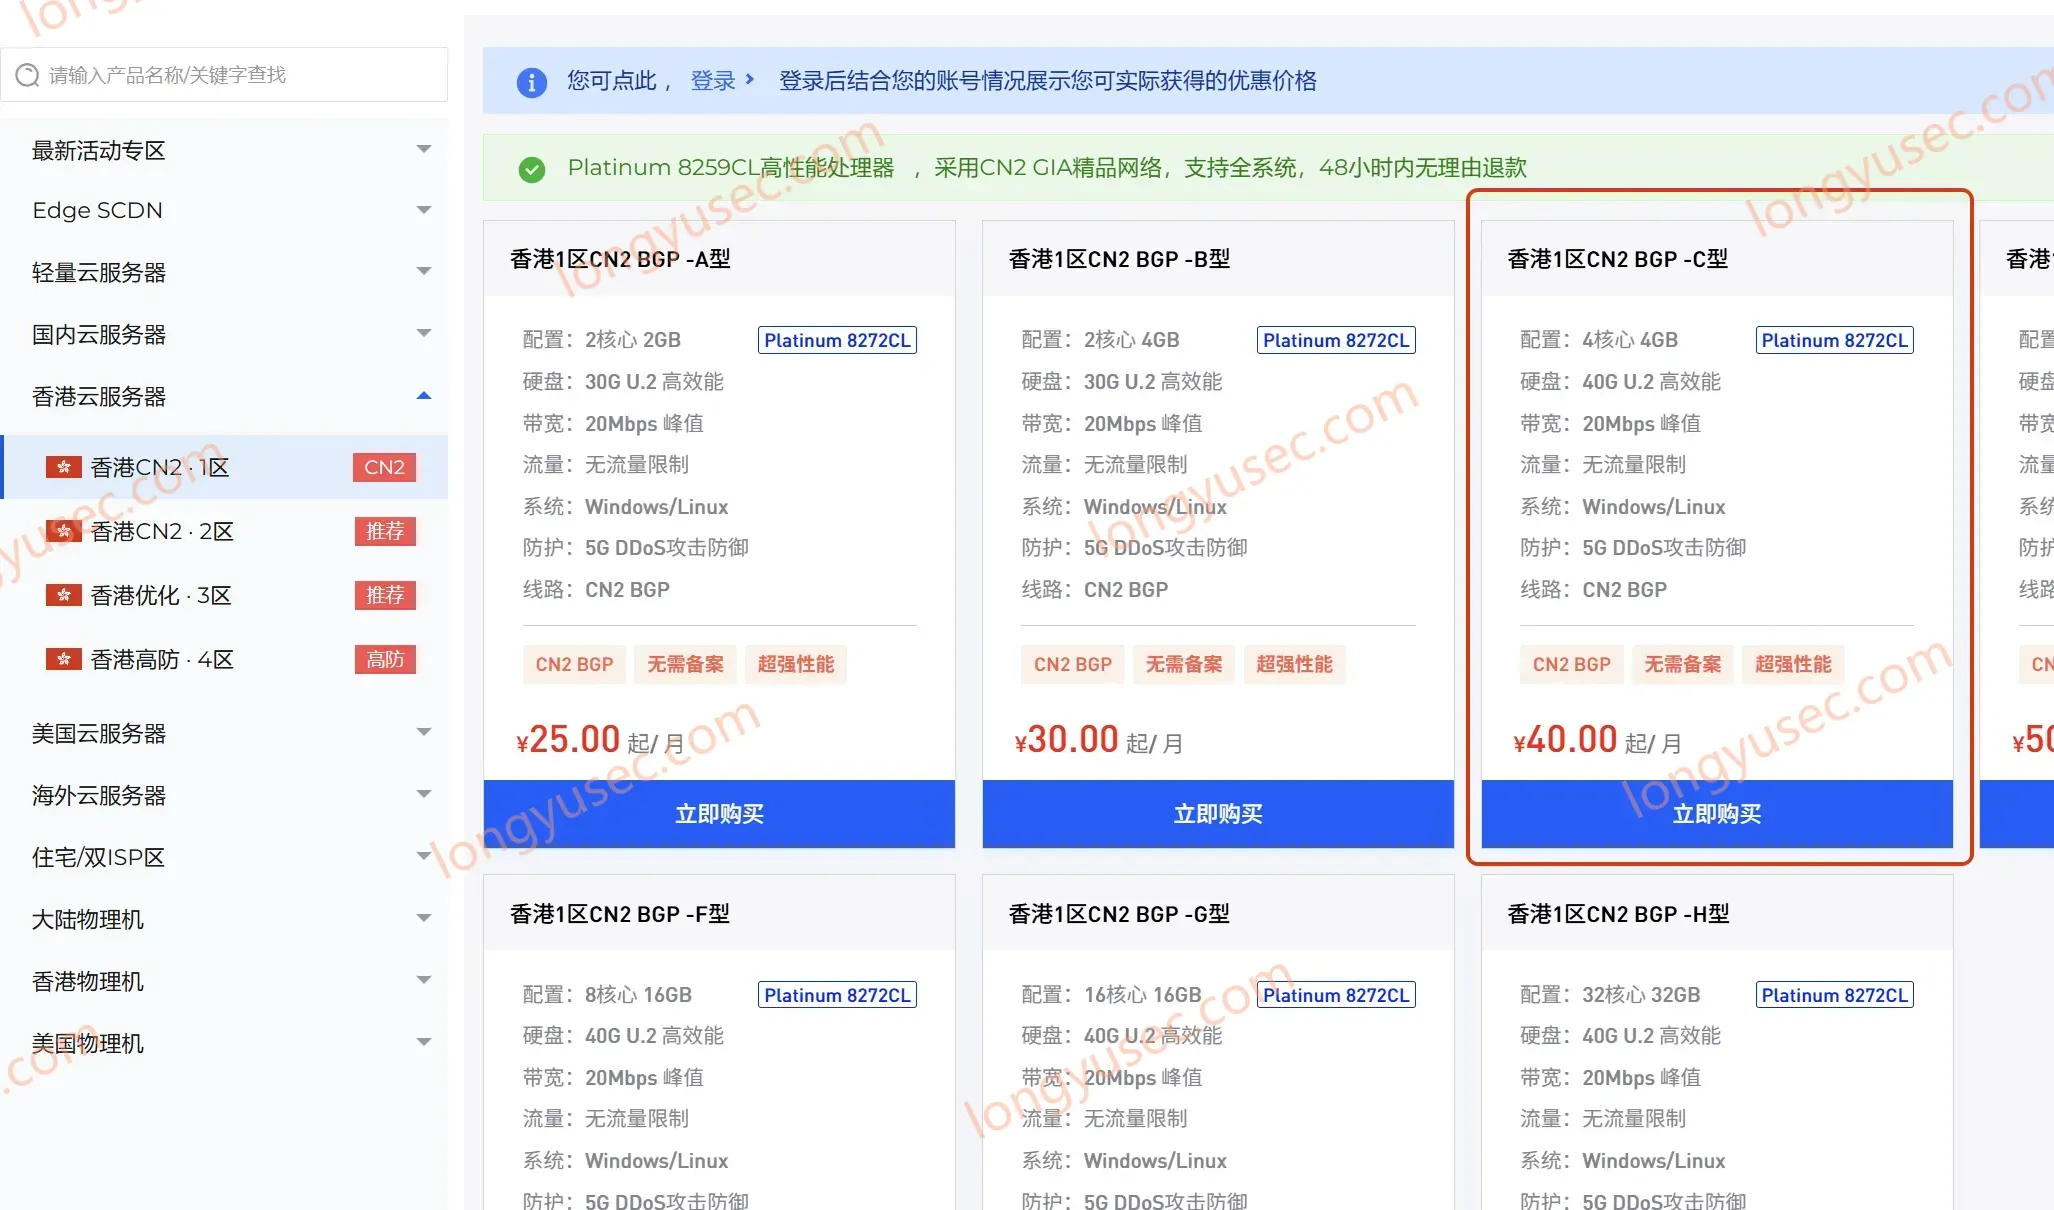
如果想要不限流量,低延迟的话可以选这款,低配一点,选4c2g的也可以
新加坡的服务器也可以,最近限时放量出来,估计不久后就没了
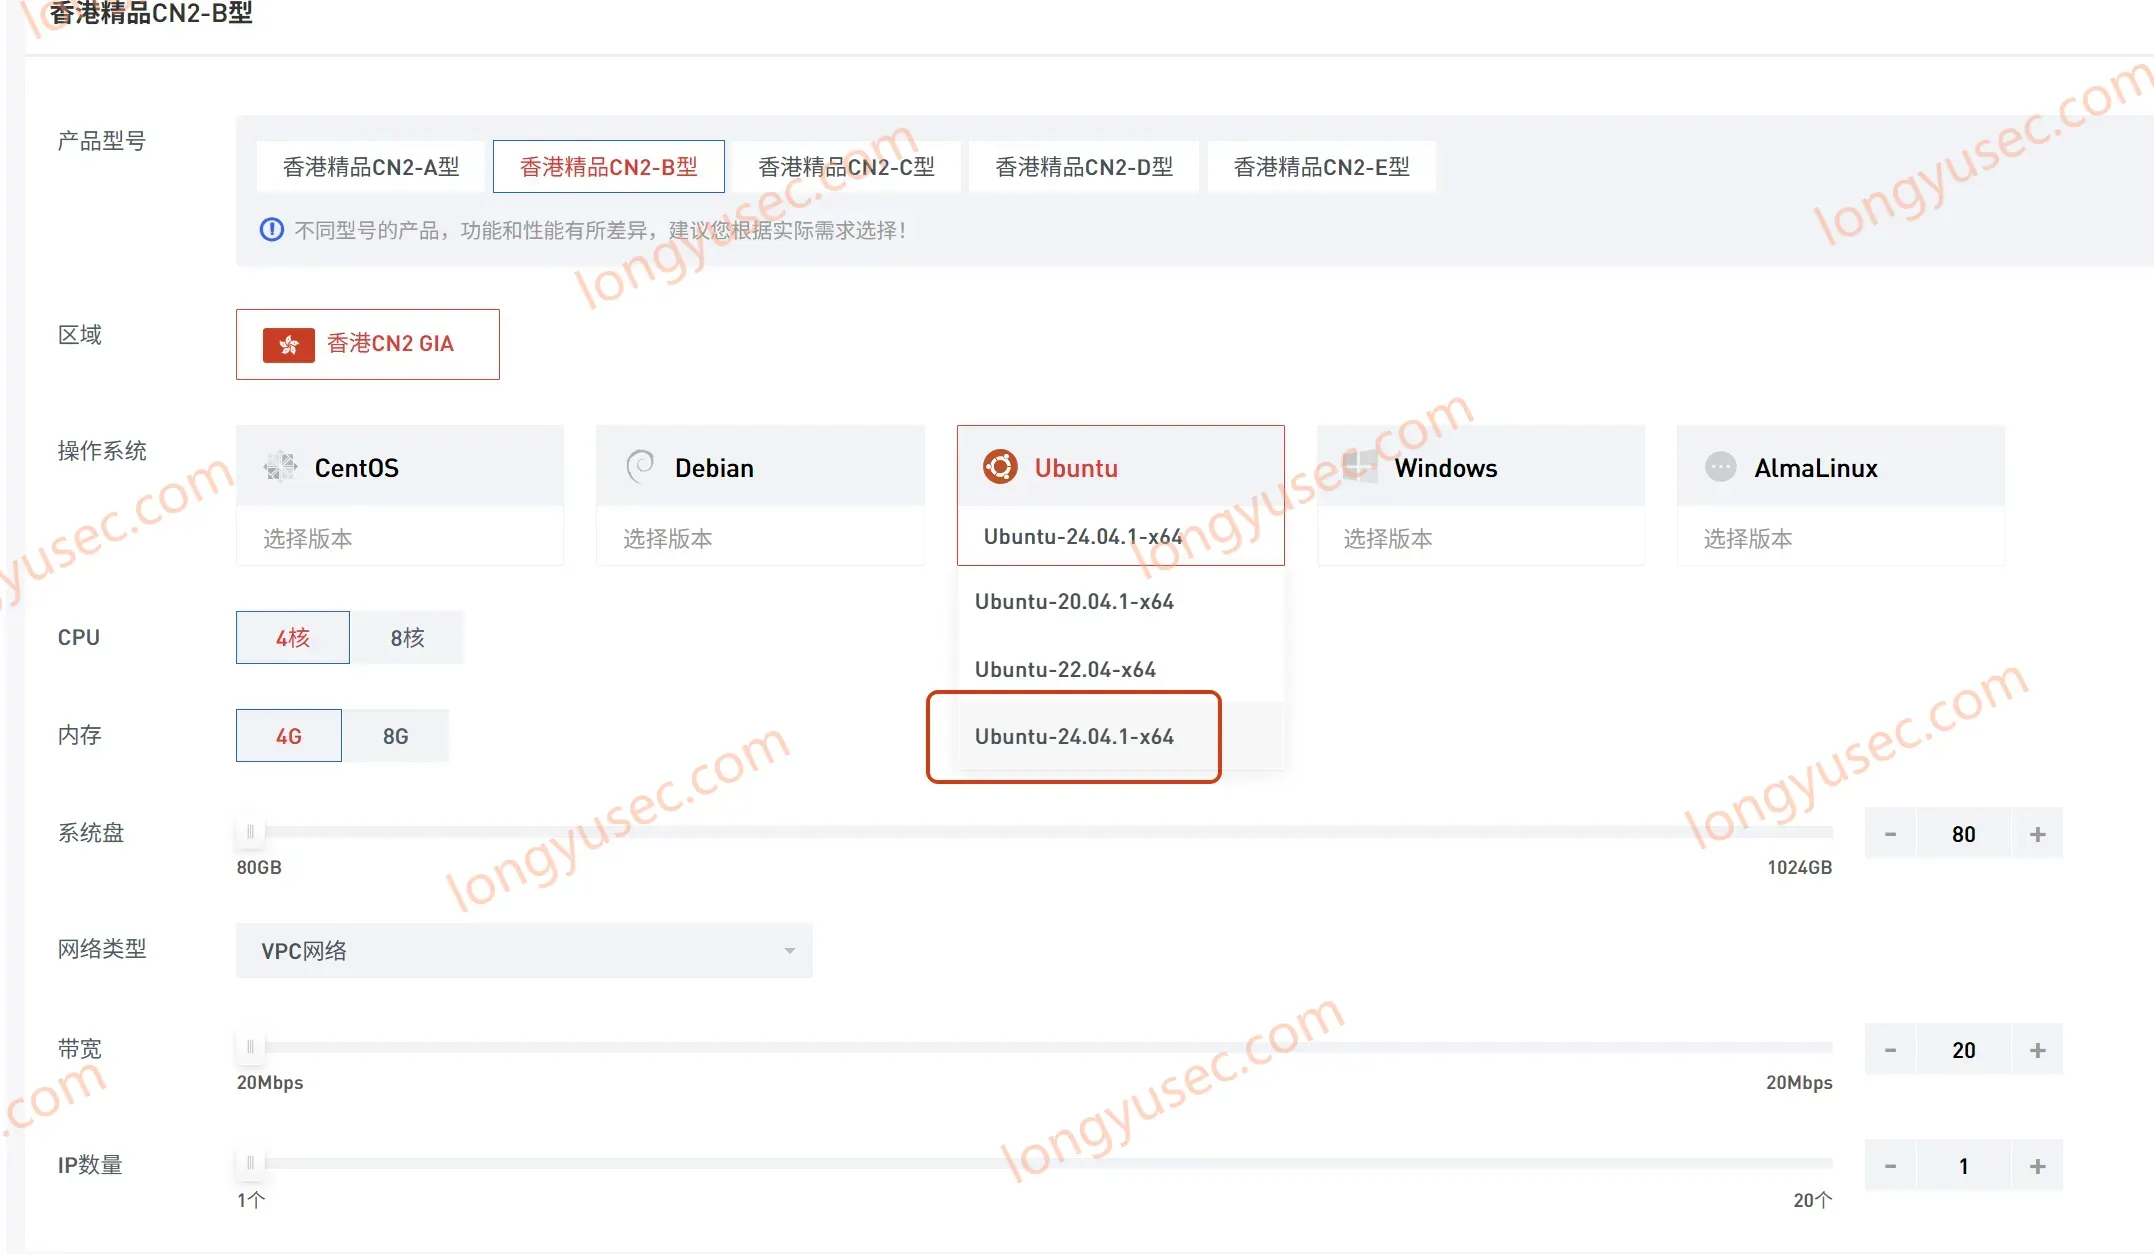
系统选择建议ubuntu系统
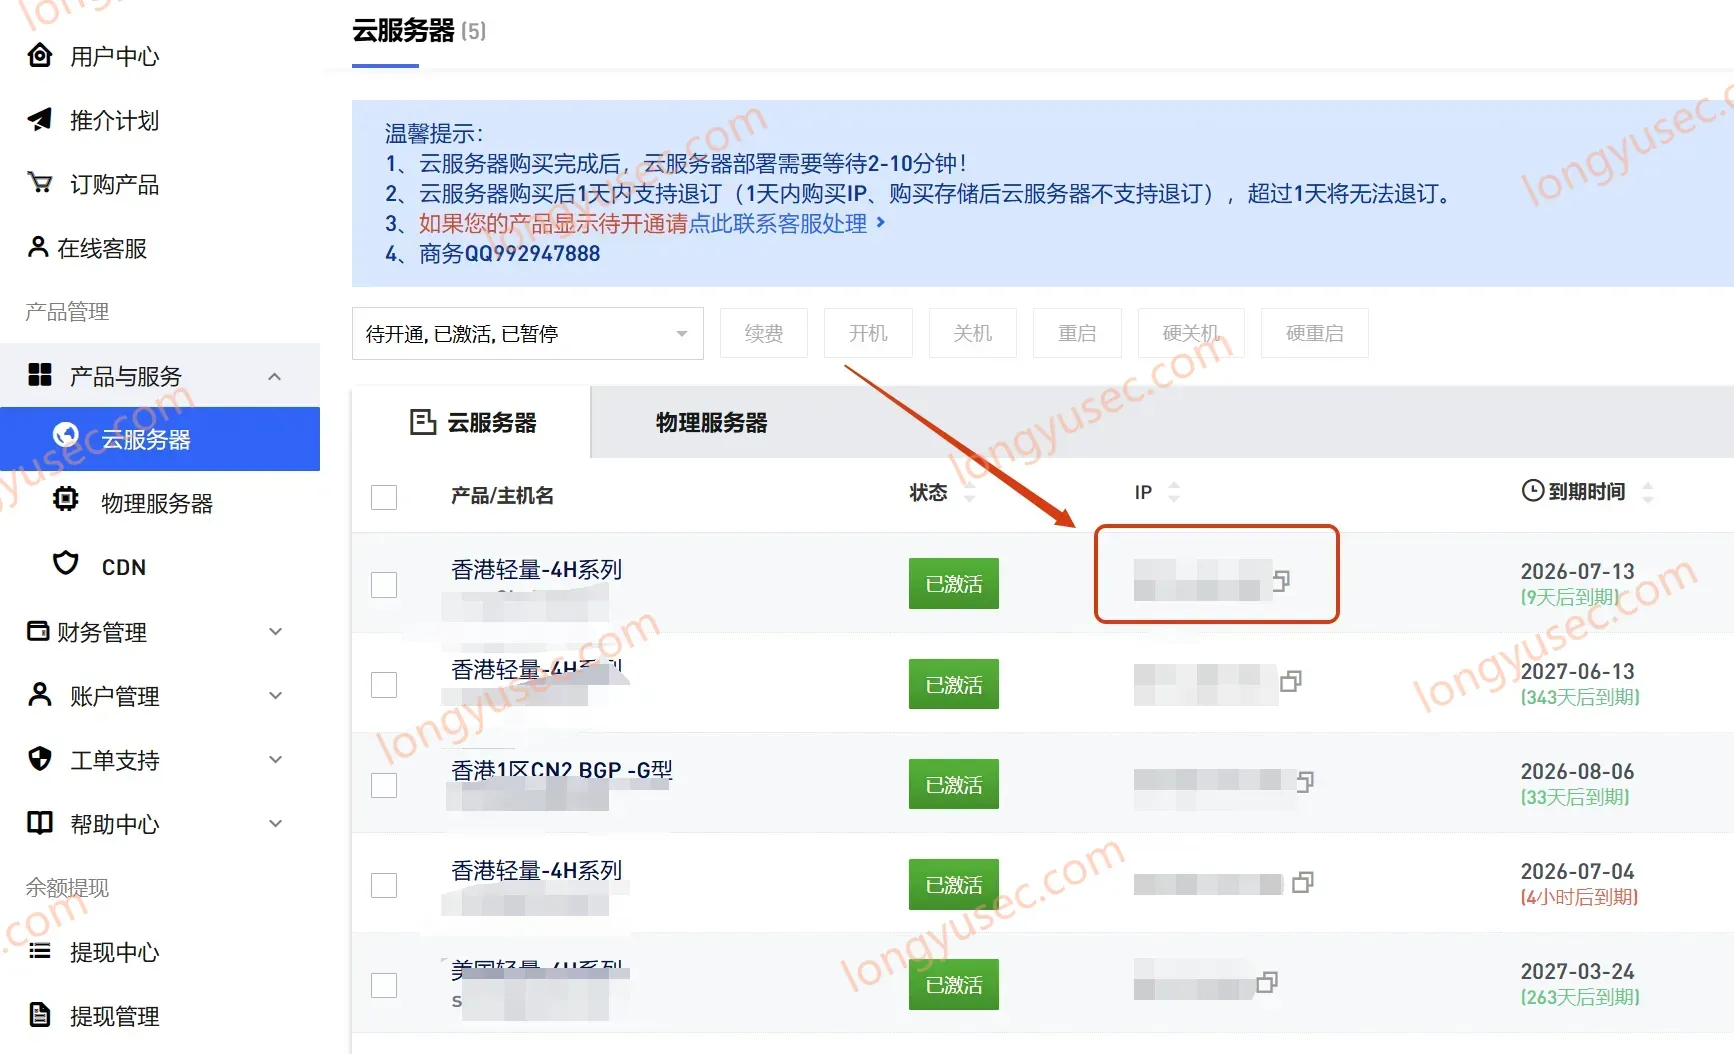
购买成功后在控制台的云服务器界面等待开通成功,然后记住你的ip地址
使用ssh远程连接工具连接,常见的连接工具有xshell,tabby,powershell等等,这里我们使用windows系统自带的powershell,输入如下命令
ssh root@你的ip地址执行命令后,会让你输入密码,这个密码是不会显示的,输入密码后按回车
连接成功后升级你的ubuntu
apt update -y && apt upgrade -y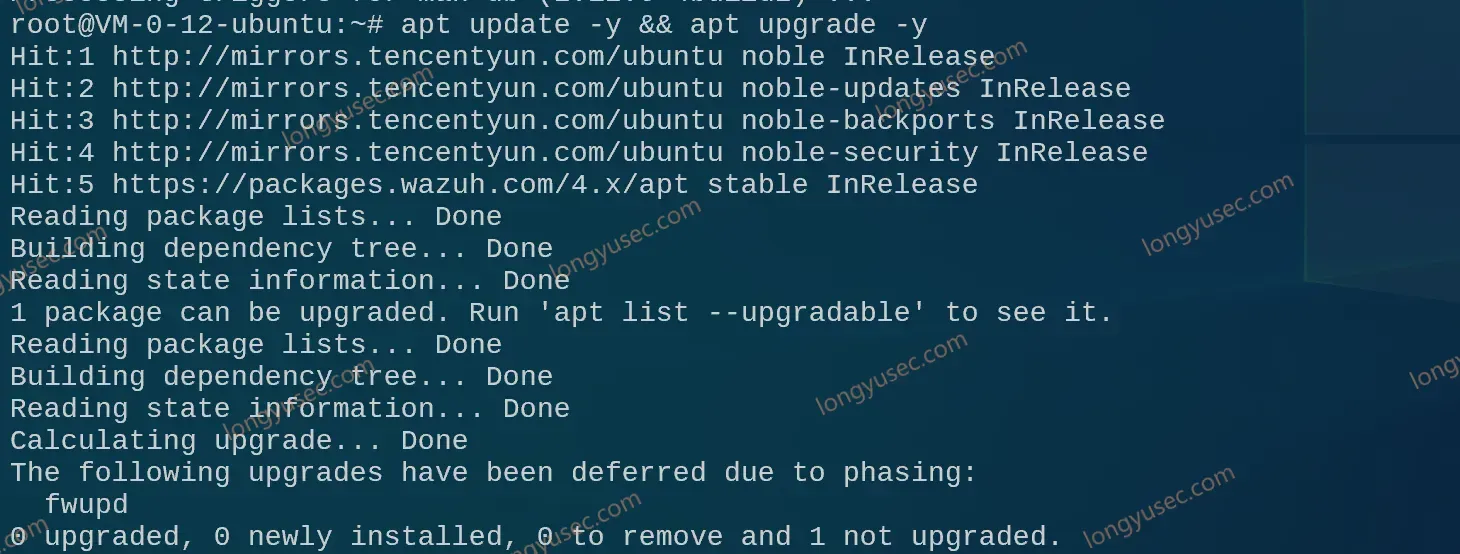
安装宝塔
打开官网注册一个账号,待会要用
执行安装命令,中途会让你选择y还是n,是否安装,选择y
wget -O install_panel.sh https://download.bt.cn/install/install_panel.sh && sudo bash install_panel.sh ed8484bec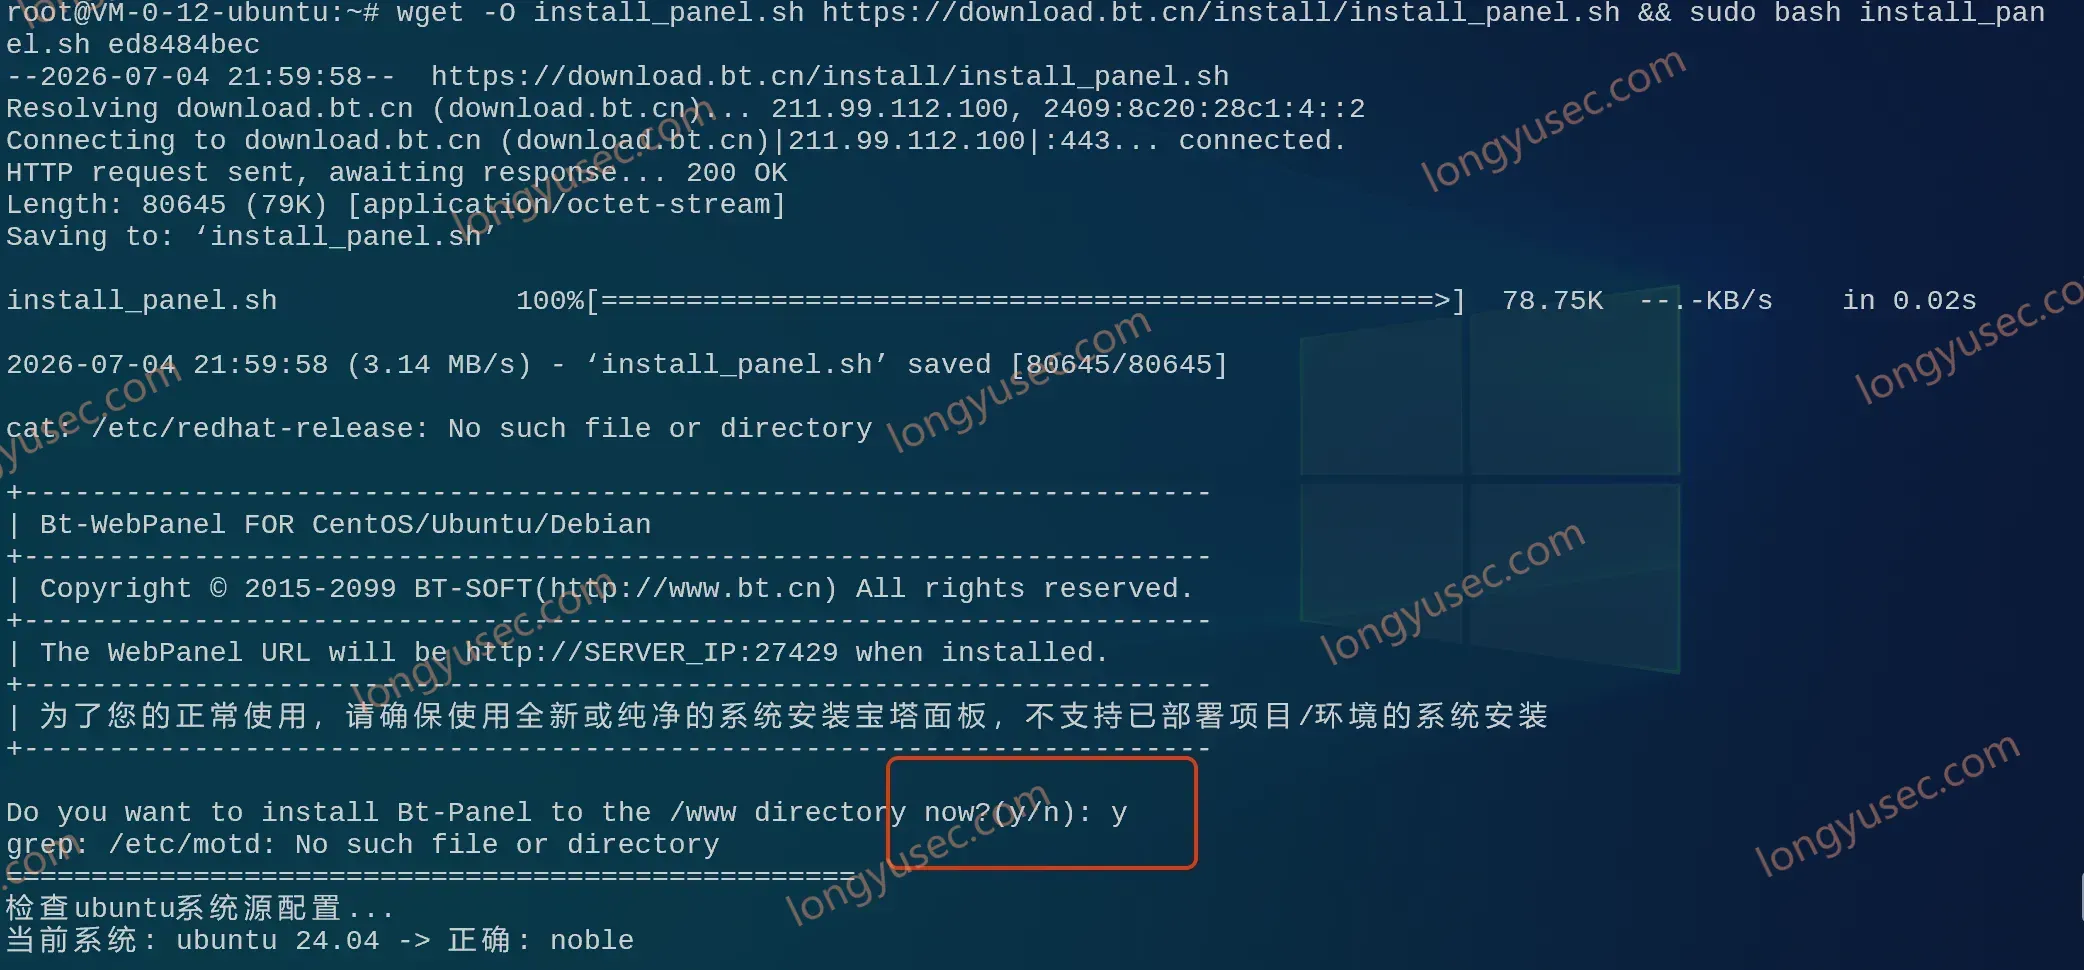
在安装完成后,会出现如下内容,记住你的账号密码还有访问地址,这里的访问地址指的是外网ipv4地址
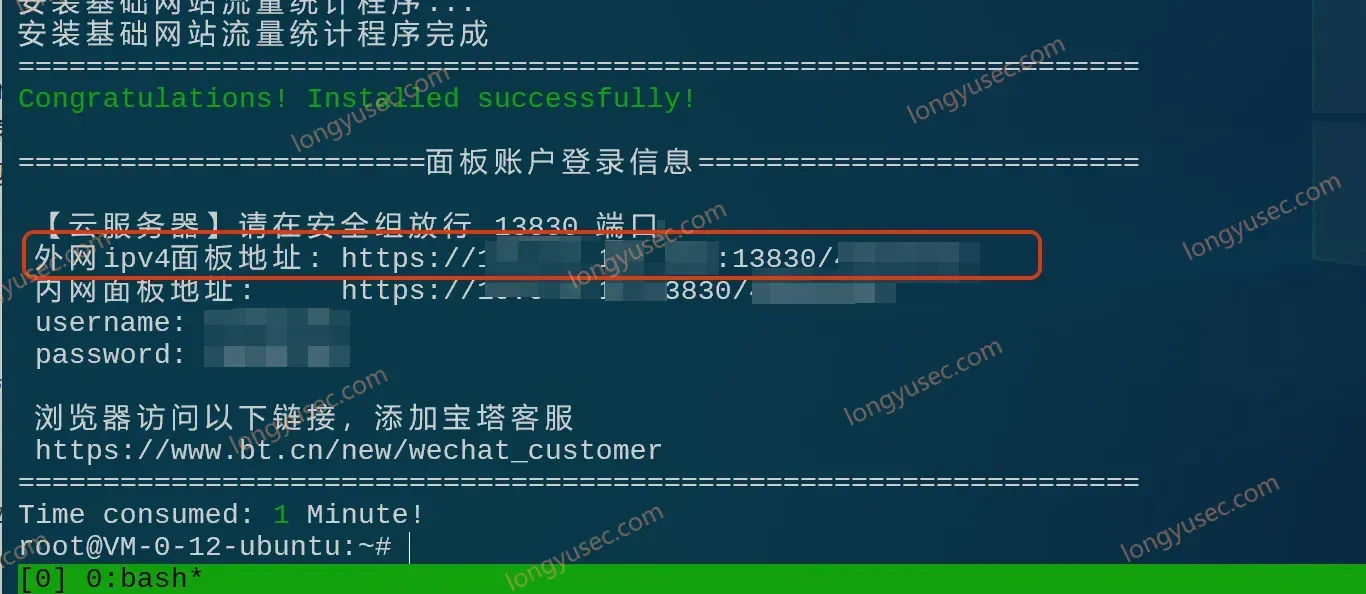
使用浏览器访问
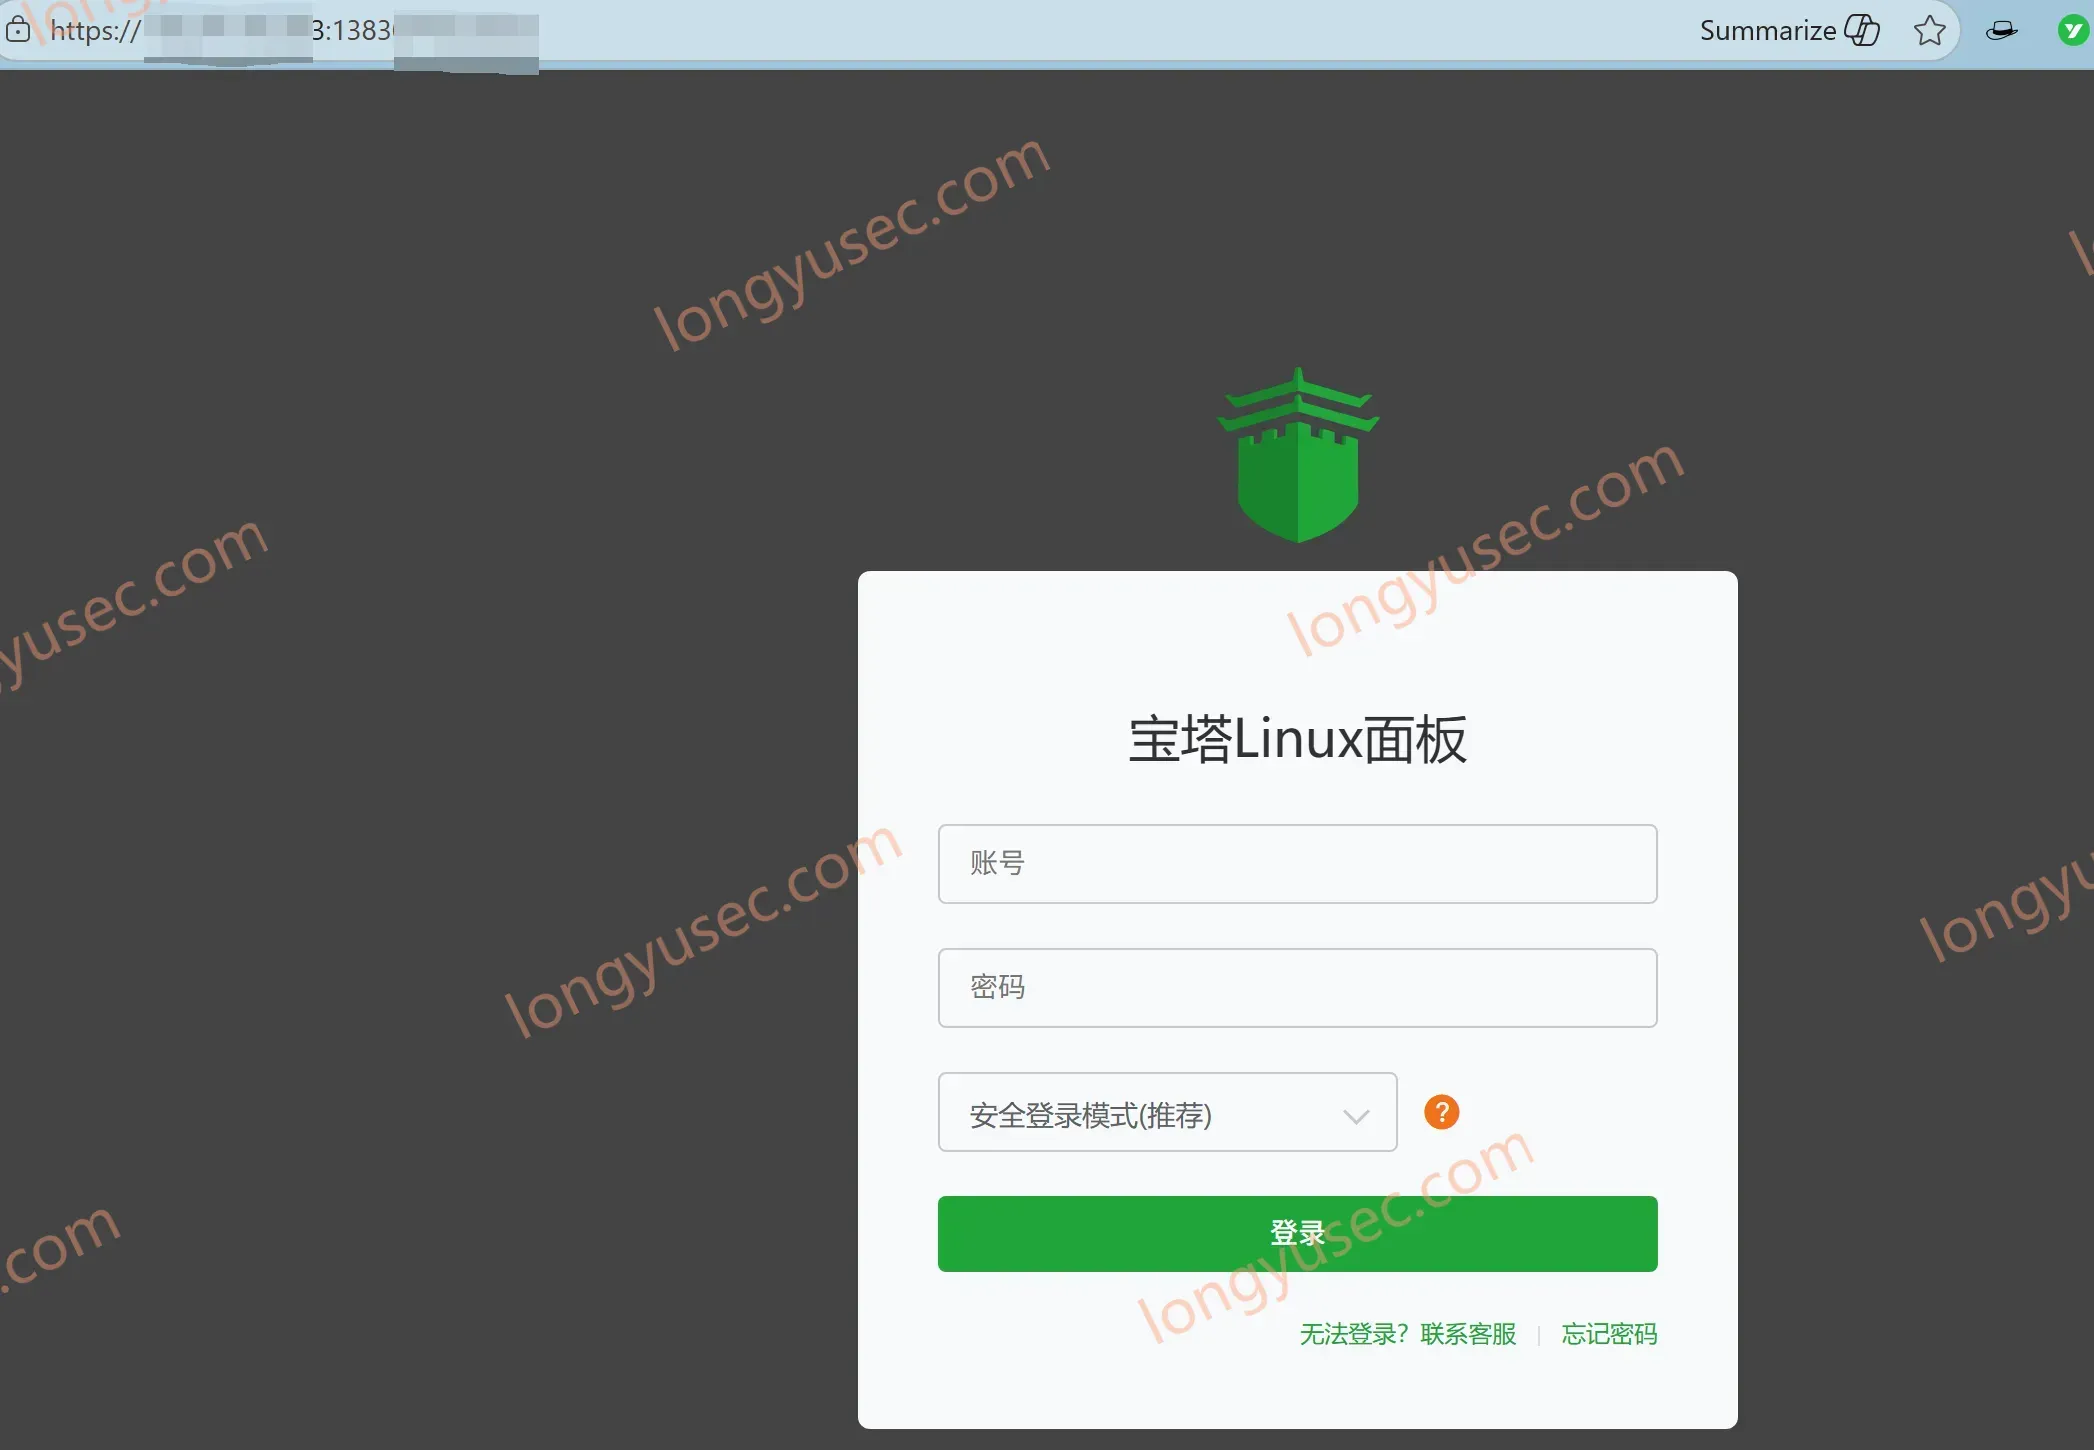
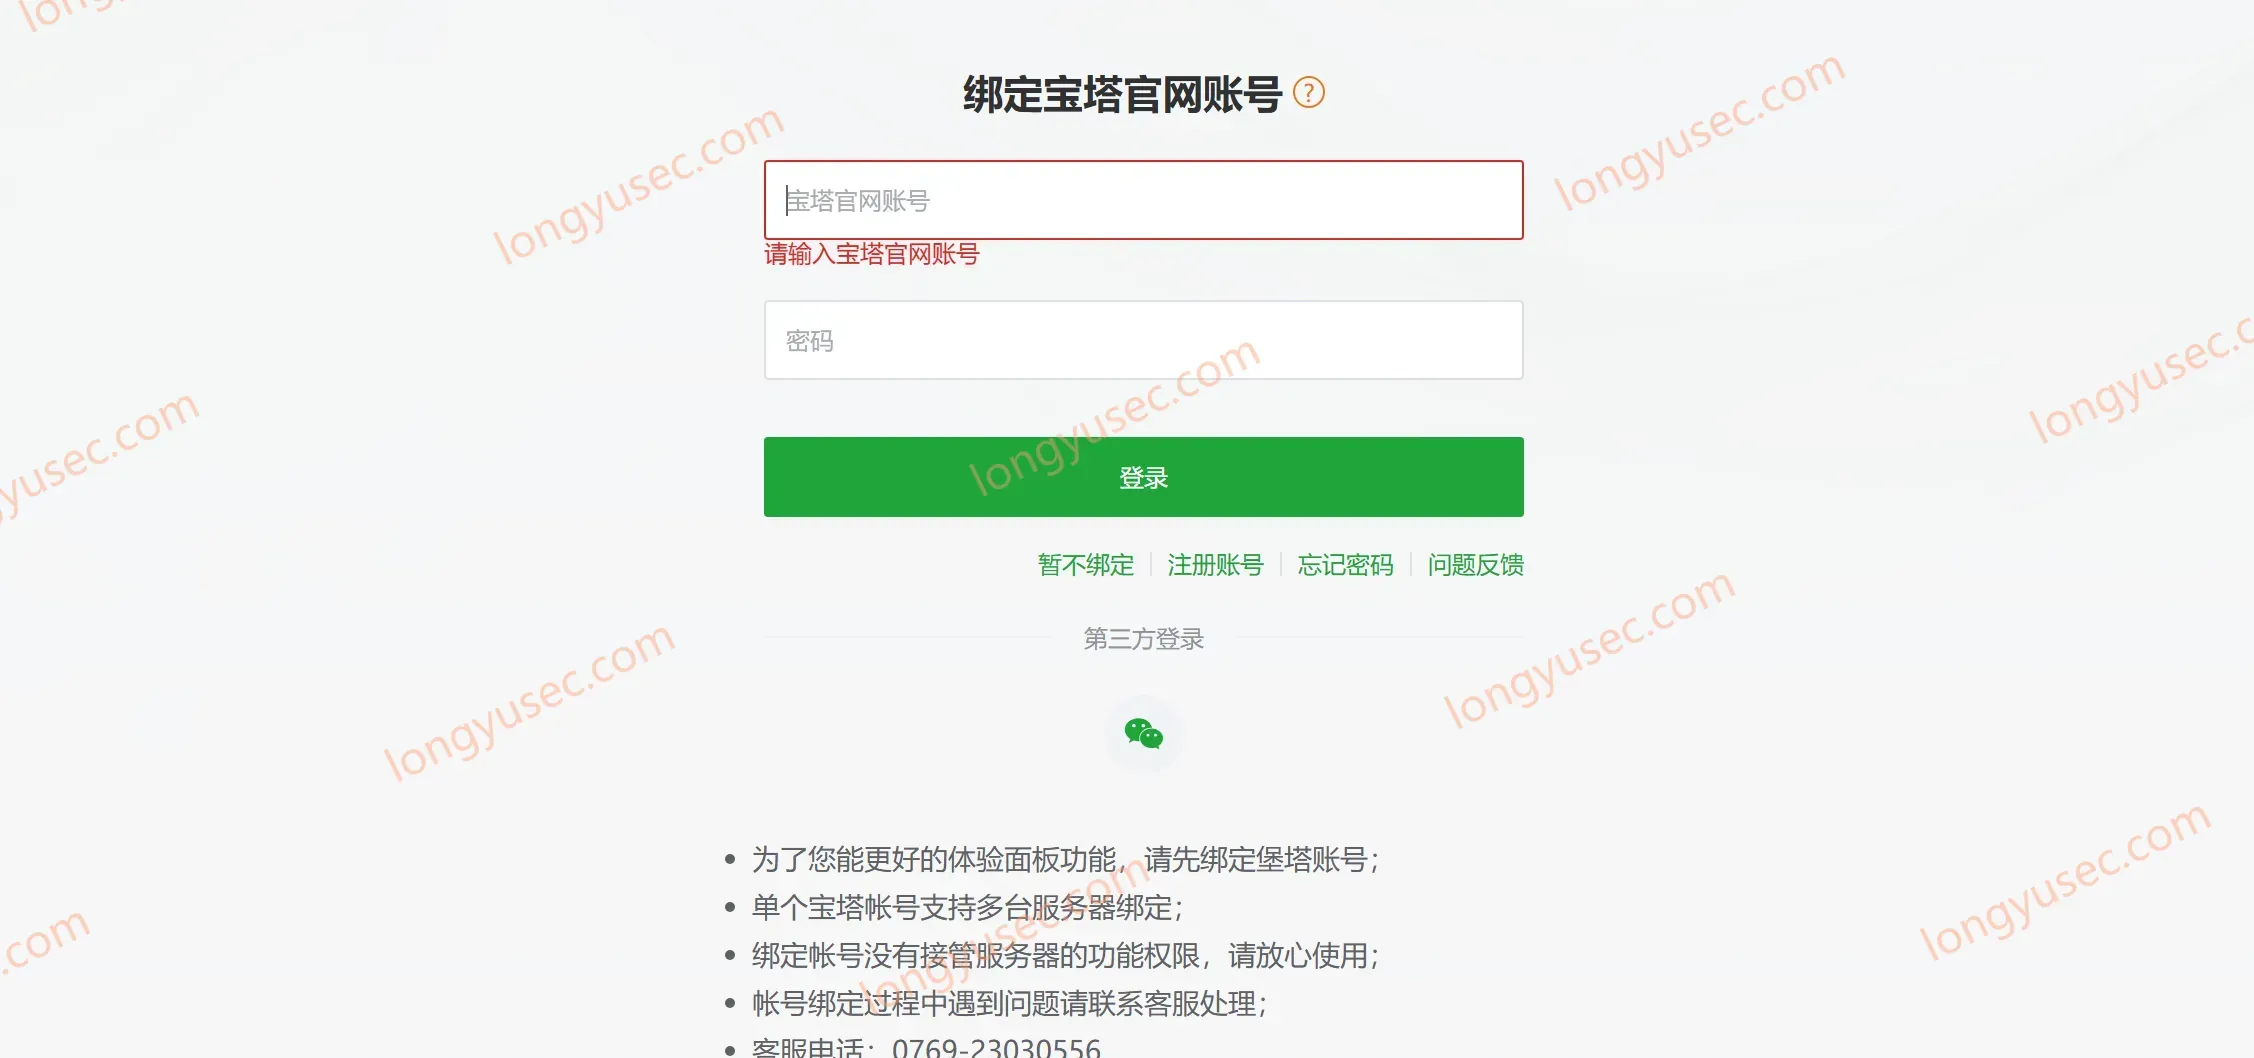
登录之后还会让你登录一遍,这里的登录的账号就是你在宝塔官网注册的账号,登录一下,后续的ssl证书记录还有其他配置就可以直接读取云端配置,若换了服务器,可以从云端直接迁移
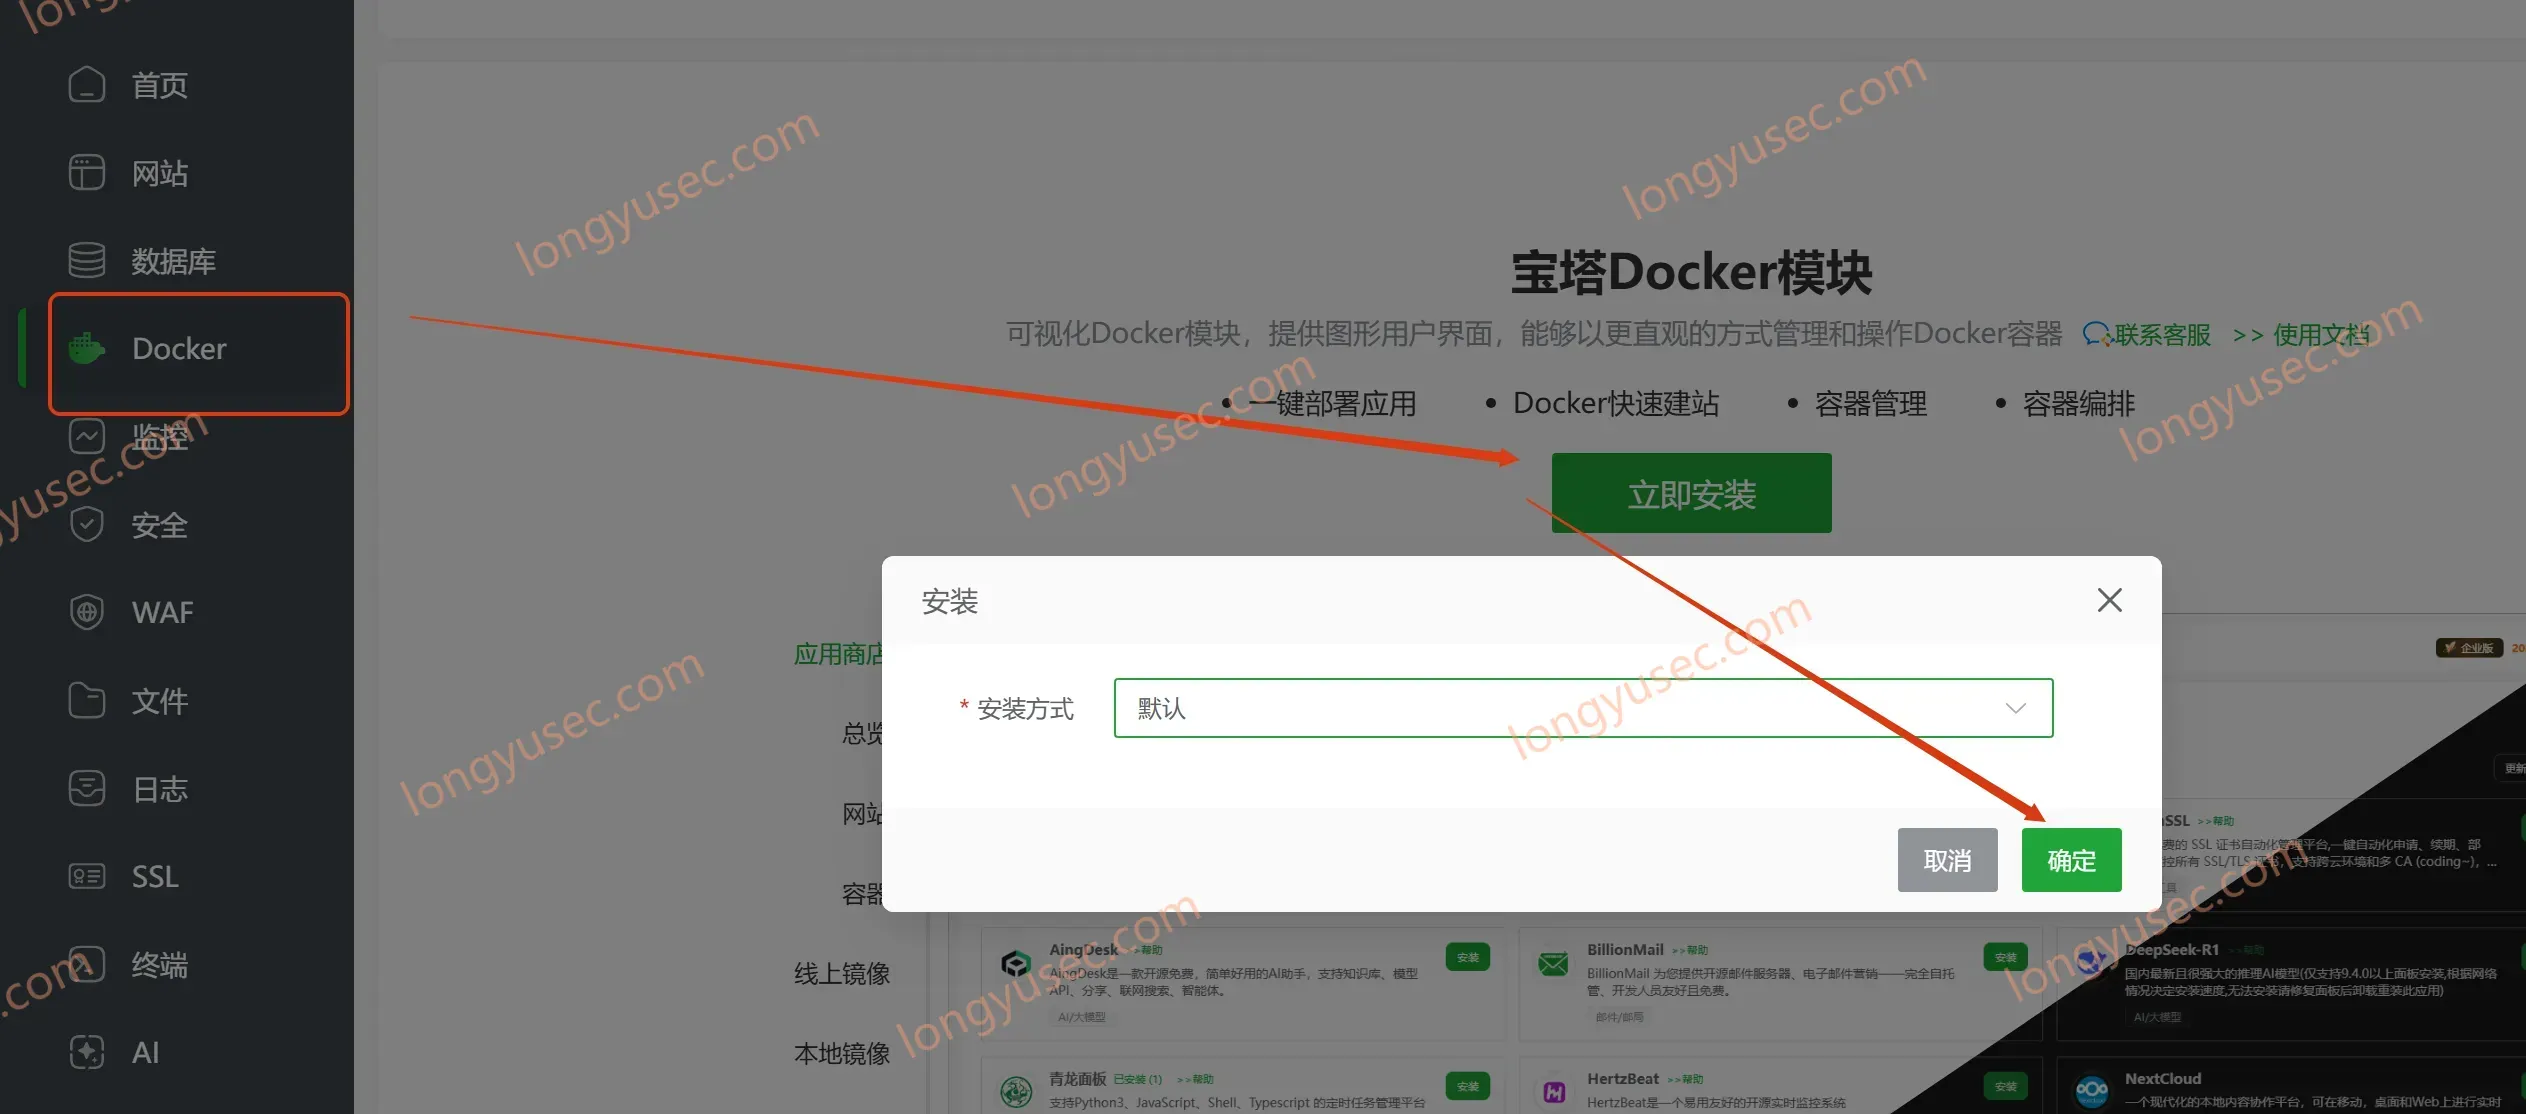
安装docker,这里的docker自带源,可以不用配置安装源,一个脚本直接给你安装好
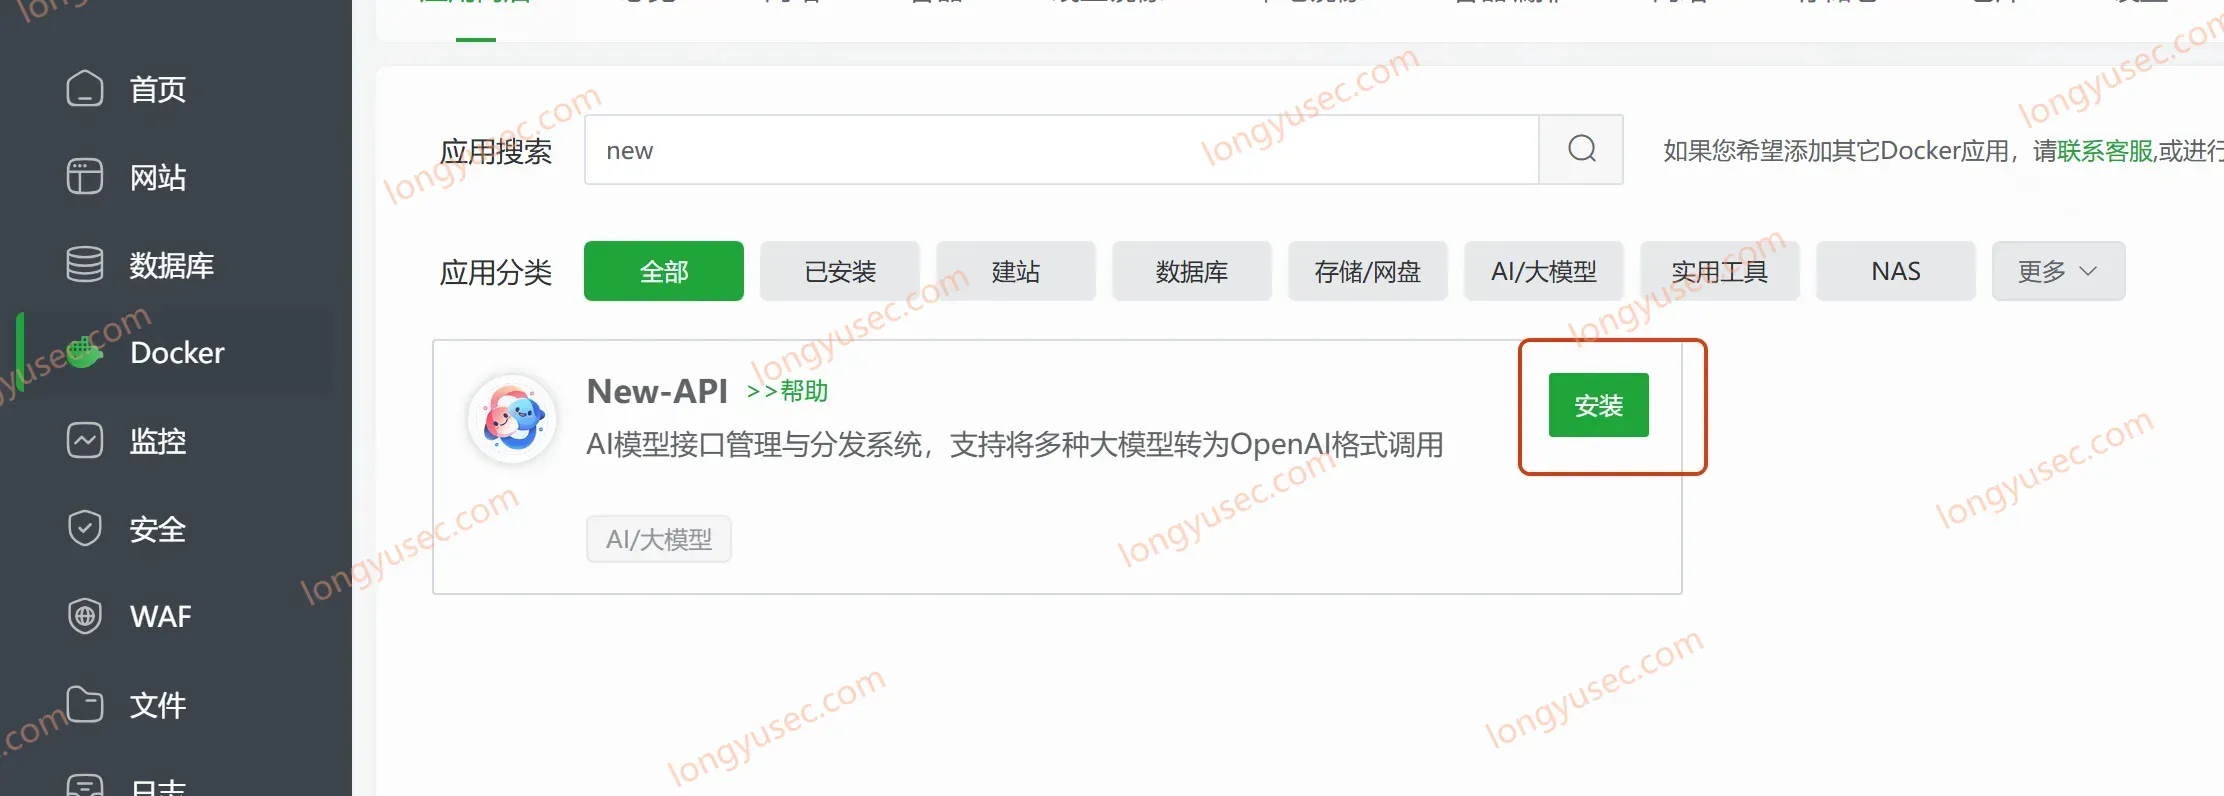
安装完成后,搜索new API,点击安装
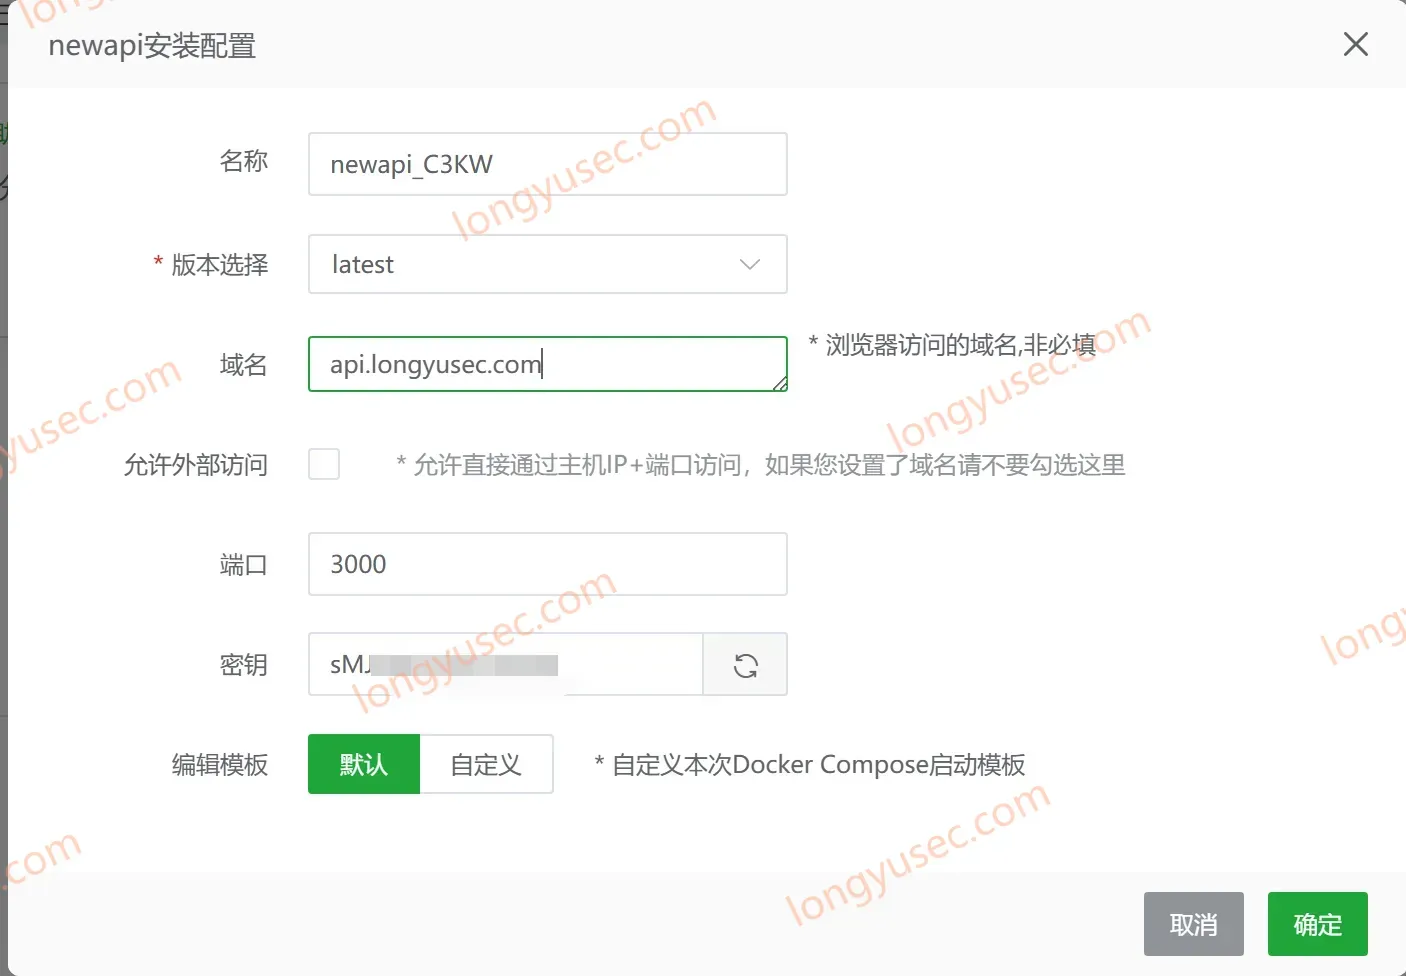
设置域名访问
保存后,就可以访问此域名了,根据步骤来
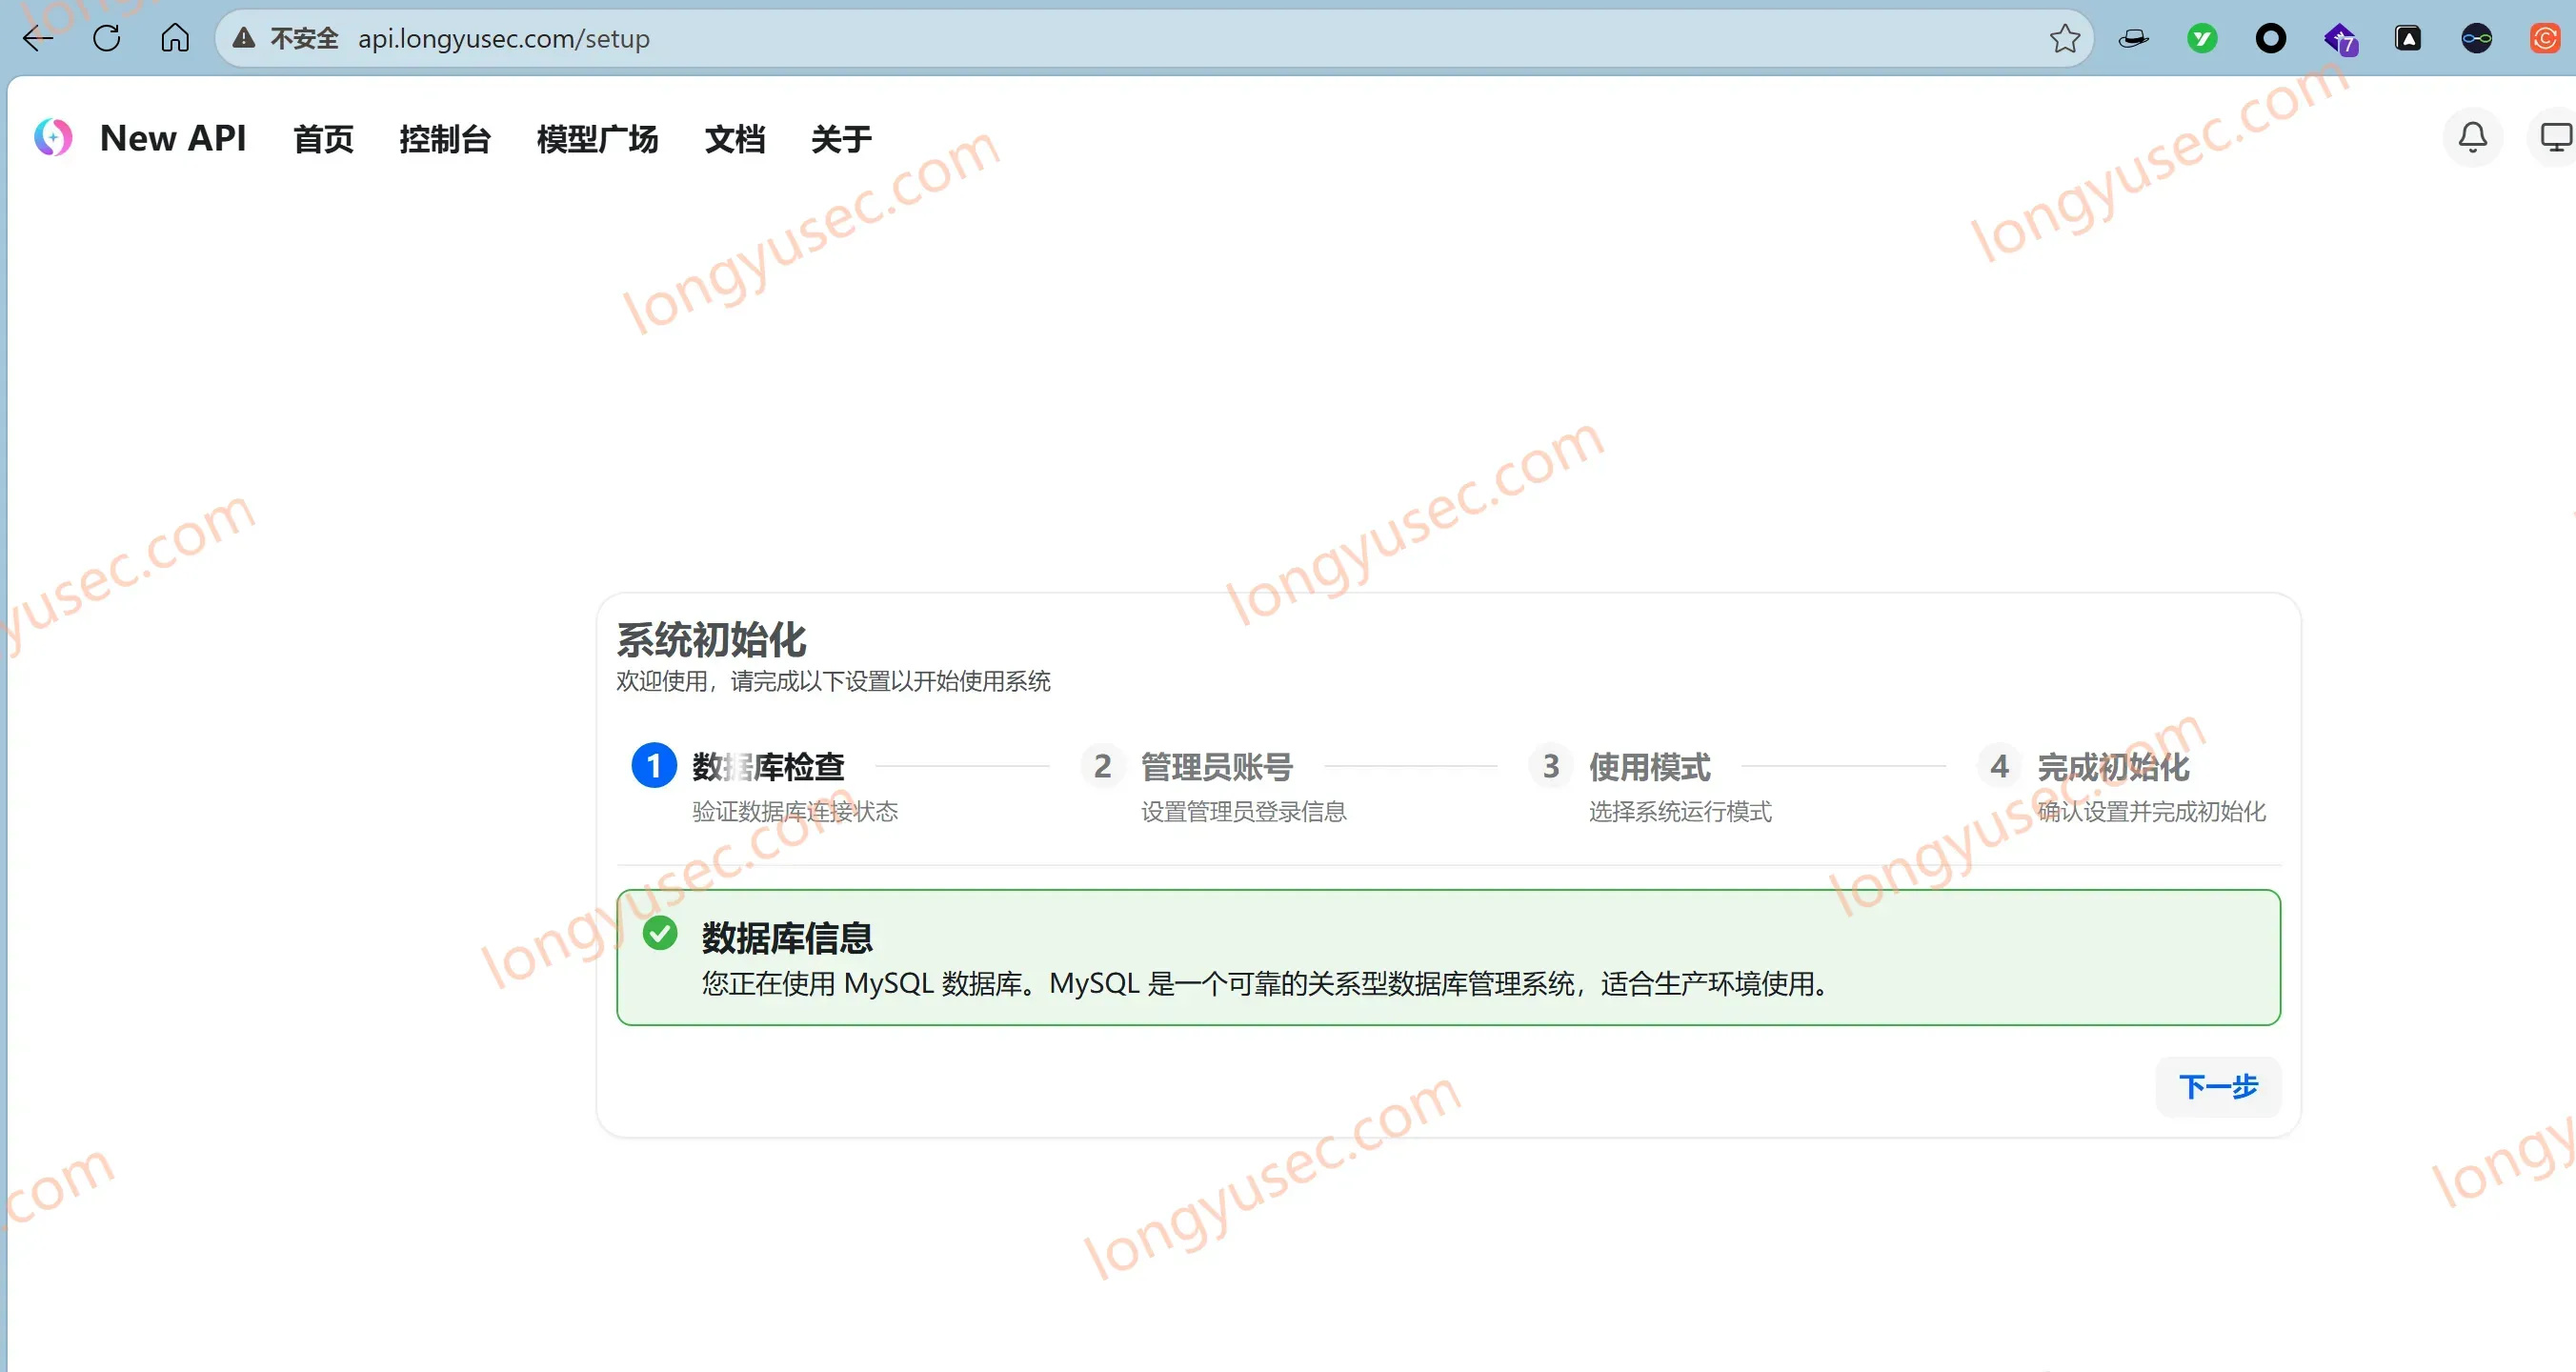
按需来
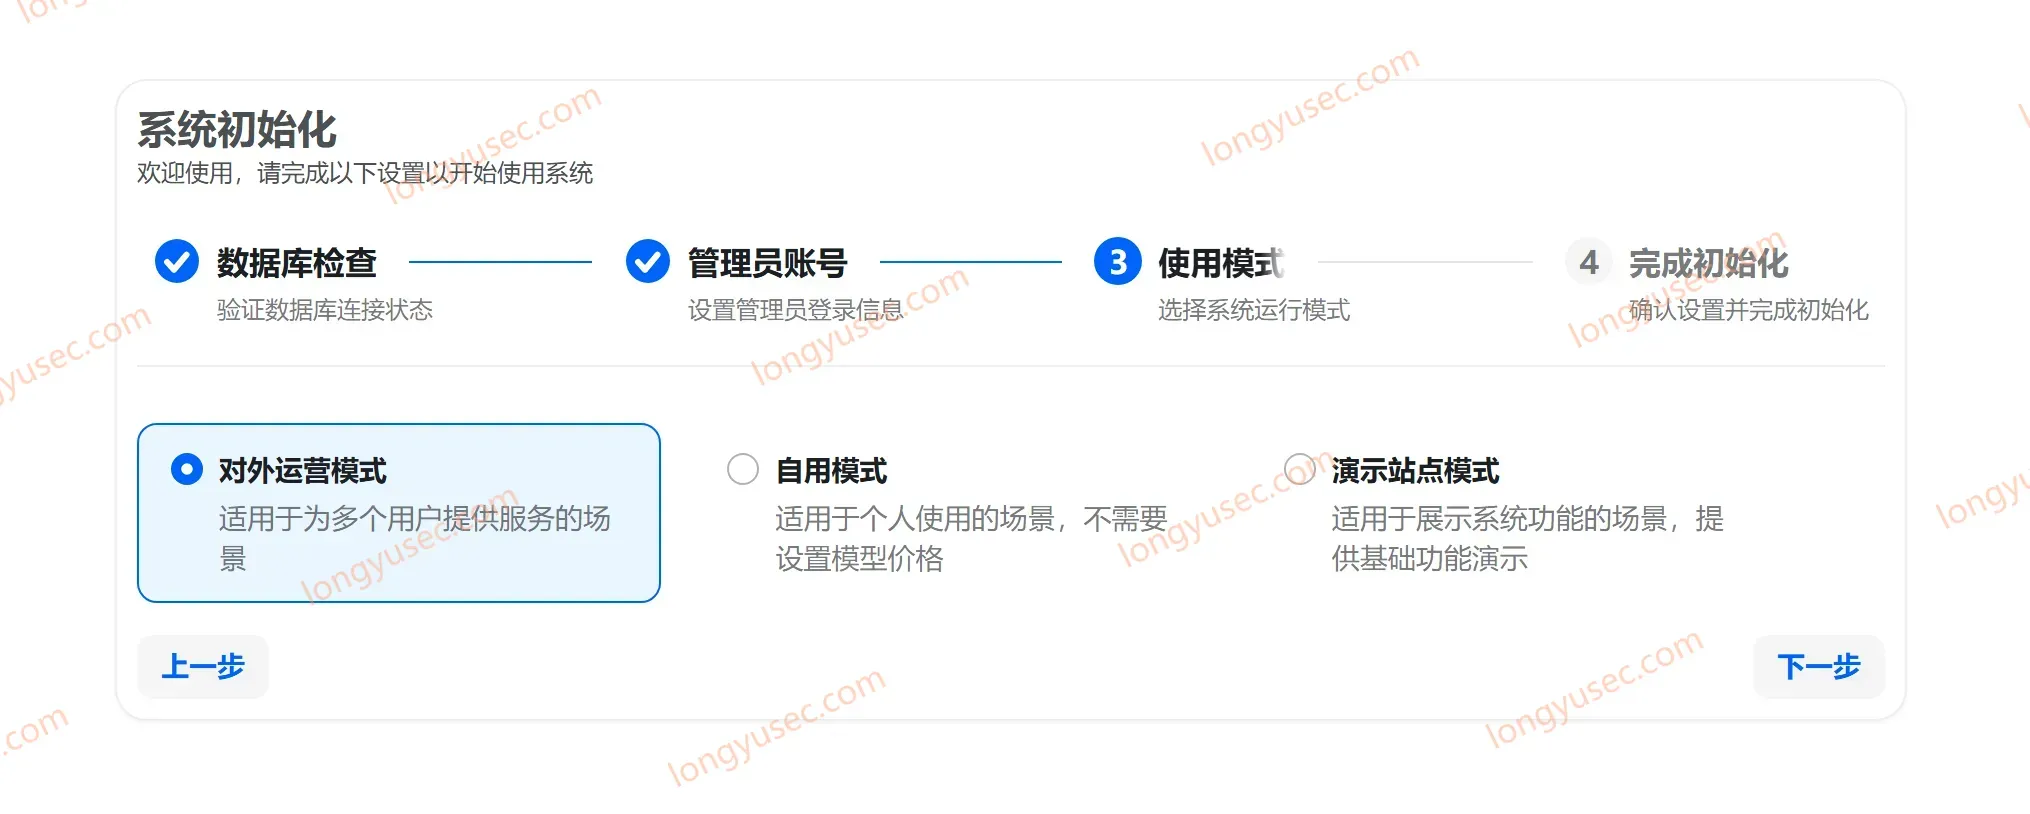
到此就安装成功了
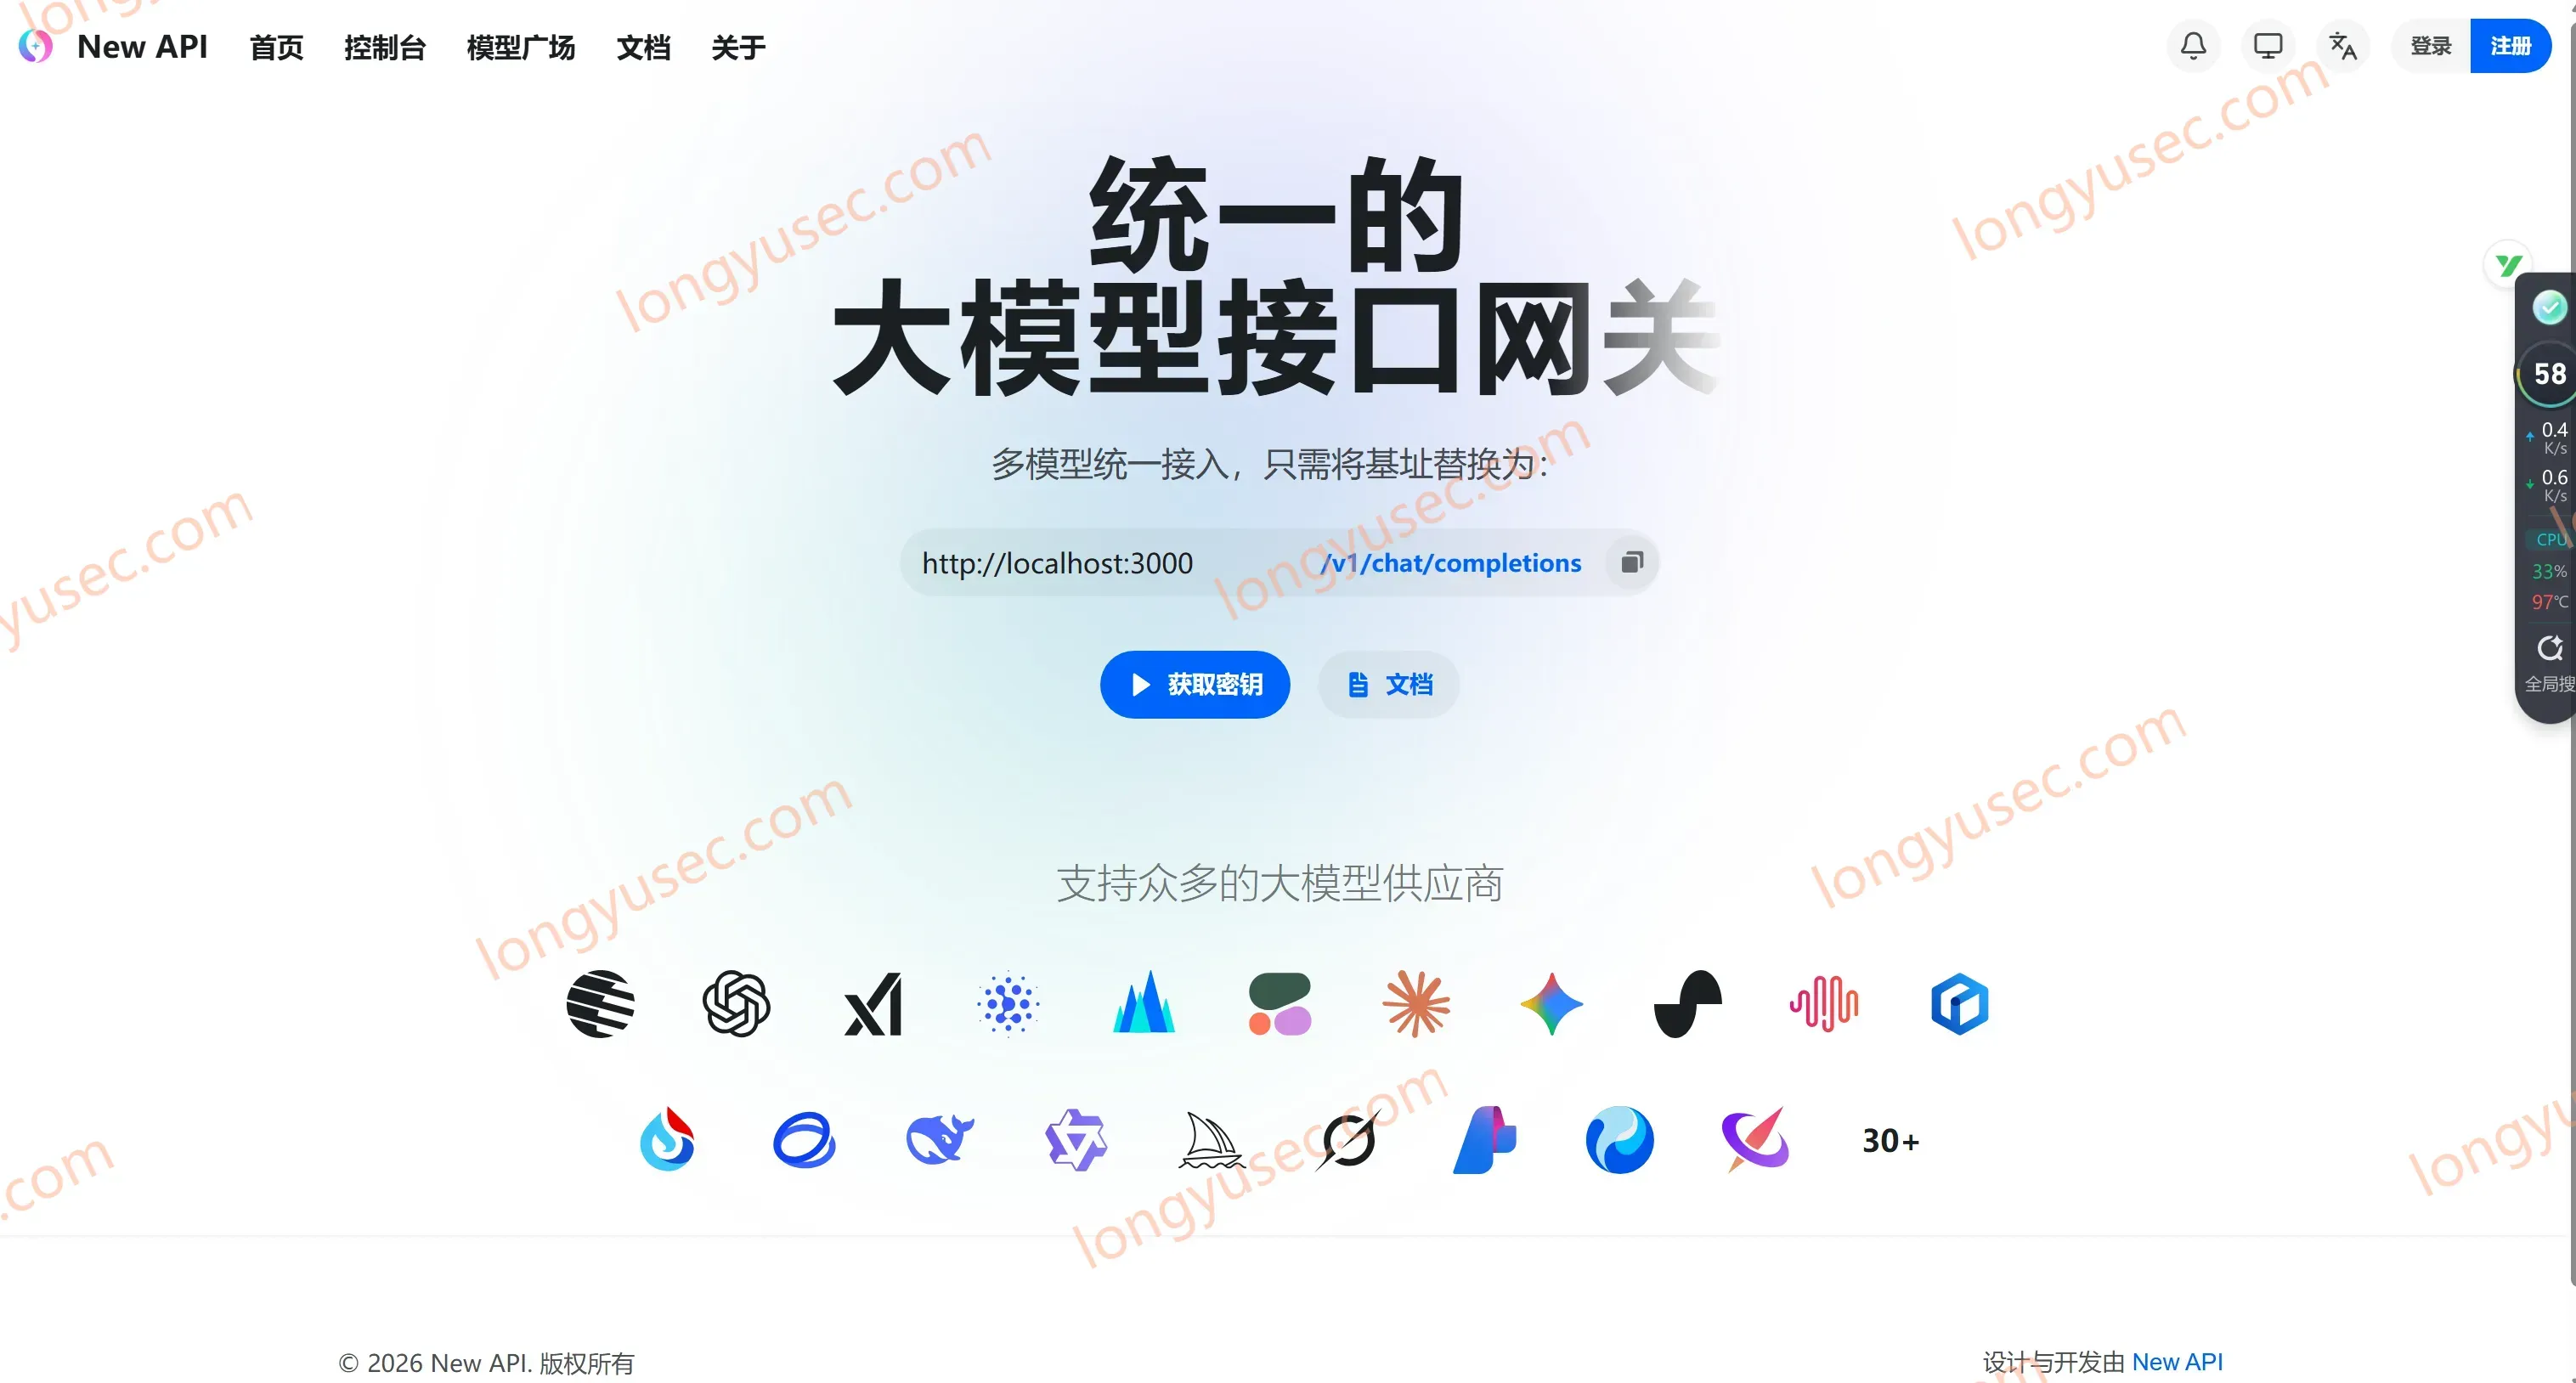
获取渠道API
这里拿deepseek官方来举例,去deepseek官网配置一个官方的api
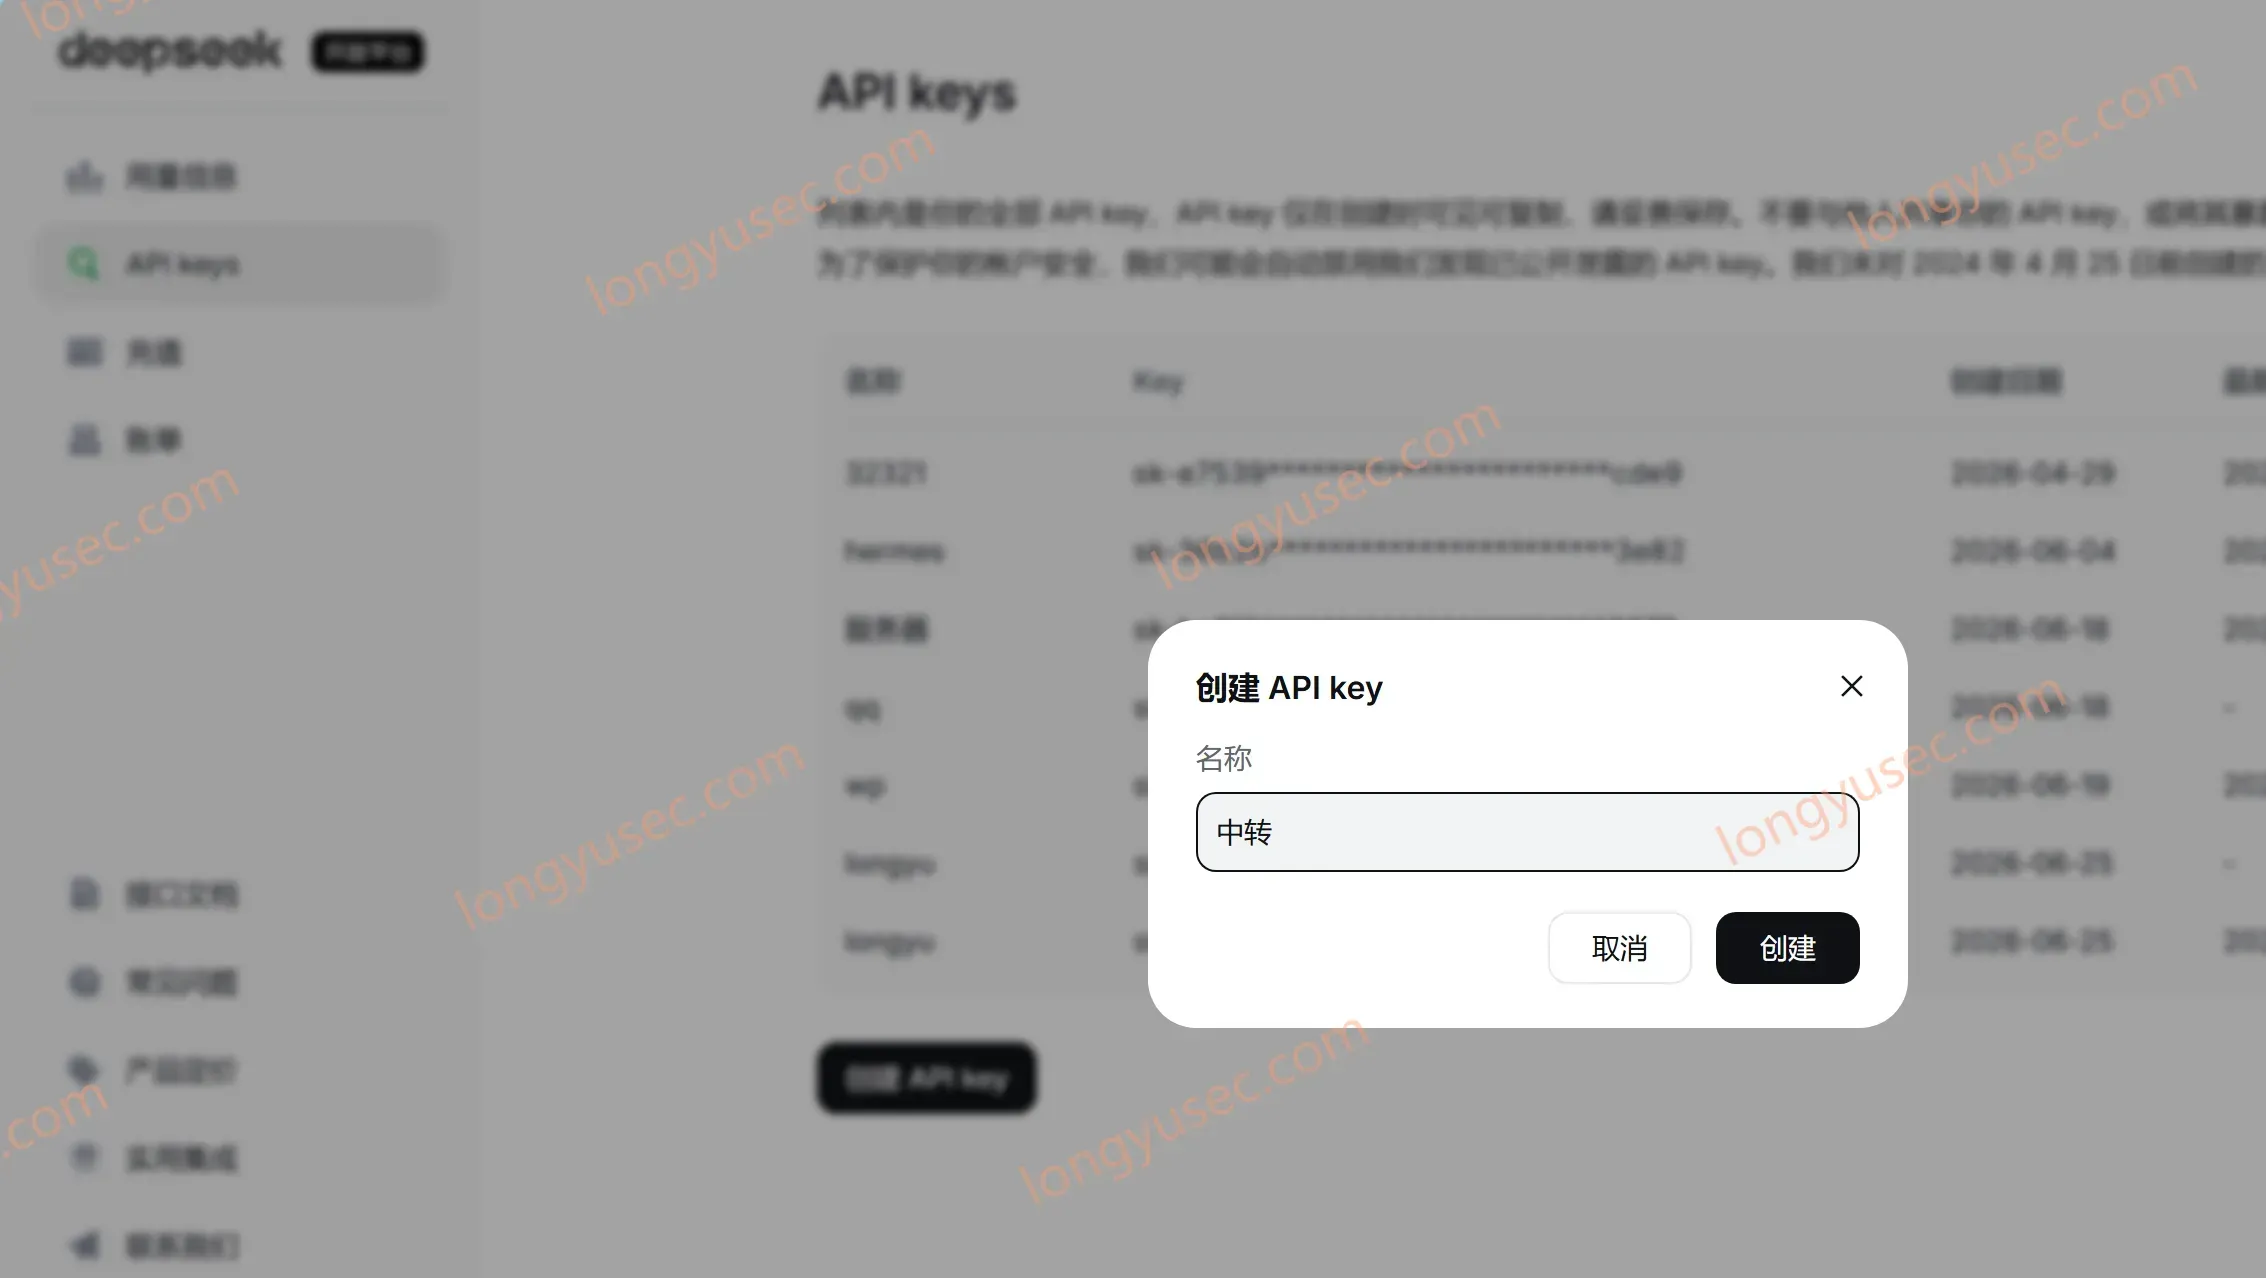
把api和apikey填入下面并提交
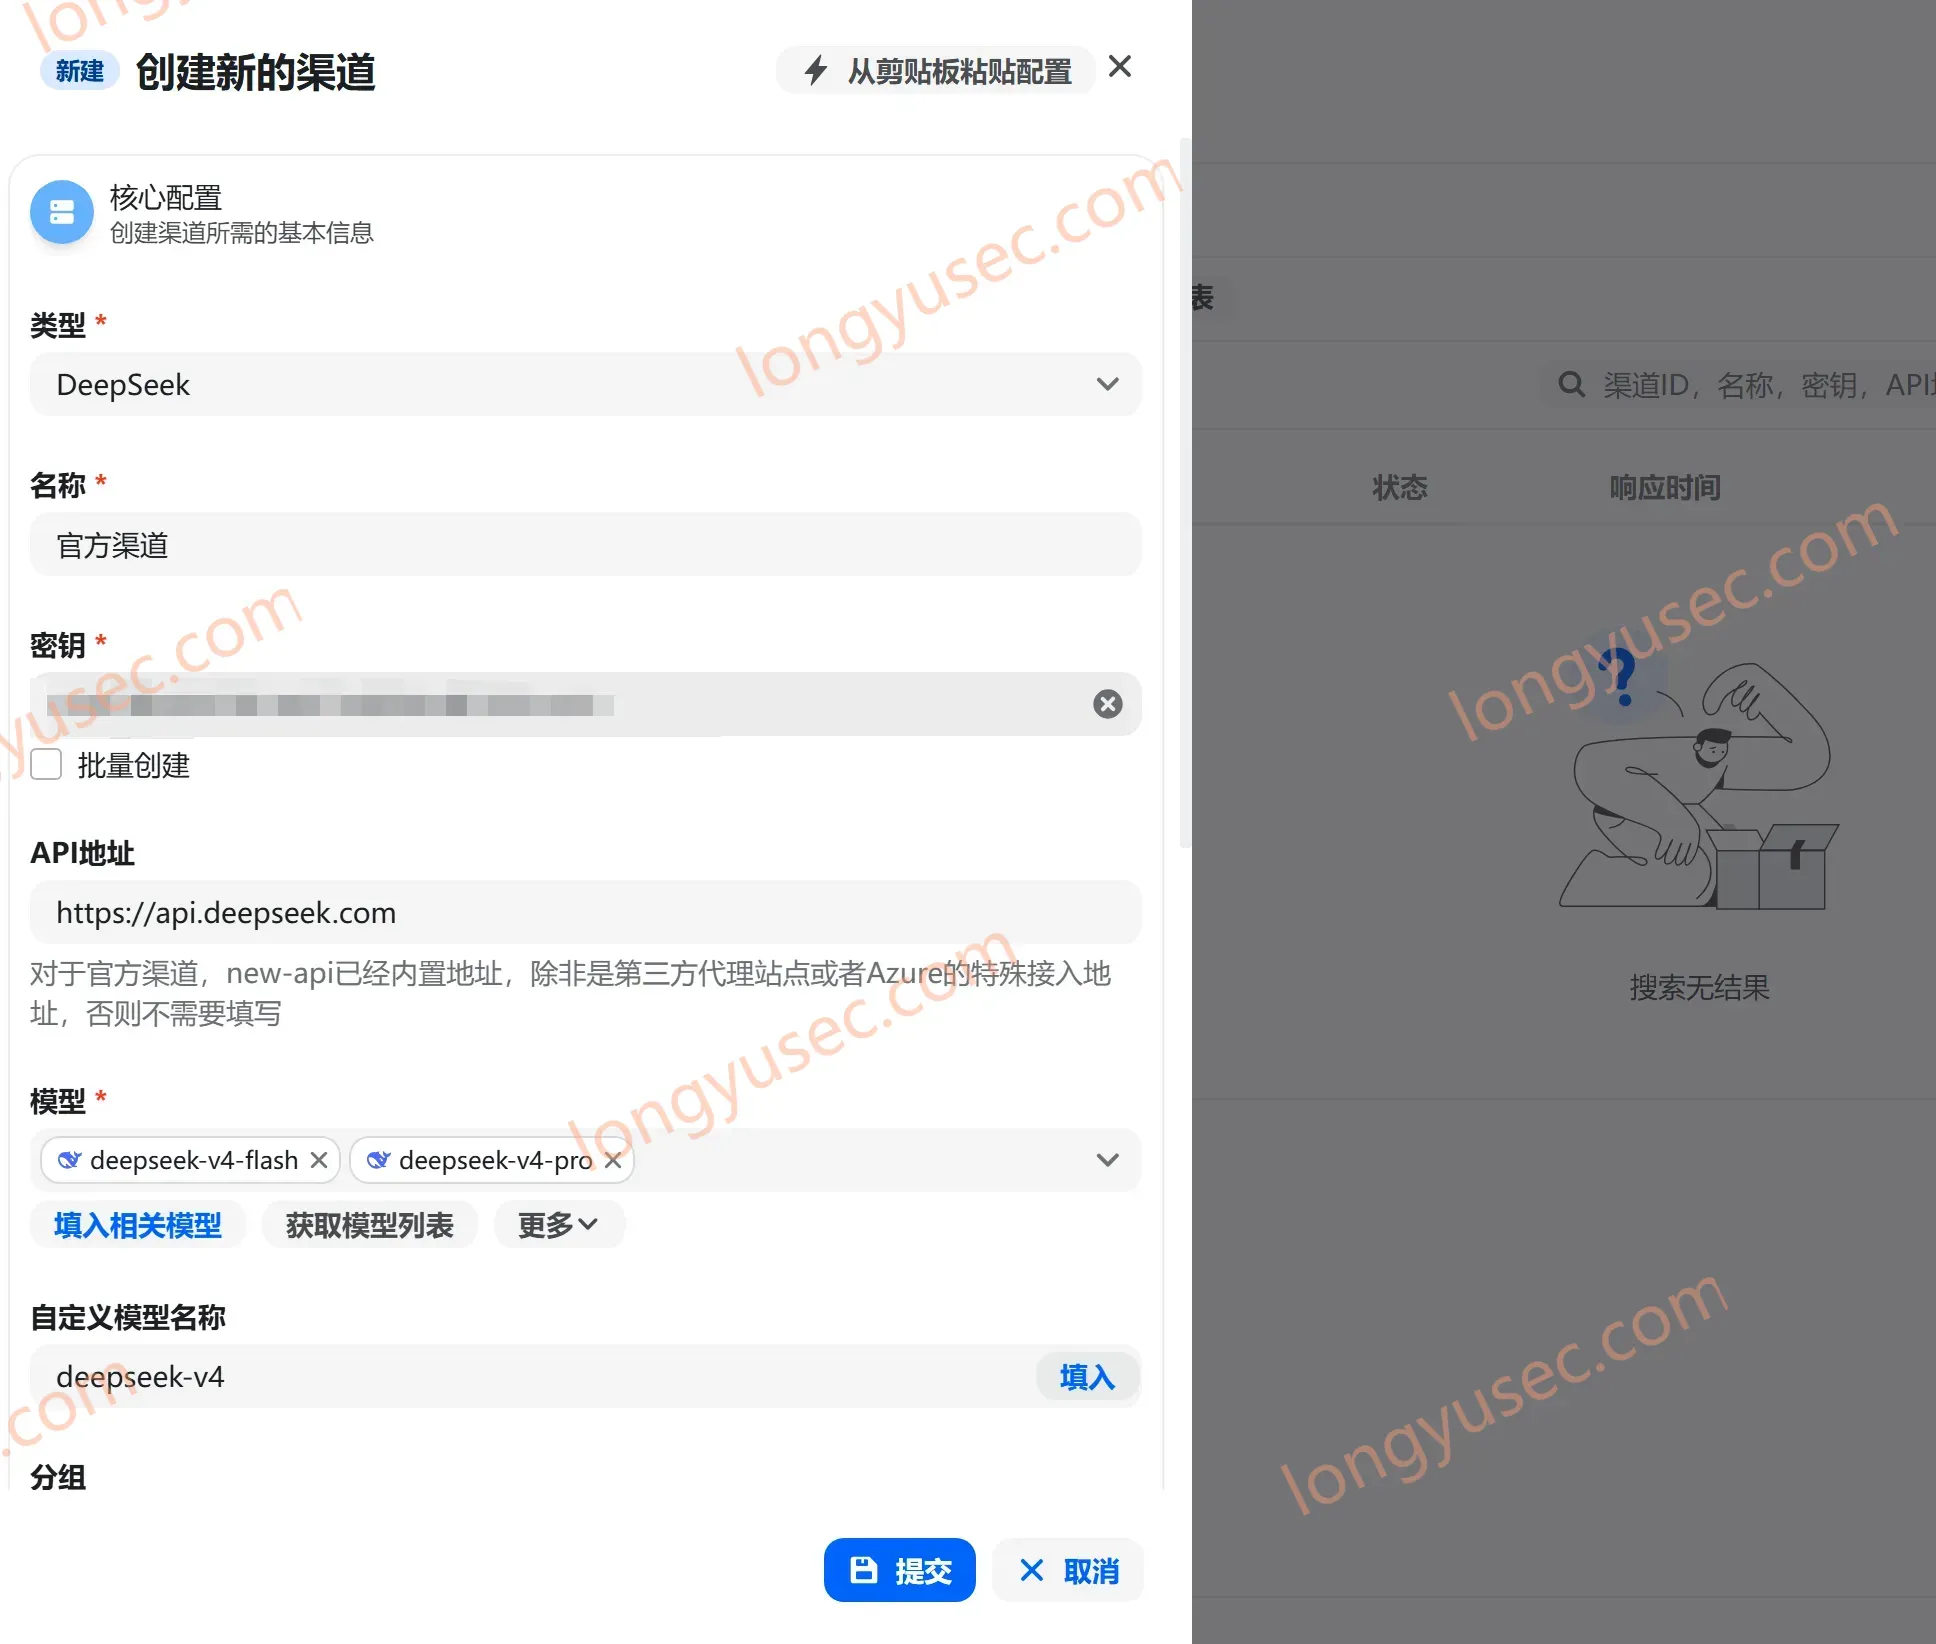
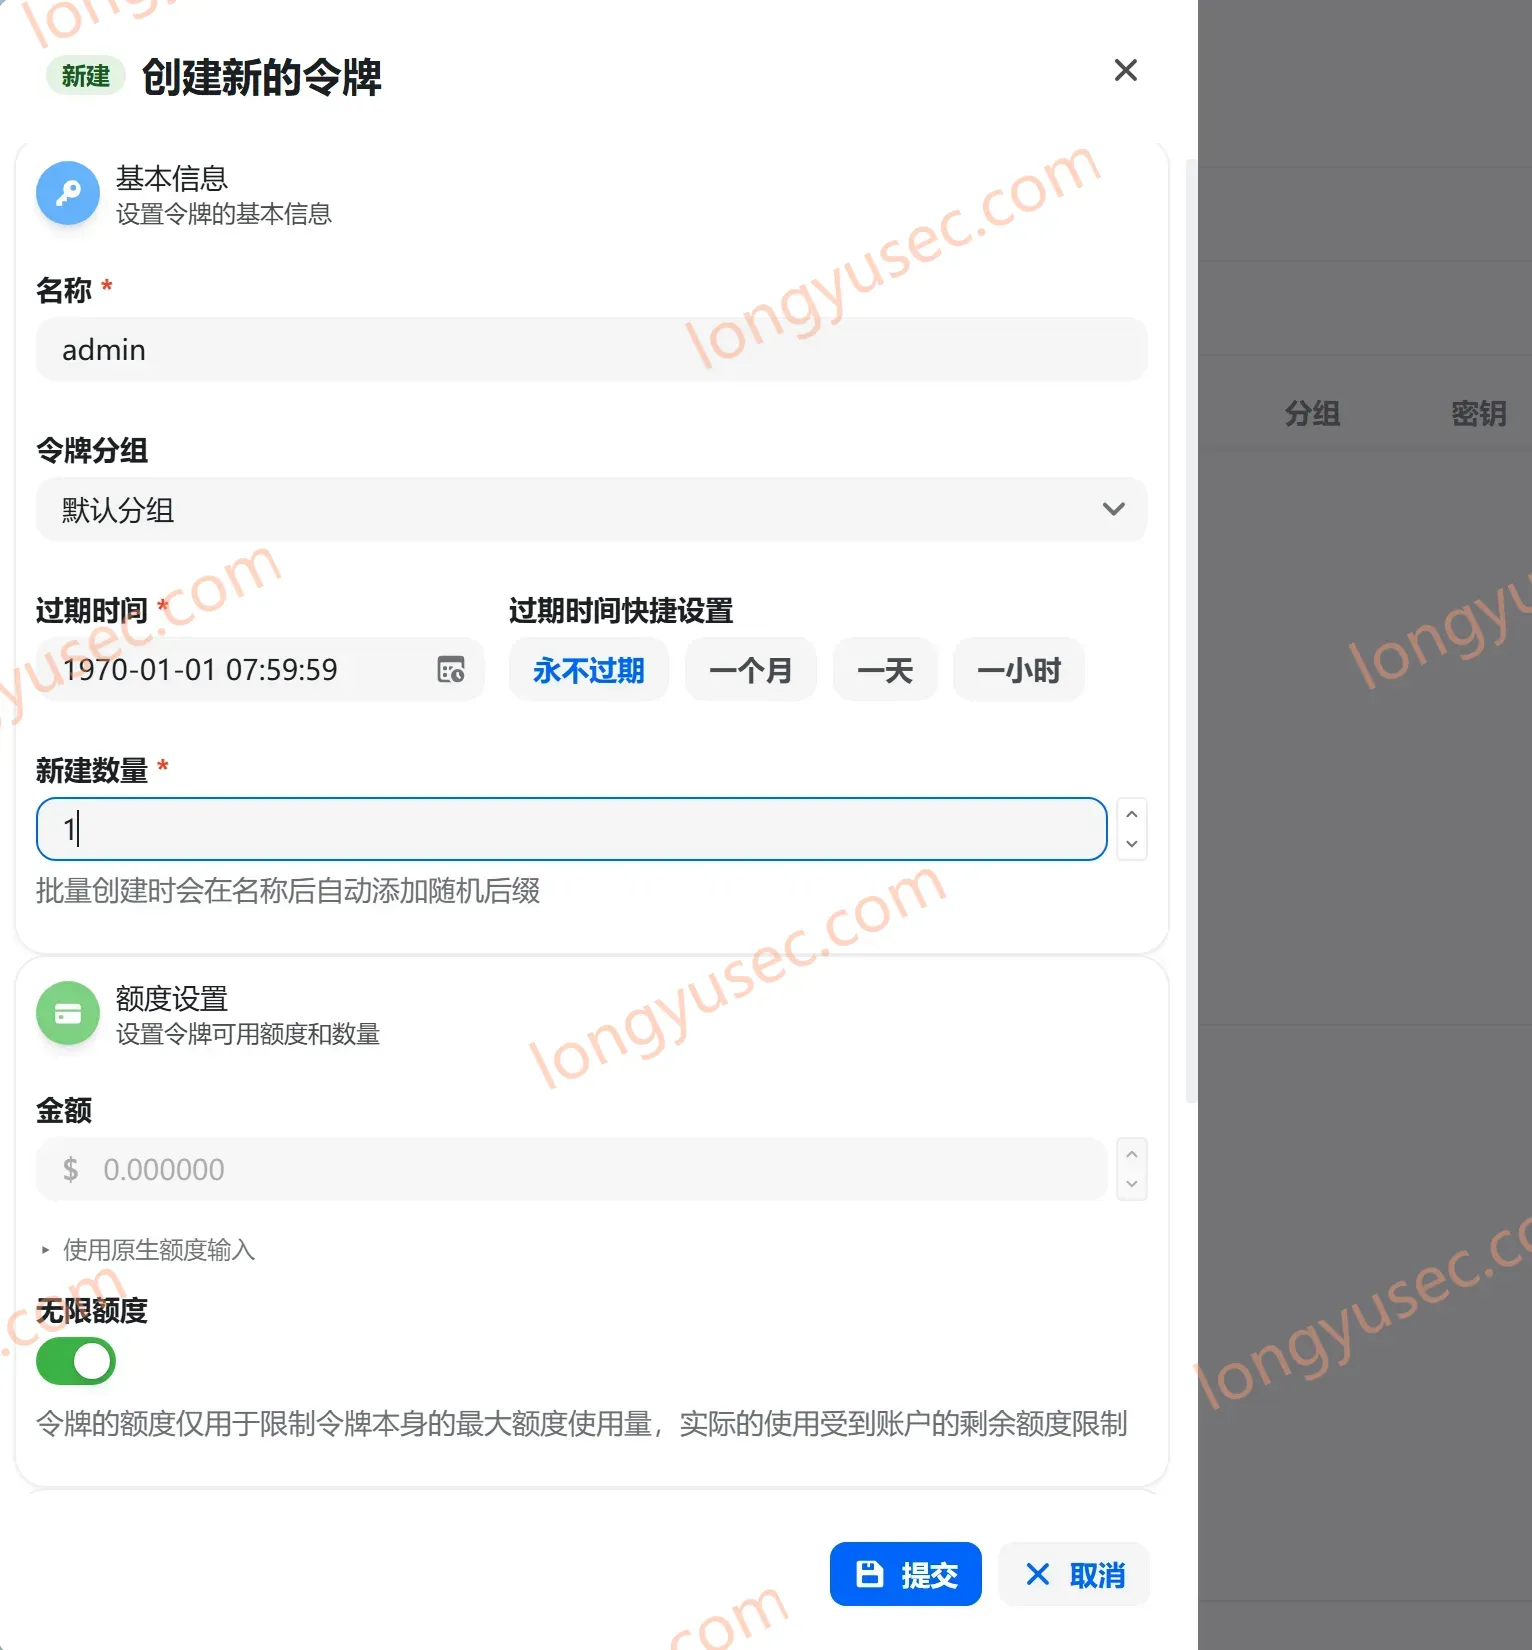
在令牌管理界面中创建令牌
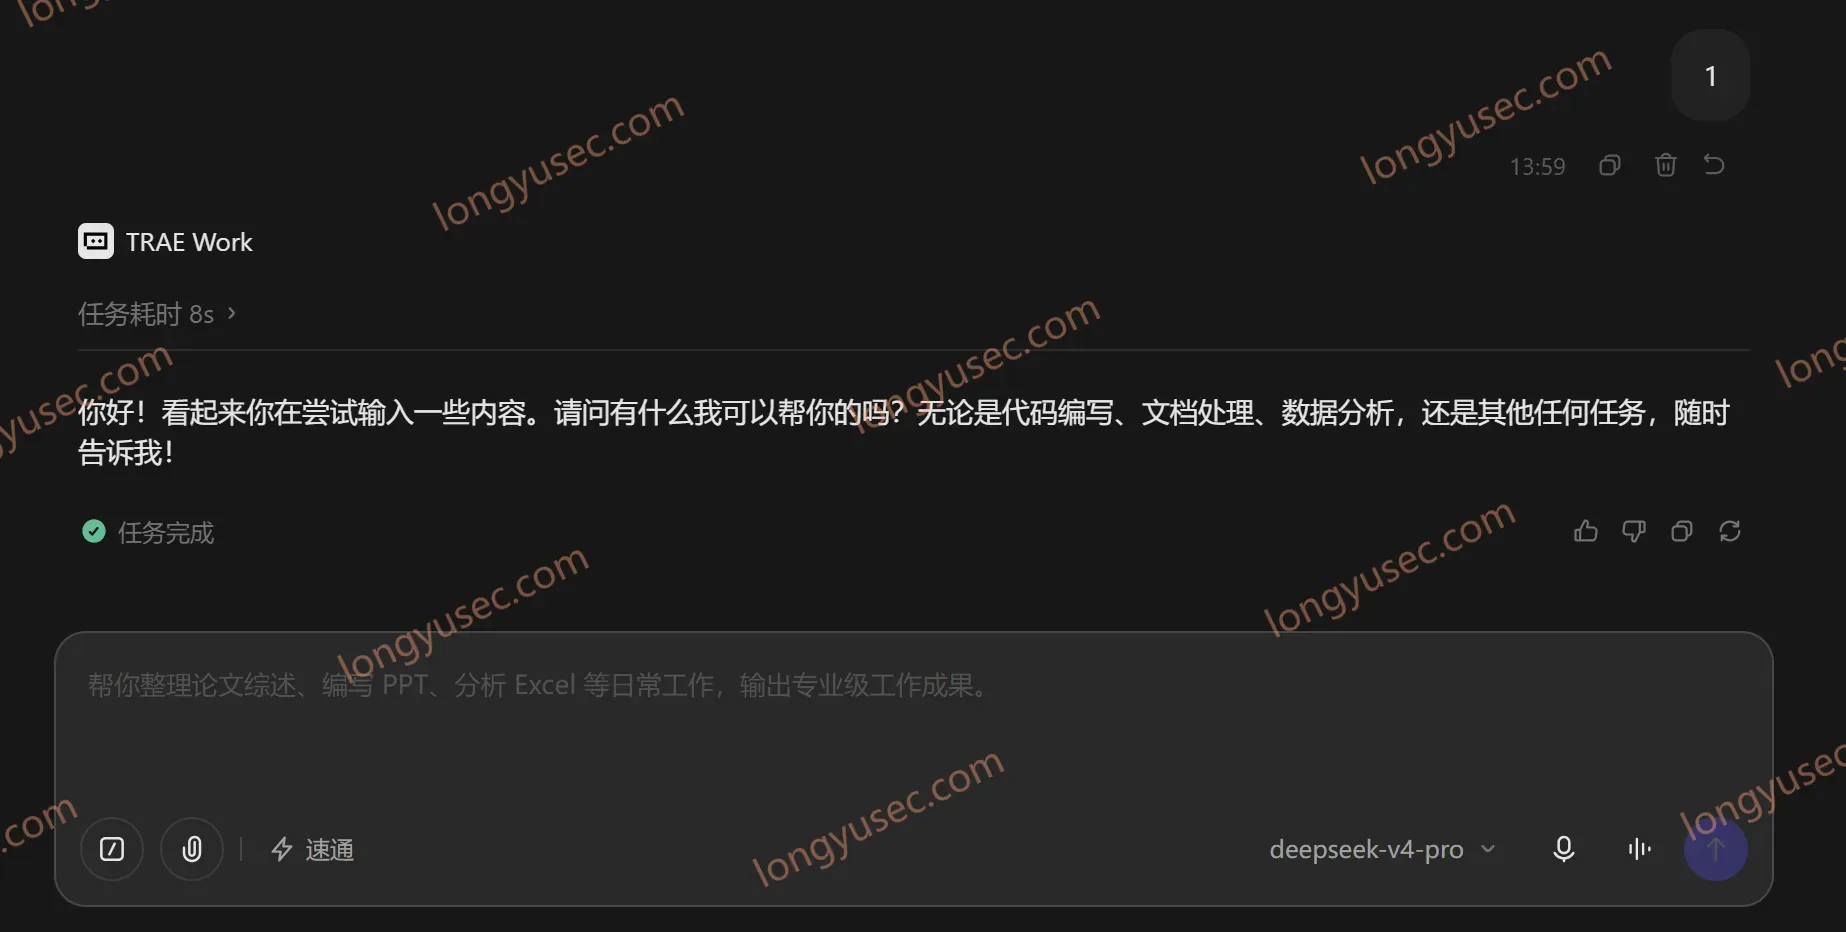
添加成功后如何调用?配置参考
http://api.longyusec.com/v1/chat/completions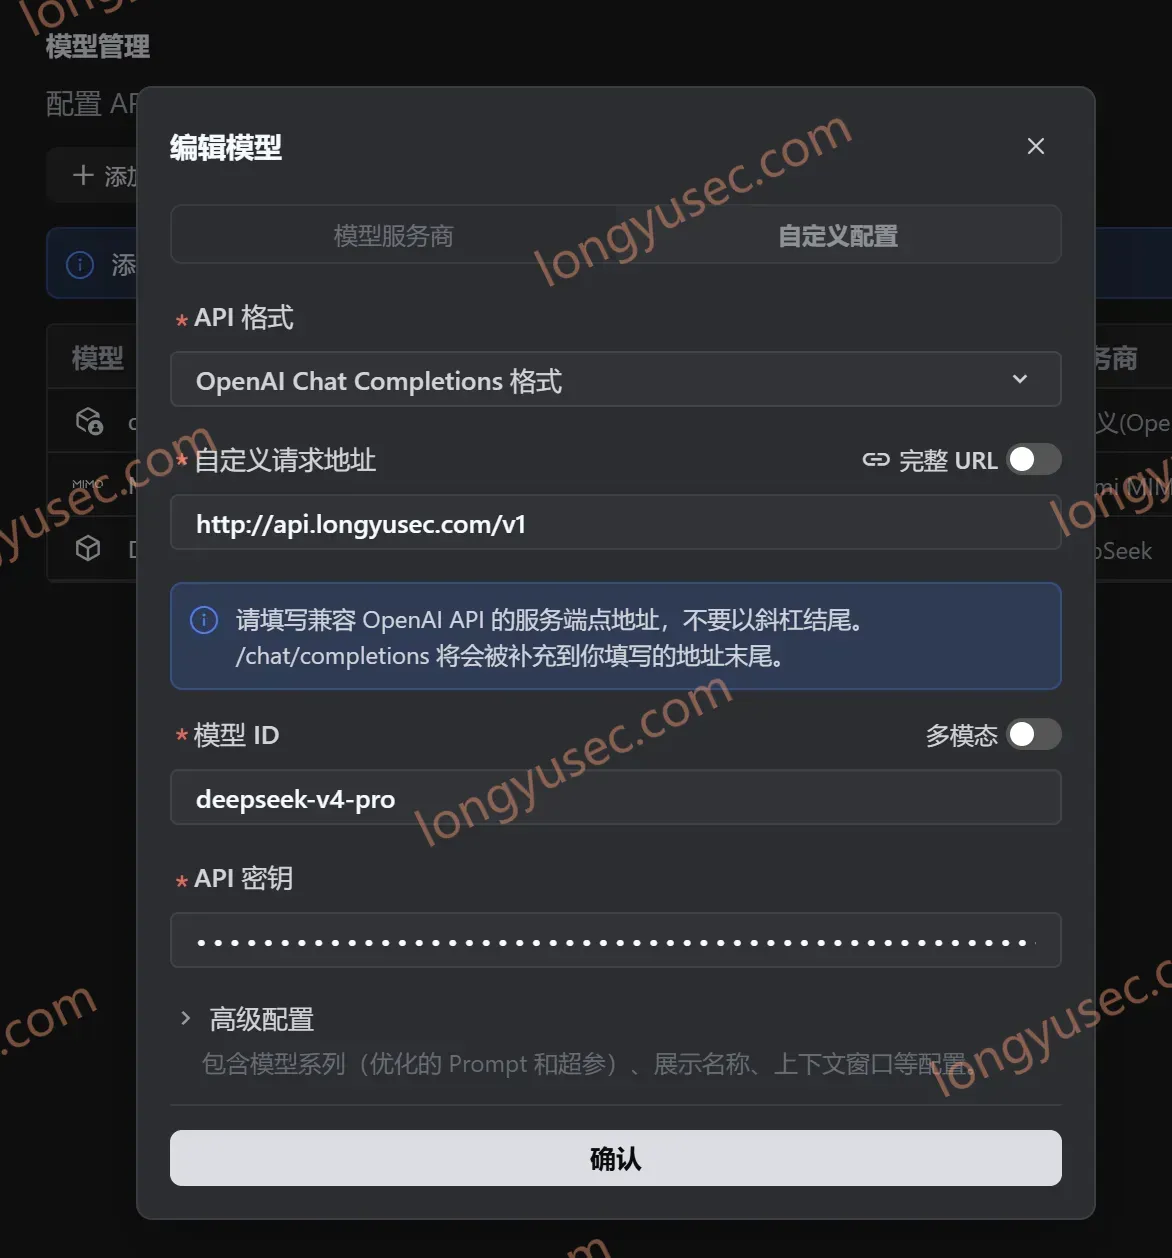
python代码参考
import requests
import urllib3
urllib3.disable_warnings()

url = "http://api.longyusec.com/v1/chat/completions"
headers = {
    "Authorization": "Bearer sk-xxxxxxxxxxxx",
    "Content-Type": "application/json"
}
data = {
    "model": "deepseek-v4-pro",
    "messages": [
        {"role": "user", "content": "你好,介绍一下你自己"}
    ],
    "stream": False
}

response = requests.post(url, headers=headers, json=data)
print("状态码:", response.status_code)
print("回复:", response.json()["choices"][0]["message"]["content"])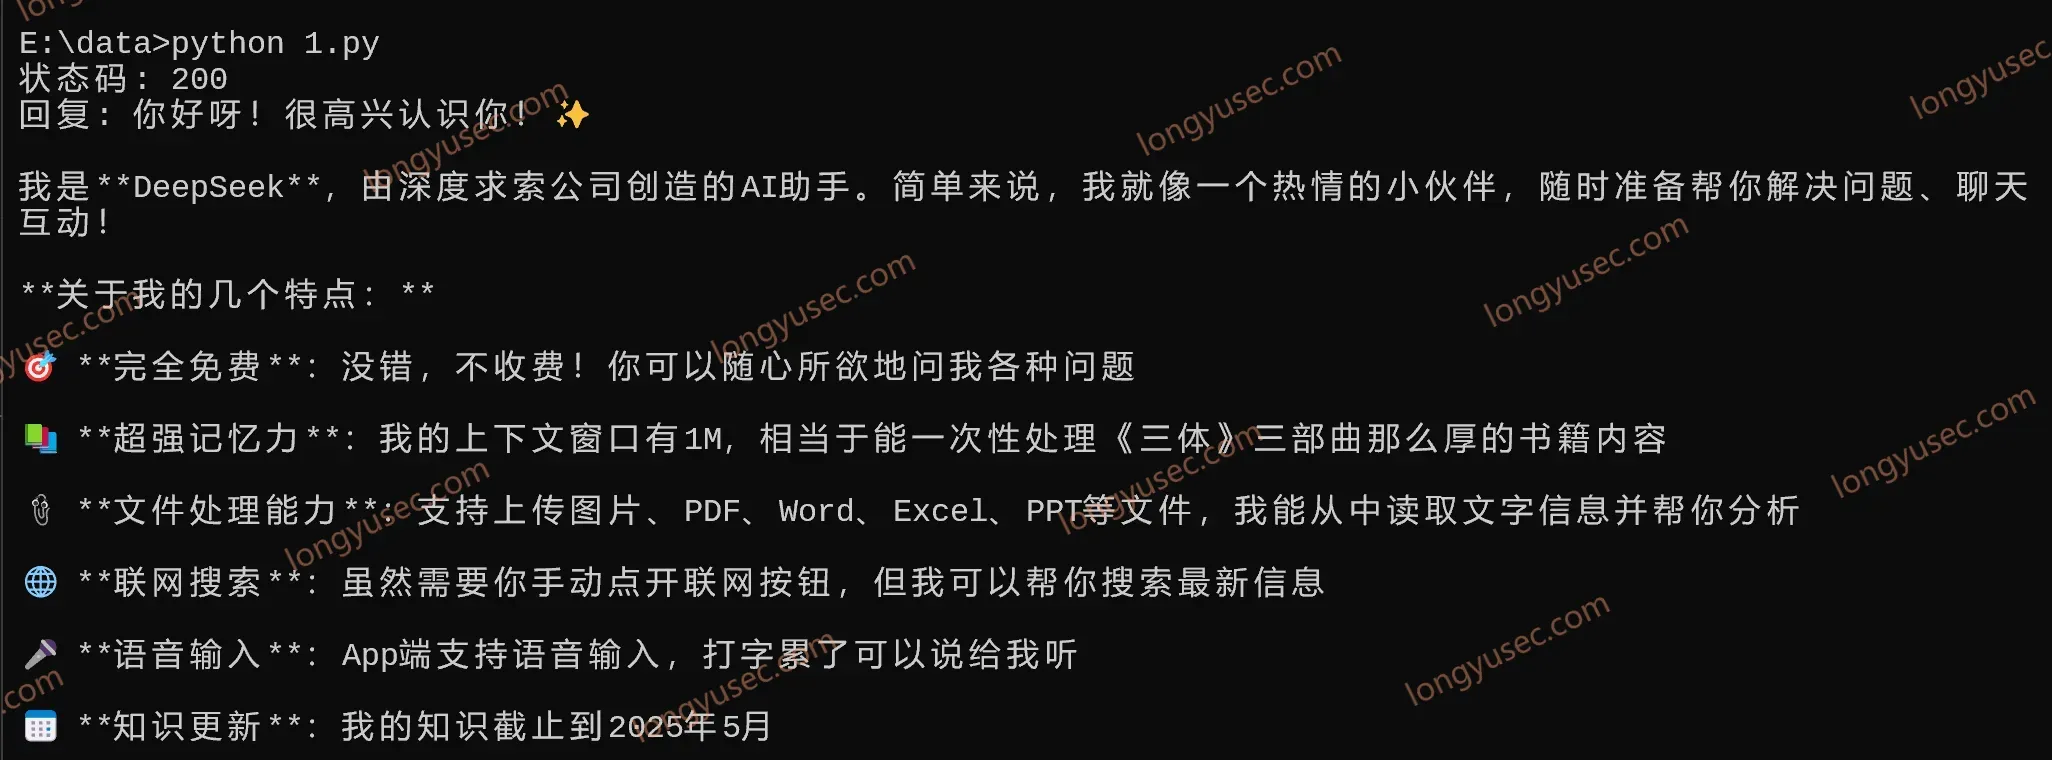
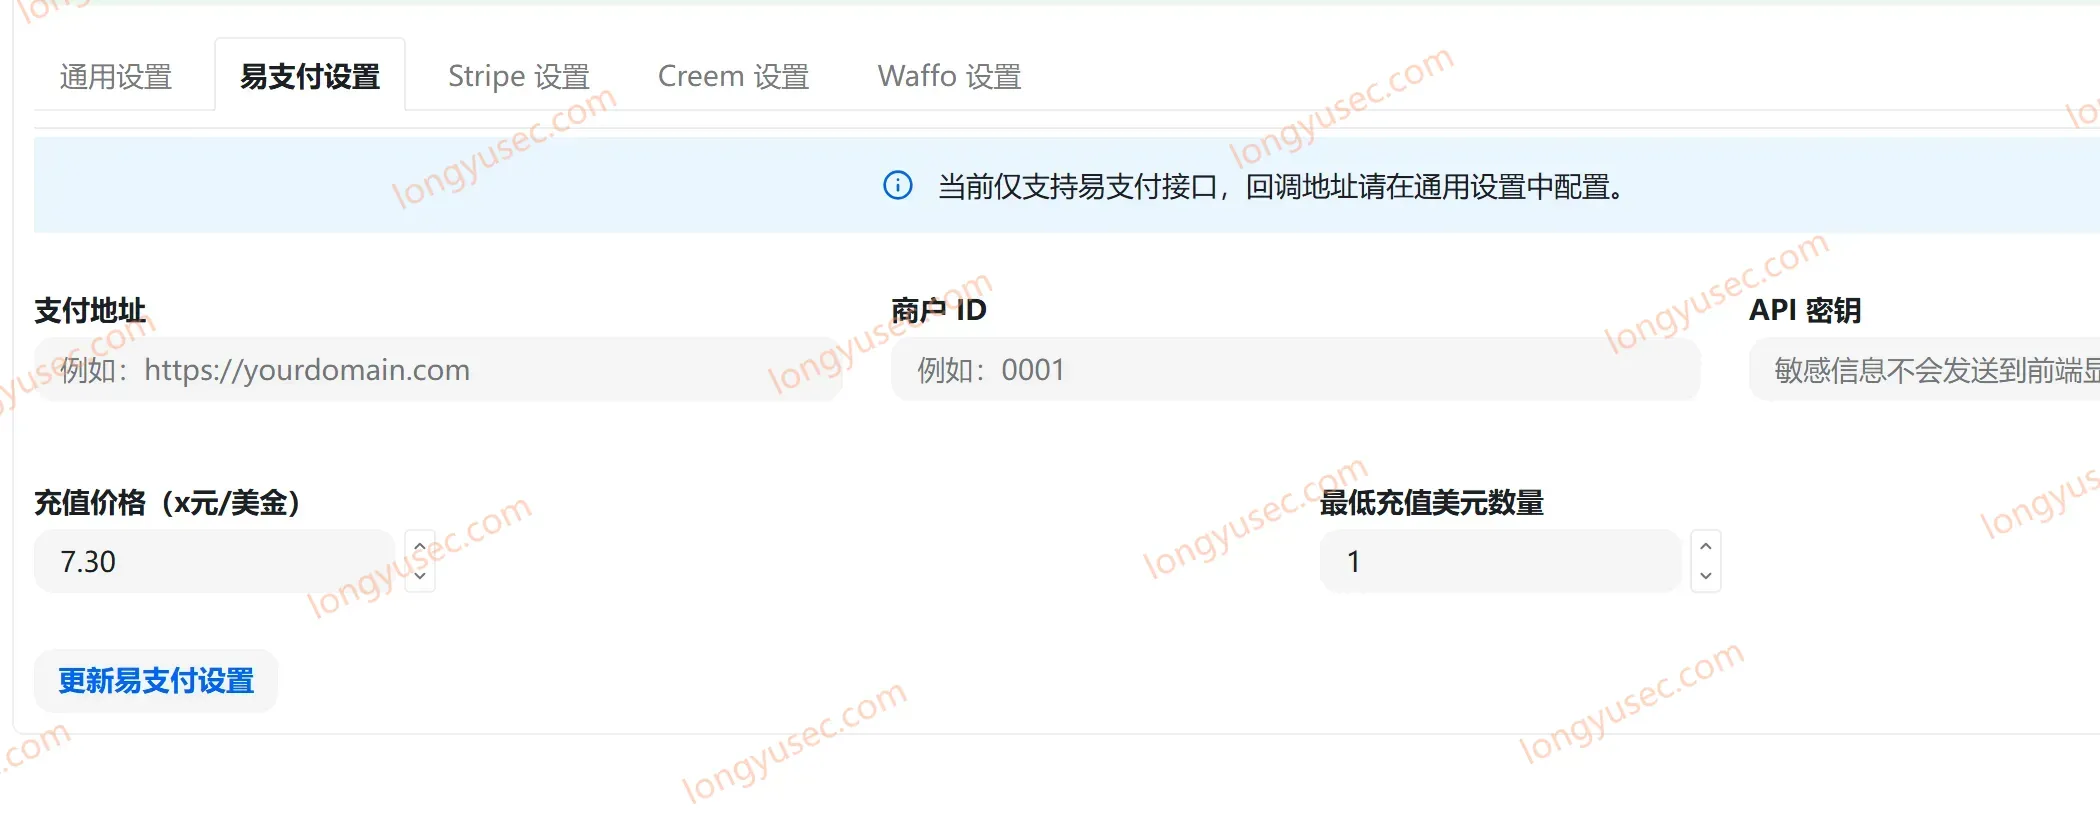
关于客户端的支付可以配置易支付,对接支付宝和微信,这里就不教了
https://www.boheidc.cn/aff/QOWYLYCV
常见问题
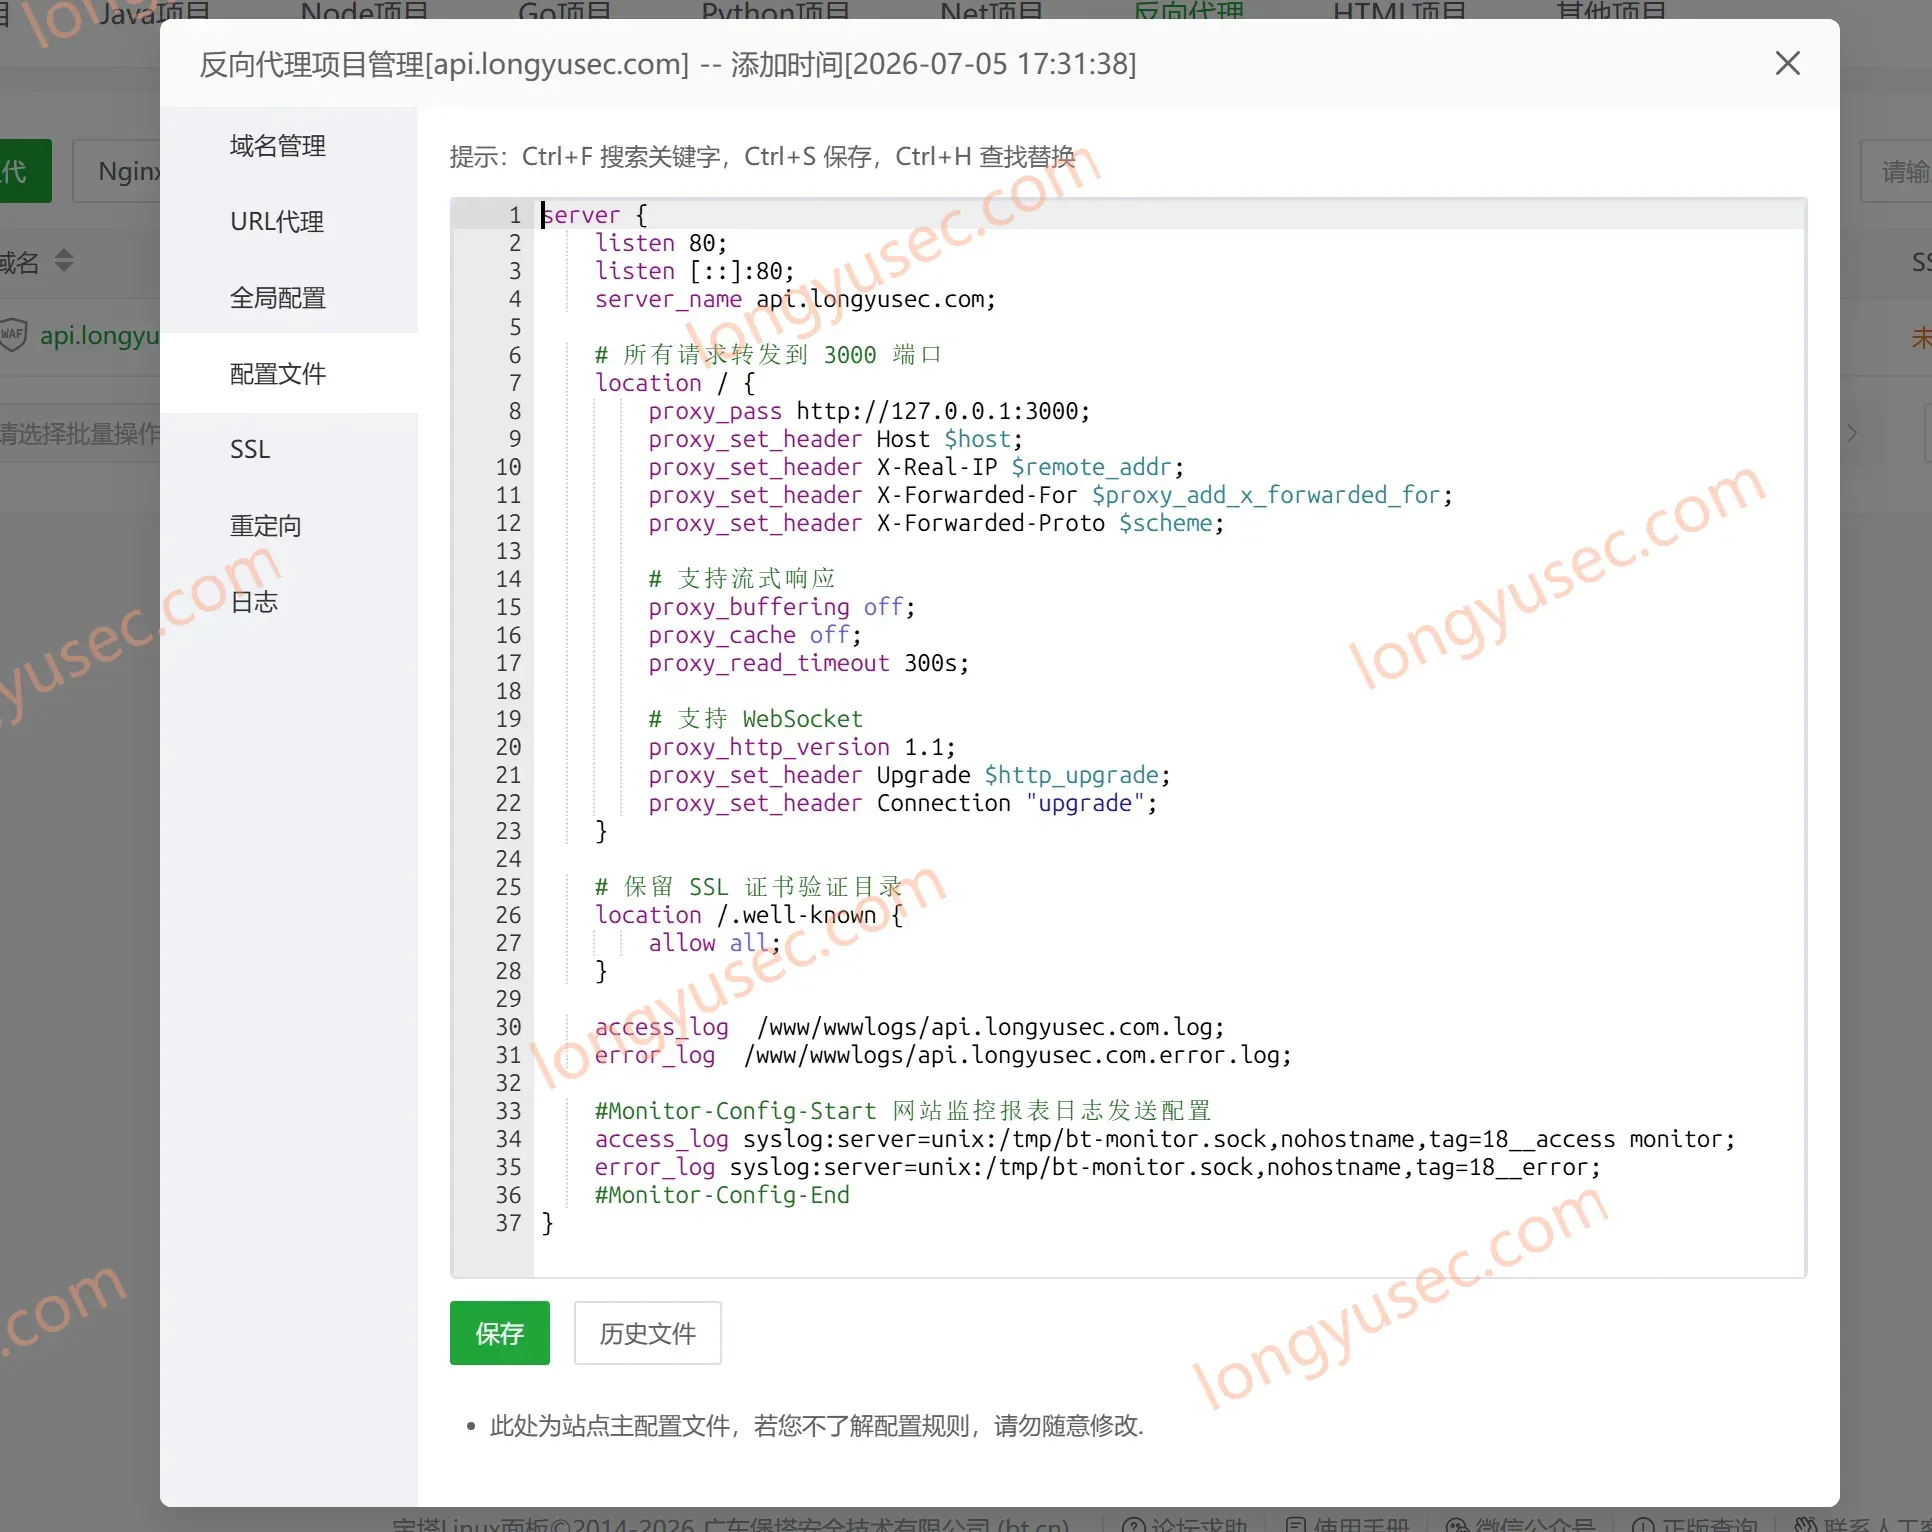
nginx配置错误,默认的nginx配置是通过域名无法调用的,上面忘记讲了,补充一下,下面是我nginx配置参考
server {
    listen 80;
    listen [::]:80;
    server_name api.longyusec.com;

    # 所有请求转发到 3000 端口
    location / {
        proxy_pass http://127.0.0.1:3000;
        proxy_set_header Host $host;
        proxy_set_header X-Real-IP $remote_addr;
        proxy_set_header X-Forwarded-For $proxy_add_x_forwarded_for;
        proxy_set_header X-Forwarded-Proto $scheme;

        # 支持流式响应
        proxy_buffering off;
        proxy_cache off;
        proxy_read_timeout 300s;

        # 支持 WebSocket
        proxy_http_version 1.1;
        proxy_set_header Upgrade $http_upgrade;
        proxy_set_header Connection "upgrade";
    }

    # 保留 SSL 证书验证目录
    location /.well-known {
        allow all;
    }

    access_log  /www/wwwlogs/api.longyusec.com.log;
    error_log  /www/wwwlogs/api.longyusec.com.error.log;

    #Monitor-Config-Start 网站监控报表日志发送配置
    access_log syslog:server=unix:/tmp/bt-monitor.sock,nohostname,tag=18__access monitor;
    error_log syslog:server=unix:/tmp/bt-monitor.sock,nohostname,tag=18__error;
    #Monitor-Config-End
}
配置过程
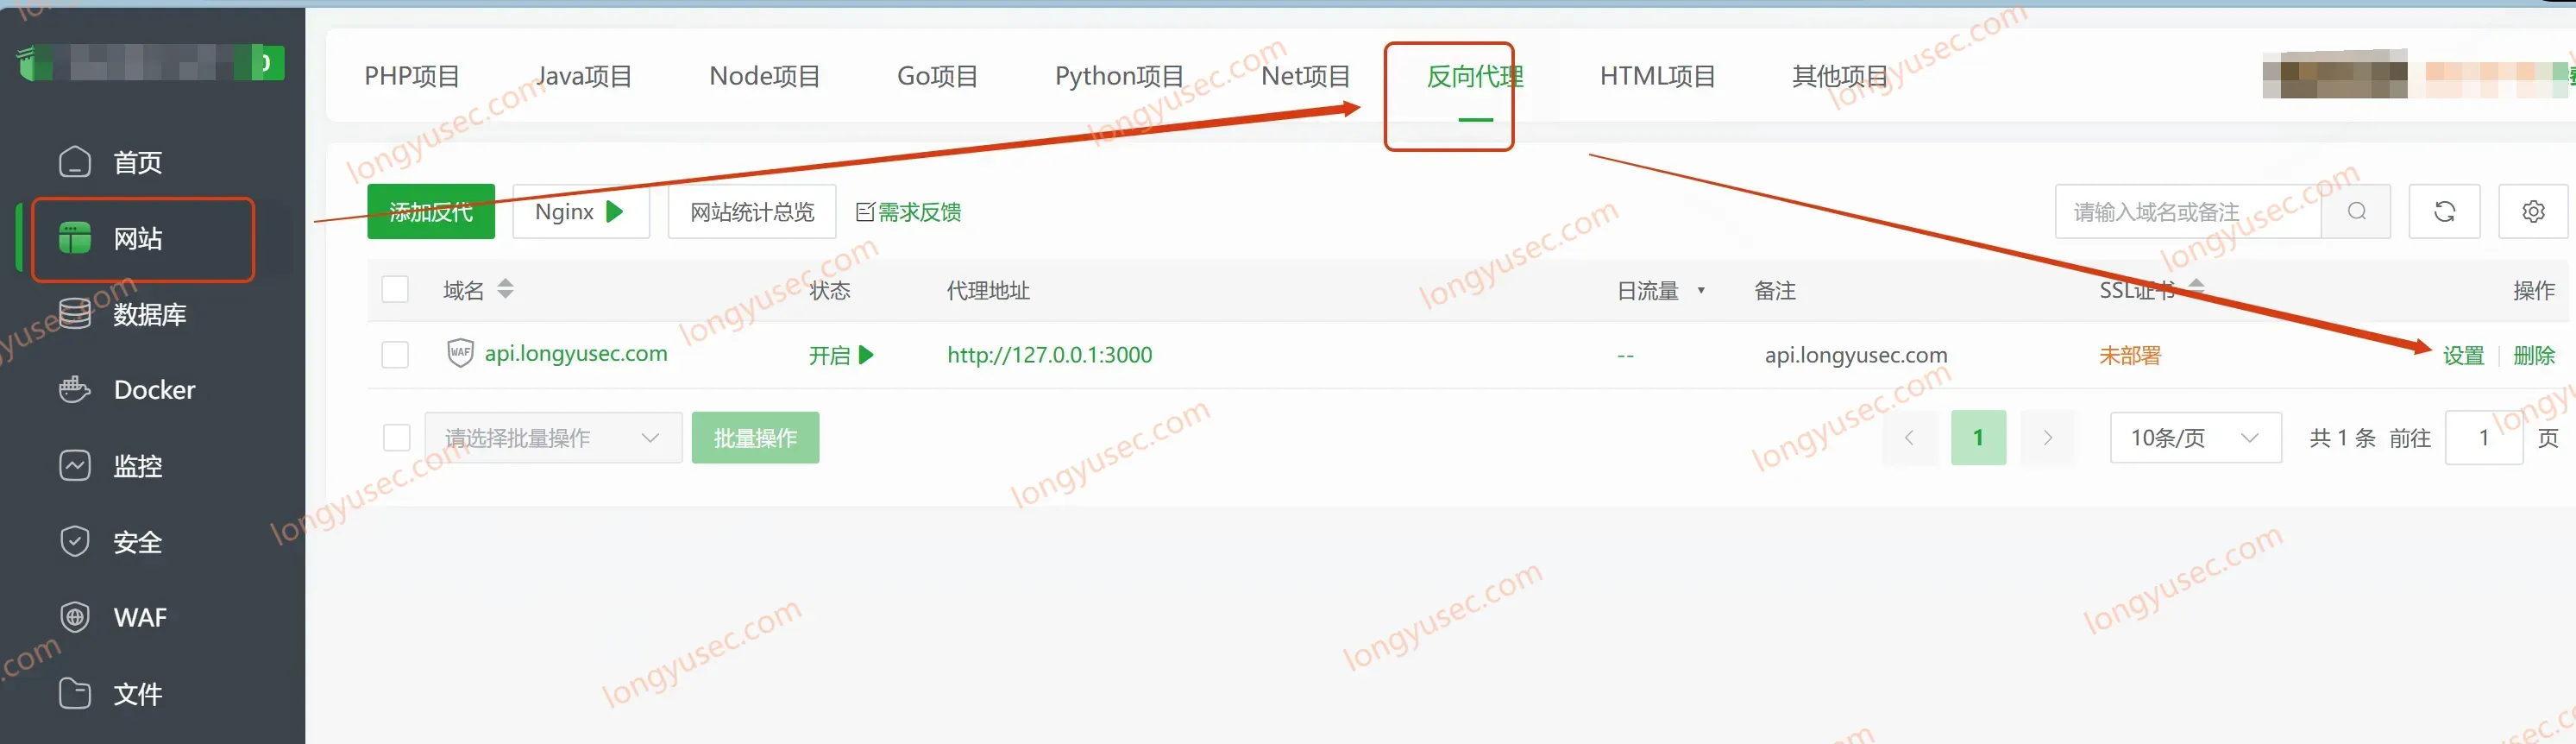
找到配置文件,注意自己把域名改一改,换成自己的,比如api.longyusec.com换成自己的域名
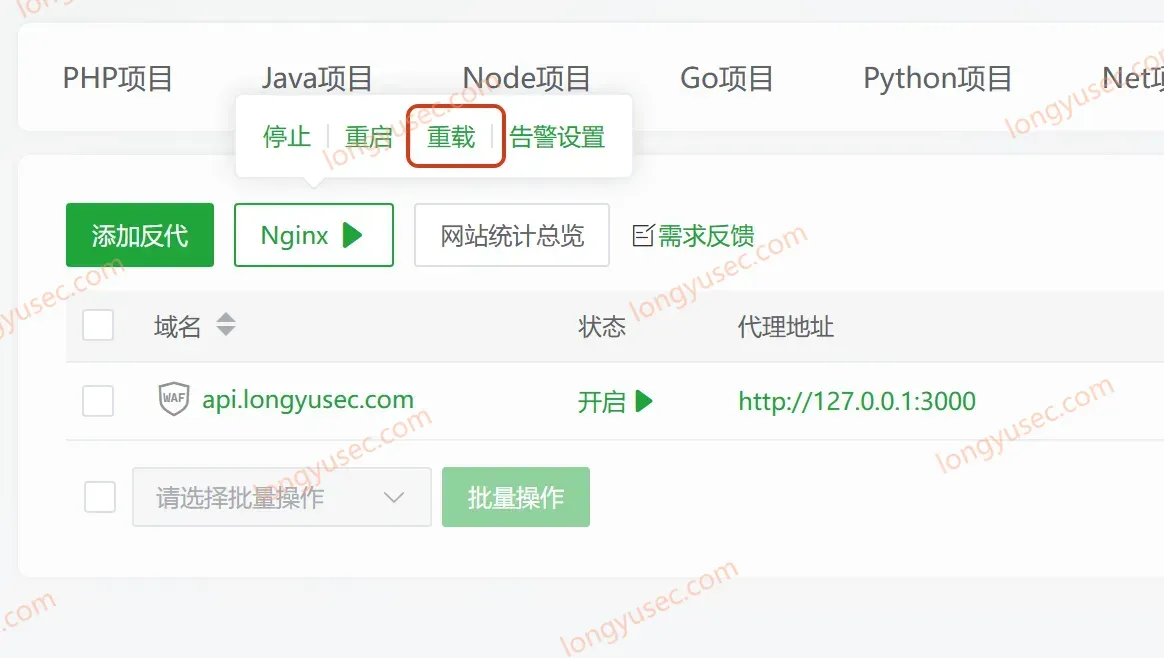
保存配置后,点击重载,再点一下重启,就能正常通过api对话了

评论 (0)